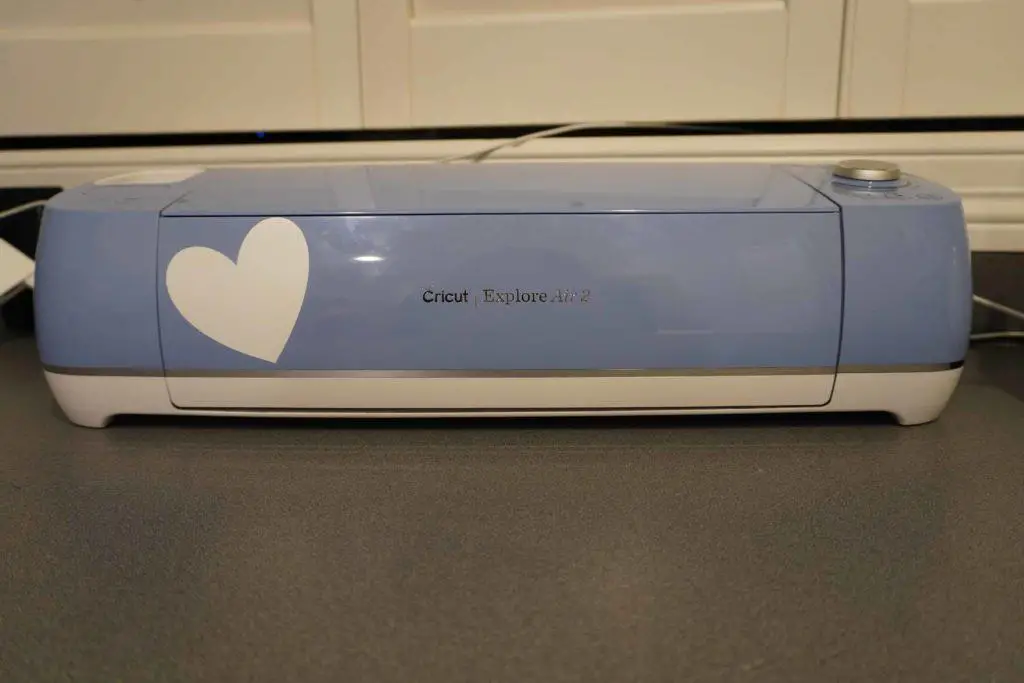
After many months of stalking the internet and Facebook groups, you finally went out and got yourself a Cricut! Congrats my friend you have now opened up Pandora’s box of the crafting world.
Even if you haven’t taken the dive and bought one you are probably researching getting one if you are reading this post. One of the things that I get asked most often about my machine is “what tools or supplies do I actually need to purchase?”
Well, that is exactly what I am here to tell you. I am going to tell you all the tools you actually need and the ones you kind of need as well as the ones you want to need. There is an overwhelming amount of tools, products, and supplies out there for the Cricut machines and it is definitely very intimidating.
Actually Need:
- Mats (Tool)
- Essential Tools Set (Tool)
- Rotary Cutter (Tool)
- Deep Point Blade (Tool)
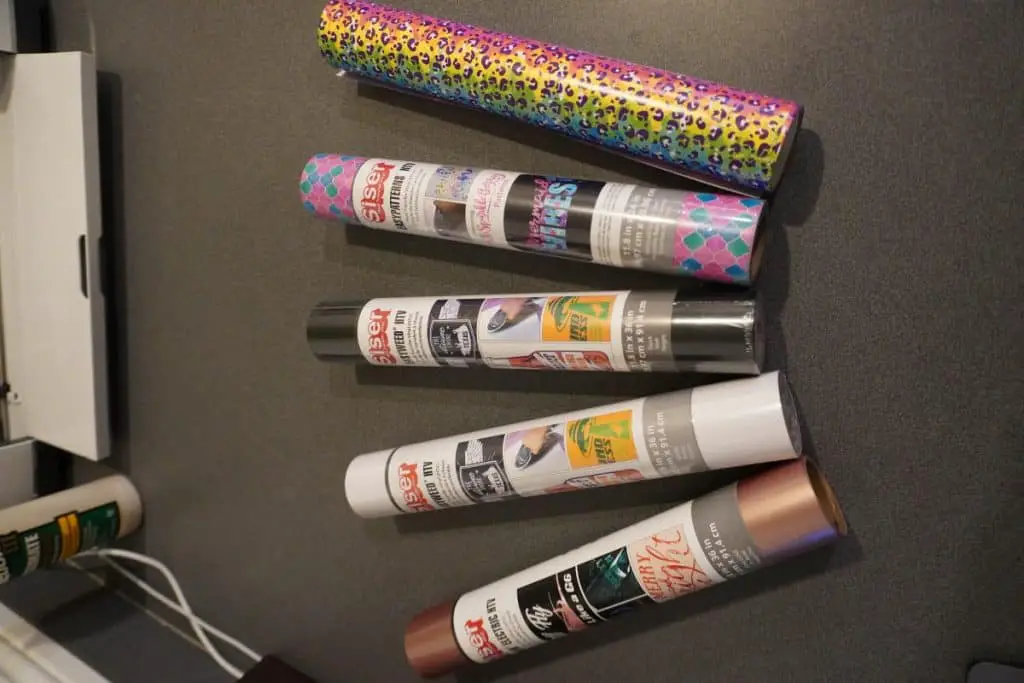
- Permanent Vinyl (Supply)
- HTV/Iron-On (Supply)
Kind of Need:
- Cricut Pens (Tool)
- Paper Tool Set (Tool)
- Cricut Easy Press (Tool)
- Removable Vinyl (Supply)
- Cricut Window Cling (Supply)
- Glue Dots (Supply)
Want to Need:
- Brayer (Tool)
- XL Scraper (Tool)
- Cricut Mini Press (Tool)
- Everything else (Supply)
There was a point when I first started where I was trying to make a decision on stuff I needed and it became so overwhelming that I almost called it quits on the whole thing and sent my machine back. Thankfully I did not, if I had I would not be able to help the abundance of crafters that I have. My wallet may have been thankful but I wouldn’t have been!
Before we dive in I want you to note a BIG DEAL – Cricut will void your warranty if you use non-Cricut tools, blades or pens in your machine. Obviously they will not spy on you but if you have an issue with your machine and you tell them “well I found this tool for a cheaper price and used it” they will not provide you with a replacement or a way to fix it.
How do I know what I need?
First things first. You need to pick a project or skill you want to do before you do ANY shopping. This decision will greatly impact the items you actually need to start. Since there is such an endless list of projects you can do with your Cricut Explore Air 2 (even more with the Cricut Maker) I am going to only cover the basic tools to get you started on the most common projects.
Top of the list
The first thing on the list of needs is a space to create your projects, the Cricut machines (aside from the new Joy that was released recently, of course, I got one! More to come on that in another post) are not the smallest of machines. They need space to work and breathe.
You will want at least a two-foot by two-foot space for your machine. This is a minimal number. Personally, I have a six-foot counter I work on and can still use more space sometimes, but I am a hardcore crafter and have hoarded all the materials, haha. So a two by two space is good to start with, even if it is just your kitchen table or coffee table.
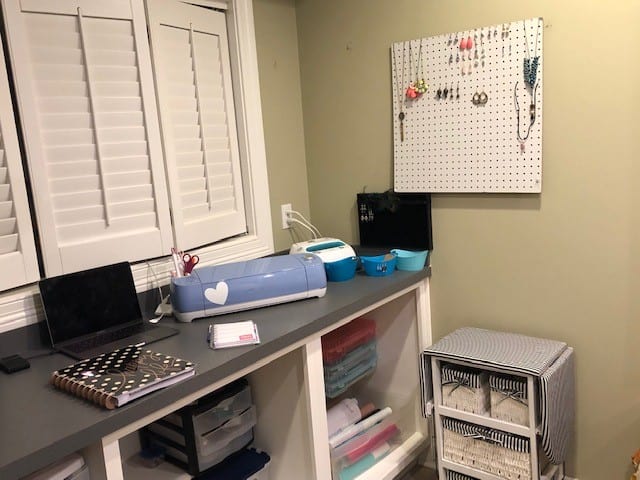
The second important item you will need is some storage of sorts. You will want something for cardstock, vinyl and for your tools. I have most of my vinyl hanging in one of those closet storage hangers (see picture below, as I actually don’t remember what they are called) and it works brilliantly. You could definitely use one of these for paper as well.
Once you have those two key components it is time to build your supply and tool list.
What do I actually need – Tools
Cricut Mats
The most important tool you will use with your Cricut is your mats (some will beg to differ). The mats come in three different adhesive levels or levels of tackiness some may say and those are:
Standard Grip Mat – Green Mat with a standard tackiness for most of your vinyl projects. This is used for permanent vinyl, removable vinyl, and HTV and after a while of usage, you can use it for paper as well.
Light Grip Mat – Light blue mat used for mostly paper crafting. Those materials include: cardstock, paper, and foil.
Strong Grip Mat – Purple mat used for leather, glitter vinyl (all types and personal preference), heavier weighted materials such as chipboard, poster board, it is also used for engraving (Maker only) and when you need a stronger grip on a material you are going to cut.
There is also a fourth mat which is for fabric called a Fabric Grip Mat, this is only for the Cricut Maker though, not the Explore Air 2, it will work in it but you can’t cut much fabric with the Explore Air.
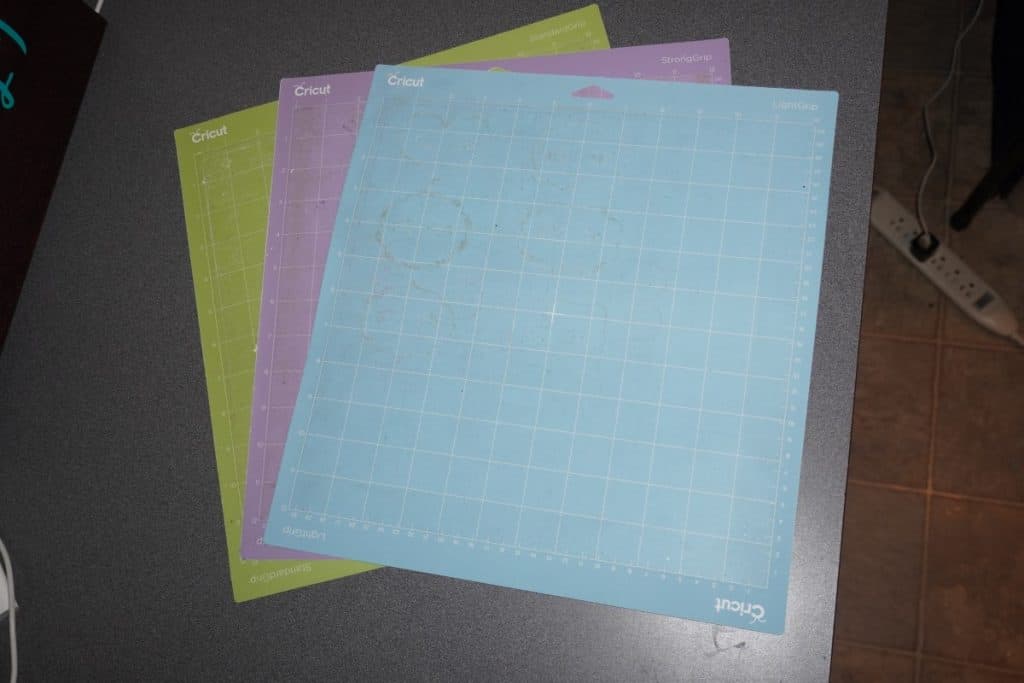
These mats are used every single time you use your machine, you will need to have a couple of each, I currently have three of each and two of the 24″ standard grip mats. They can be cleaned but they will never stick the way they do at first. The easiest way to make a mat last longer is to clean it after every use, as in taking a baby wipe to it and gently wipe, then use a heavy-duty lint roller over it. This will help keep it tacky longer.
Pro tip: more mats also means less time spent on projects with multiple mats. You don’t have to remove the first layer in order to start the next, just load one and while it cuts prep the rest and then just load them.
Cricut Essential Tools Set
Cricut sells an “Essential Tools Set” and they did right by doing so. Your machine will come with some basics, a fine point blade, ONE mat – either light or standard grip and one pen (plus the power cord and USB cord) but that is barely enough to do anything with, outside of your first project which is really just a teaser.
The essential tools set comes with a good start on tools you will utilize the most in the very beginning stages of making. This set comes with:
- portable trimmer
- scoring stylus
- spatula
- weeder
- scraper
- scissors
- tweezers
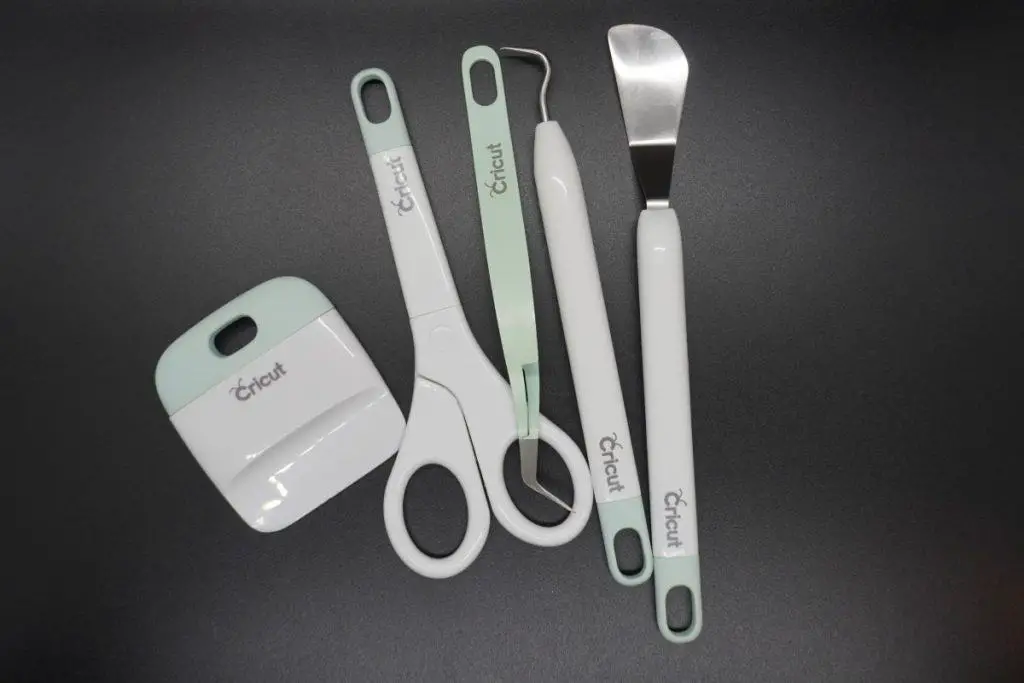
This set will save you a good chunk of change later down the road as well. Purchasing the tools separately will for sure cos at least double if not triple what the set normally runs.
Rotary Tool
A rotary tool looks just like a pizza cutter and works like one too! In fact, you could probably use a pizza cutter for the same purpose, but I strongly recommend getting either the Cricut Rotary Cutter or the Fiskars Rotary Cutter. I have the Fiskars one and love it. I have had it for years with zero issues.
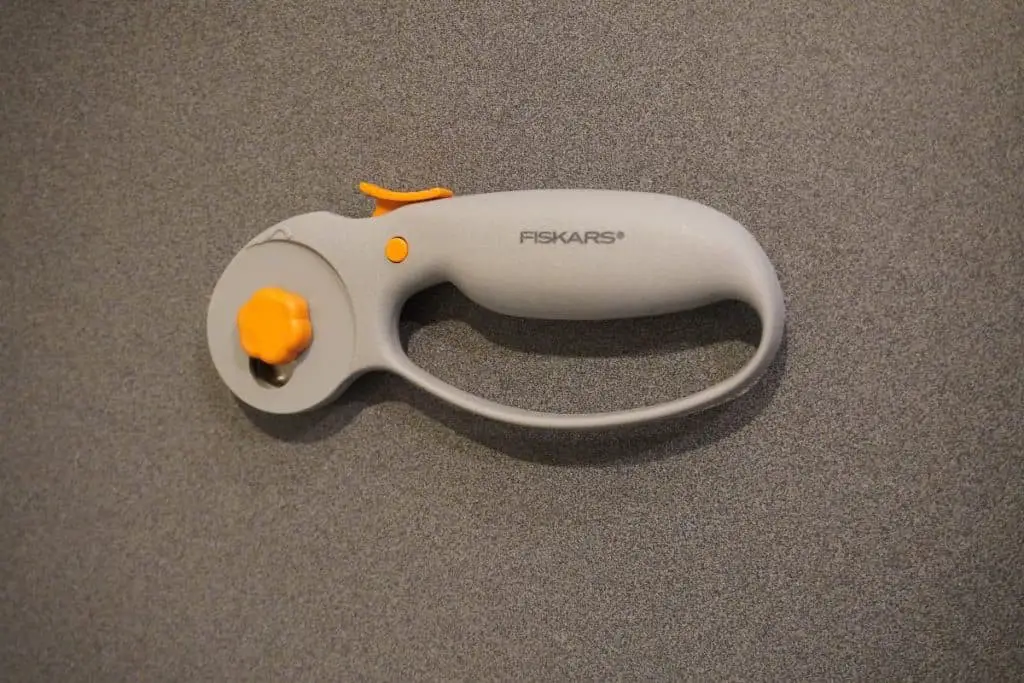
The rotary tool is used for slicing anything from paper, cardstock, vinyl, and even fabric smoothly and if you use a ruler, in a straight line. It is really simple and the Fiskars Rotary cutter is safe to use as well, it has a safety cover over the blade and a retract button for when not in use. The essentials kit I spoke about earlier includes a portable trimmer but the rotary cutter gives you more freedom to cut longer or wider projects.
Pro Tip: I use the rotary cutter for cutting the extra space around my vinyl before I weed them so that I can save the scrap pieces for later, I love my scraps! I hate wasting products of any type, well I hate wasting anything!
Deep Point Blade
Cricut has a variety of blades made for each of its machines (including the first ones). All of their machines come standard with a fine point blade that is used for most of the common projects and this is where the list starts to become personal.
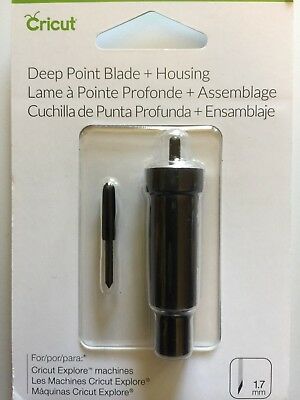
If you are great with only cutting standard cardstock, vinyl and paper then stick with just the fine point blade. However, if you want to venture past that, get a deep point blade.
The deep point blade for the Explore Air 2 will open up more crafting doors, say you wanted a Cricut to make signs with or to cut wood and other heavier materials, you can not do that with the fine point blade, it will ruin it and give you a big headache. The deep point blade is made with the same German Carbide as the fine point blade but it is a longer blade so it can cut deeper into thicker materials.
As far as tools go that is all the “actually need” tools. Next, let’s cover the “kind of need” tools, shall we?
Kind of need – Tools
If you go on to Amazon or the Cricut website right now and type in “Cricut Tools” you will get consumed, believe me. It is like a kid in a candy shop, you want it all. Stop and read before you buy!
Pens
Cricut carries an abundance of fun colored Cricut brand pens that you can use with their machines and they are fantastic. I feel they are a bit pricey but you are paying for quality pens that will last a long time. Personally, I have a set that I love that is not the Cricut brand. I love it because it is dual-tipped and they fit seamlessly in the machine, ironically though, they were not much cheaper (they were a gift, I tried it and they worked!).
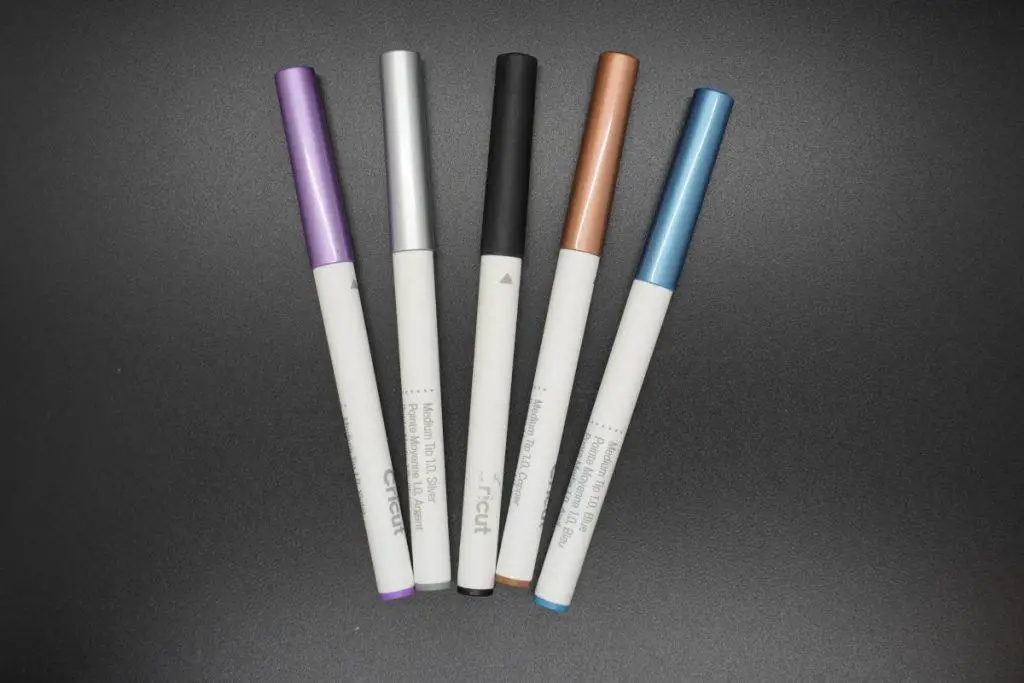
I say the pens are a “kind of need” as in you kind of need a small set, not that you need to go out and buy every color they carry. You will use these pens to create beautiful cards and coloring pages and such. Having a small variety will do you good.
Cricut Paper Tool Set
Speaking of paper projects, you might want this doohicky set. The Cricut Paper Toolset comes with the tools to create some really awesome papercrafts. It comes with the piercer, a quilling tool, a distresser, and a craft mat.
The best tool in this set is the quilling tool. This is used for rolling paper flowers and it makes a magical difference I tell ya! Currently, I am using a dowel rod to roll my flowers and it is a pain, but it gets it done. I haven’t ventured too far into rolling the flowers to purchase the quilling tools but I have seen them used and it’s awesome!
Easy Press
If you plan to do anything with HTV or iron on you will want a Cricut Easy Press. The Easy Press is a fantastic Cricut Accessory, when I first started I knew I wanted to make shirts and I did not own a household iron (I do not iron anything other than the project, even still, my dryer does that work). Instead of spending fifty bucks on something I knew would not last me through what I wanted to do I purchased the 9 X 9 Easy Press.
The Easy press gives an even temperature throughout the plate so that it is a sure seal on your vinyl. A household iron typically varies in heat around the plate, which ends up being a pain. The Easy Press is also very simple to use and comes with a cooling pad.
Want to need – Tools
Brayer
The Cricut Brayer is a tool that presses the material you are putting on your mat so that there are not any wrinkles in it. This tool is mostly used for fabric, though I have seen some crafters use it for vinyl and paper as well. I haven’t gotten too much into fabric with my machine yet and I don’t think I would use one if I were to get into that. With the Explore Air you are limited to the fabric you can cut, so to me this tool is a “want to need”.
XL Scraper
The XL Scraper tool is the same as a scraper tool, just a couple inches wider. I use my scraper tool a lot. I do not have an XL one because I have three regular size ones. However, I would like one, so that is why it is a ‘ want to need”. The wider size would make scraping debris off of your mat a tad easier as well as making some of those paper projects come off your mats a tad easier.
Easy Press Mini
The Easy Press is a “actually need” however, the Easy Press Mini is definitely a “want to need” one, is is adorable! Two it makes pressing hats and headbands a cinch. I recently upgraded to a larger heat press due to the amount of products I sell and the fact that manually pressing became hard on my shoulder. I miss my Easy Press, there is no doubt about that, but the heavy duty press I bought makes pressing shirts super easy and it came with an attachment for hats, plates and cups!
You can get a bundle with the Easy Press Mini that comes with a bunch of stuff to get you started, that is IF you plan to do things like earrings, headbands and such. Here is the link for that:
Supplies
Now let’s get to the supplies you will actually need, kind of need and want to need. Again, I will cover what’s needed for the most common projects, not all of them, that would be very lengthy.
What do I actually need – Supplies
Permanent Vinyl
Permanent vinyl is a must have, this used for cups, signs, car decals and more. If you plan on doing anything with cups or tumblers you will want an abundance of solid colors to start. You should grab at minimum one roll of every basic color, two black and two or more rolls of glitter (because glitter is insanely popular on cups and well, everything else!).
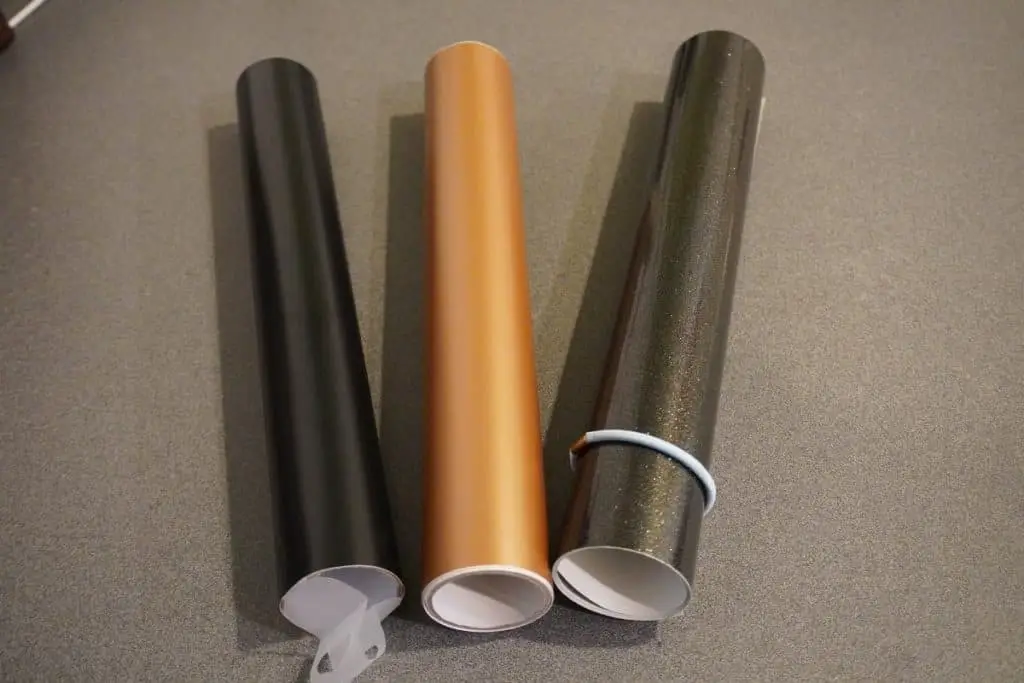
I prefer Cricut or Oracal permanent vinyl, for the most part, it is inexpensive and works really well. You will find a TON of different brands of all vinyl. I am telling you to stick with these two. It will save you a headache and money. If you click on the brands you will find bundles of basic colors to get you started!
HTV /Iron-On
This is my most used supply here, HTV/Iron-on these are used on everything except plastic for me! I have ironed on wood, shirts, cups, coasters and even baby blankets. The possibilities are endless and so are the color options. As with the permanent vinyl I have a preferred brand and that is Siser Easyweed. Sorry Cricut but your HTV failed me enough to not really recommend it. I created a YouTube video on which vinyls I use and prefer, you can watch that here.
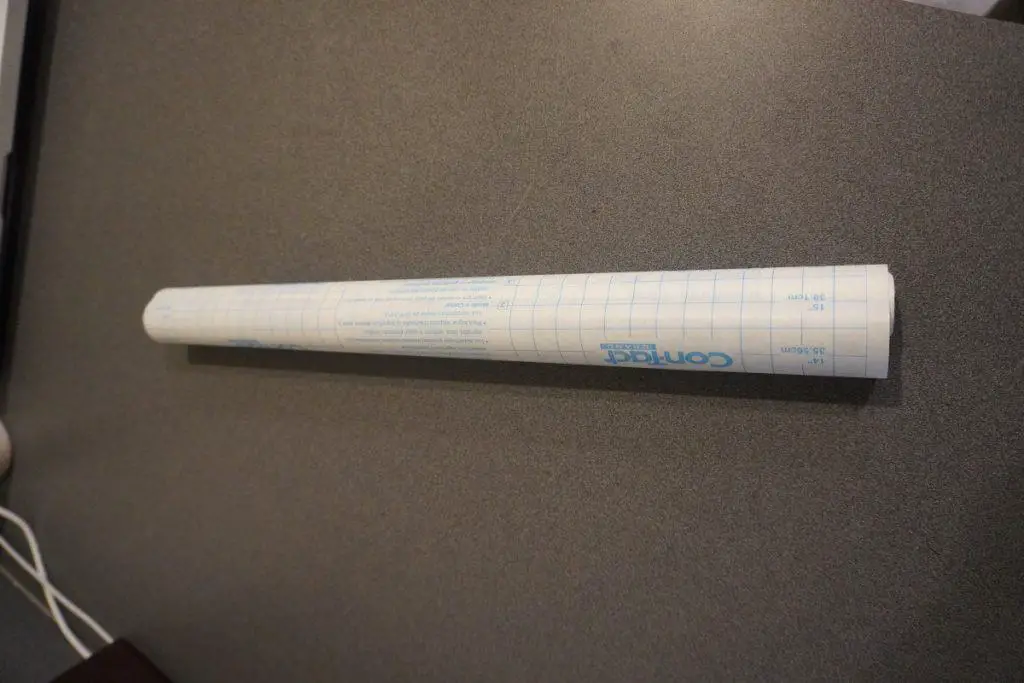
Transfer Tape
Transfer tape is used to take permanent or removable vinyl from its backing sheet and transferring onto the final product. This is the only way to get your image onto the final product without messing up the alignment or going through the painstaking task of manually applying it.
I use this contact paper for MOST of my transfers, the one thing I use Cricut Strong Grip Transfer Tape on is glitter vinyl, and that is because otherwise it doesn’t come off the backing easily, if at all. Contact paper is inexpensive and comes on a huge roll most of the time, so you for sure get your monies worth.
Cardstock
Ah, Cardstock. If you plan on doing any type of paper crafting you will want a lot of cardstock. In all the basic colors and then some. There is a wide variety of colors, patterns and even textures of cardstock out there. You will find it in the scrapbooking section at your local craft store or online in the “paper crafting” dropdown. It can be used for making cards, scrapbooking and paper flowers, as well as much much more.
Do not go crazy with it but do grab all of the colors, patterns and textures that catch you eye, I promise you will use them.
Kind of need – Supplies
Removable Vinyl
Removable vinyl is not an actual need unless you plan on doing wall decals. The removable vinyl, unlike permanent vinyl, will stick well but can be removed easily. Once applied and removed it is no longer good, it can not be reused.
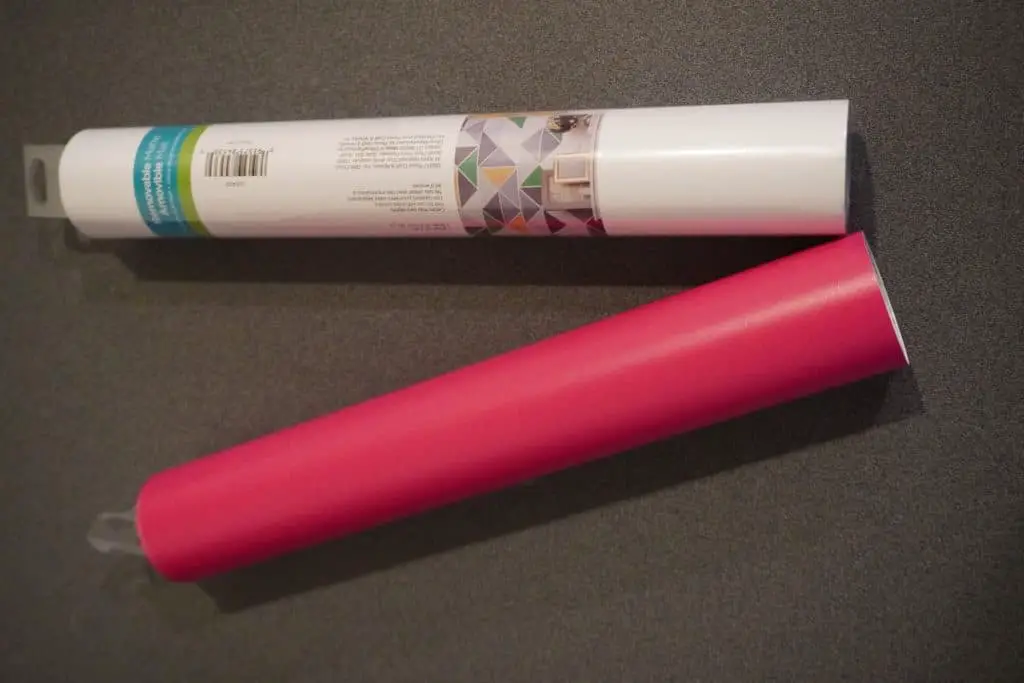
Just like the permanent vinyl there is an abundance of choices to choose from! Patterns, colors and some textures too. It is not as popular as other vinyl types so there isn’t quite as much but still enough to overwhelm you.
Window Cling Vinyl
Obviously you will only use the Cricut Window Cling Vinyl for window clings, but there is a couple other uses for this that I was able to figure out pretty easily. I bought some window cling whenI first started to explore it. Well a year later I finally used it, on a mirror! I decorated the edges of my bathroom mirror with it for a more elegant look, super cool.
I also decided to give it a go and use it on a glass block for a customer. She wanted something with a quote and an angel or angel wings on it and my creative mind said “lightbulb!”

So if you want to explore it or decorate your window or mirror pick some up, but don’t get more than a roll or two.
Glue Dots
Glue Dots are essential if you want to make pop-up cards or shadow boxes. They are just tiny dots of adhesive that are easy and mess free and give that 3D effect you want on certain projects. Again, this is one of those more personable supplies, that if you don’t plan on doing cards or papercrafting, they can wait.
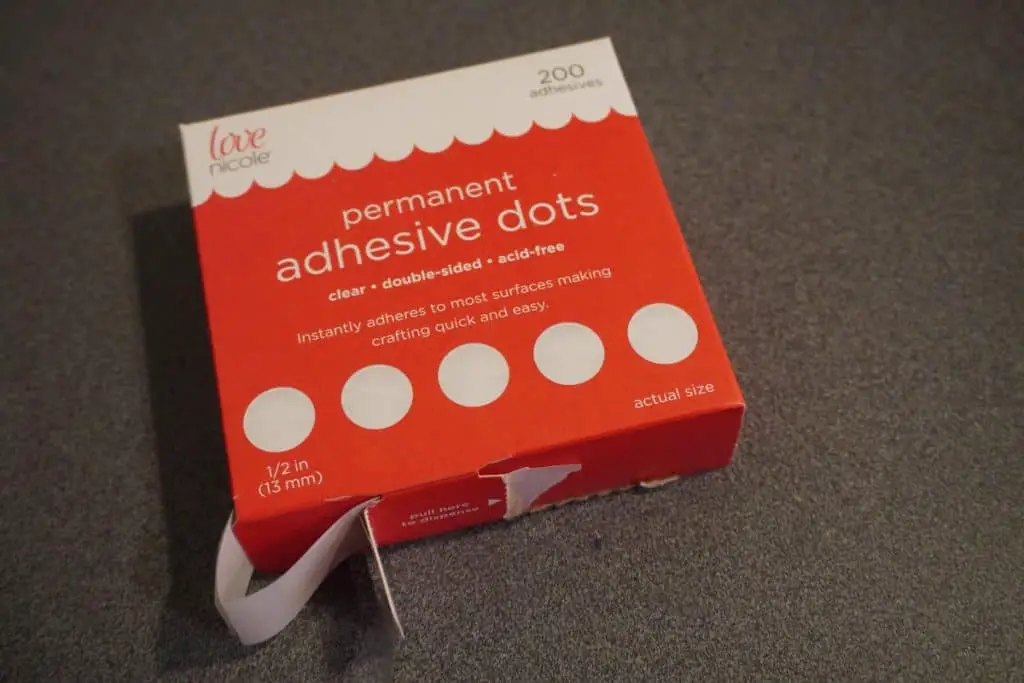
Glue dots are available on Amazon or really any major retailer (like Walmart and Target, even the Dollar Tree carries them) and are generally not expensive.
Want to need – Supplies
Literally everything else that pops up in the search for “Cricut Tools and Supplies” and then some. You will find yourself in the store (any store) saying I could totally customize that, or I bet my Cricut can cut that. Before you know it you have a hoarded amount of supplies like me that you could open a craft store with.
Covered it all, and then some!
Now that I believe you have all the tools and supplies you need it is time for you to get creative. Something you really must have to be a successful Cricut Crafter is one hell of an imagination, but don’t worry if you aren’t that imaginative yet, between my YouTube channel (Crafting Unedited) and others, Google and Design Space you will develop one!
Follow me for money and time-saving tricks so your wallet doesn’t go completely empty in this hobby!
Be sure to check out some other nifty functional craft ideas through our other posts here on Craft-ILY as well as checking out some videos on DIY and How To’s over on YouTube. Look for “Crafting Unedited” to see!
Thank you this was very helpful. Happy Crafting!
Hi Cierra. I just purchased a Circut Explore Air2 which should arrive in a week because I live in Ontario, Canada. I started watching your videos last night and I find them to be extremely helpful. You have a very easy and comfortable manner of discussing how to operate the machine and what tools are necessary. Thank you for your assistance and free tutorials. I truly appreciate all the work you have put into making the tutorials very easy to follow. I look forward to watching more of your videos. Thank you again 🤗
Awe! Thank you very much! Congrats on your first Cricut purchase!! You will love it and become obsessed pretty quickly 🙂
I just got a explore air 2 and i dont know what i all need or where to even get my vinyl or what to excatly what to do with it like what can i all make or do lol
I use Heat Transfer Warehouse for all of my supplies. They have the best prices and the best products all on one site and the craziest shipping! I hope my post helped you.
I got my Cricut Explore Air 2 yesterday, visited my local Michael’s today, and was completely overwhelmed. Thank you for these lists – now I know what to get when I go back to Michael’s!
SO glad you found my site and have help 🙂