Holidays are often some of the busiest times for crafters, especially when it comes to creating decorations and items for gifts. People often decide to buy personalized items for the people in their lives at holidays (birthdays, Christmas, Hannukah for instance). We are going to talk about some of the easy holiday crafts you can create using your Cricut, that will be unique and sometimes intricate, but will also be easy enough to be able to do at any level of experience.
The materials you need for these projects will include, but not be limited to:
- Standard Grip Mat (green)
- Cricut Brayer
- Wedding tool
- Contact paper/transfer tape
- HTV and/or Adhesive vinyl
- Your individual project materials
Now that you have all your materials ready to go, lets get started on some fun and easy holiday craft ideas!
Ornaments
There are many different options when it comes to creating ornaments using your Cricut. You can use the round ball ornaments (glass or plastic), tiles, small pieces of wood, or any other material you can think of to make ornaments into. Ornaments can be a great gift, especially when considering the endless designs you could make for them. Often, customers have an idea of what they want before coming to you, and they want you to bring their designs to fruition.
One popular ornament is one that is a memorial for someone who has passed away. This helps family and friends remember their loved one, and encourages them to believe that the deceased is there with them for the holidays. This can be achieved with any style of ornament, but tiles or round ball ornaments are the most popular. With ball ornaments, you can easily fill them with either paint, glitter, or other craft material, and then place a picture of the loved one inside, with their name and information or a quote on the outside using adhesive vinyl.
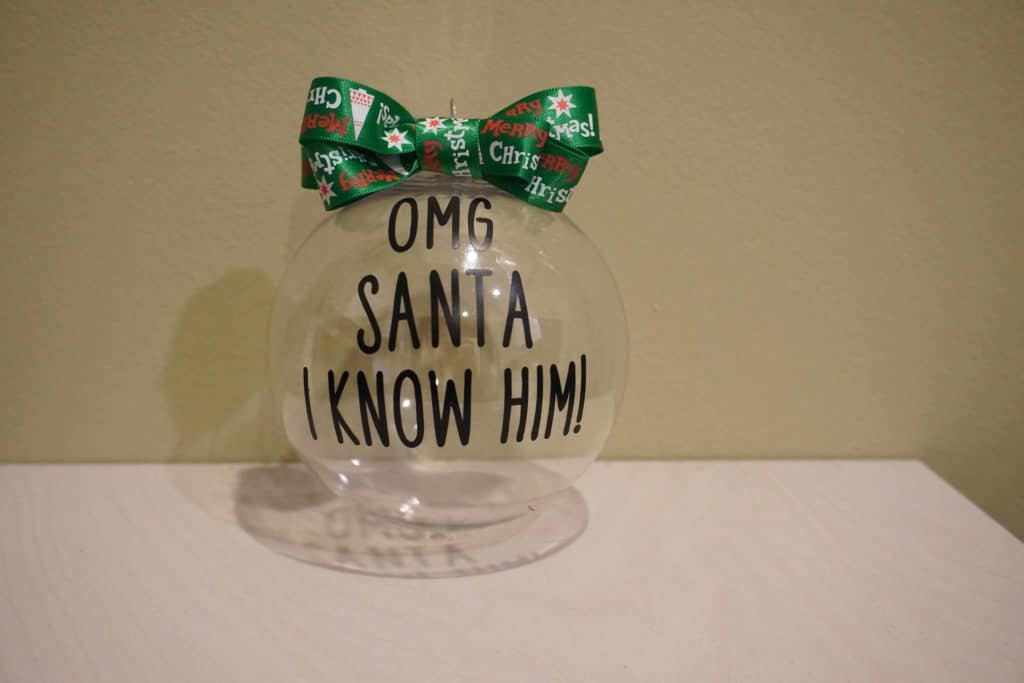
With round ornaments, the challenge arises of the shape of the ornament when placing adhesive vinyl. Once you have your vinyl cut and weeded, carefully place your vinyl on the ornament in pieces, so as to not skew your vinyl because of the rounded shape of the ornament itself. Other round ornaments that are often created are reindeer names (think the Rudolph song), characters, and Santa cameras.
If you are doing a themed tree for the holidays, for instance, you can buy a large set of empty, clear ornaments or blank ceramic tiles, and create your ornaments to go along with your theme. Filling ornaments or decorating them gives them a unique personality of their own, and allows you more creative freedom. You can also paint ornaments with acrylic paint, adhere the permanent vinyl to it, and seal it after putting on the vinyl.
Signs
Reversible porch signs are popular items for holidays and seasons, as you can do fall/Thanksgiving on one side of the wood, and winter/Christmas/Hanukkah on the other side of the board. This way, you can leave it out for a few months at a time, but it will not be the same design the entire time. This also cuts down on the amount of storage space you need for your holiday décor.
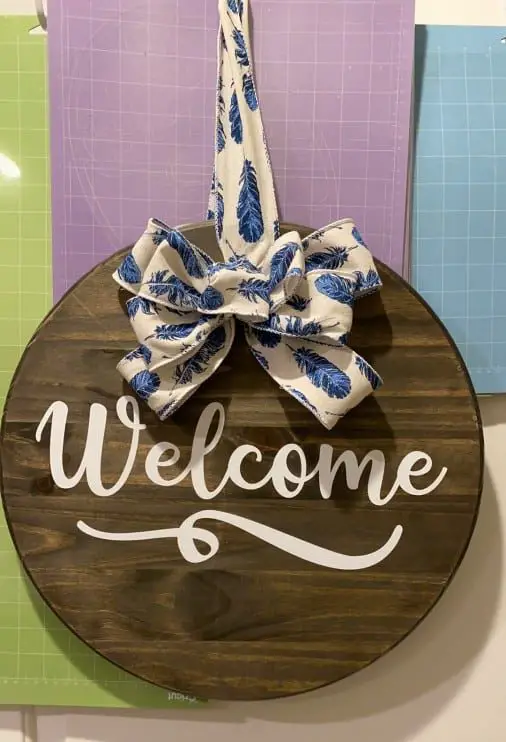
When making a reversible porch sign, you will want a piece of wood that is about 1 inch thick, and 1 foot by 4 feet, and stain the board before you adhere your adhesive vinyl to it. There are many different ways to make the letters on your board, as you can use permanent vinyl if you want to leave the vinyl on the board. There is a vinyl that is ideal for outside use and will remain on your board, even in cold or snowy weather. You will want to be aware of intense weather, though, and possibly bring your sign inside if you believe the weather could harm it outside.
Another option for these signs is to use the vinyl as a “stencil” and remove the vinyl after you have painted over it and let it dry. This leaves the crisp look of vinyl lettering, but also shows the wood through the paint. If you are doing this, you will want to use removable vinyl so that it is easier to remove, and you are less likely to ruin your paint or sign in the process. Your method for signs like these will vary depending on the look you are going for.
Check out this great step by step DIY Porch Sign tutorial here!
Pillows
One way to decorate for the holidays is to design pillows for the different holidays and put them on your couches, chairs, or beds throughout your house to tie the holiday décor together. For pillows, one thing you want to make sure you do is to iron on your HTV without the pillow insert in. Another helpful tip is to fold the pillow cover in half and fold your HTV in half (before ironing) to make sure it is centered correctly on the pillow itself. Always put the pillow insert in after you have adhered the HTV to the pillowcase.
Shirts
Holidays are often family affairs, and you may decide you want to make shirts or other apparel to commemorate the event, especially if the extended family who does not visit as often may attend your holiday event. This way, everyone has a fun memory of the event every time they wear their shirt. In Design Space, there is an option to use a shirt template, which also includes sizes of the shirts. This will help you with text and graphic size so that it appropriately fits each shirt.
Holiday-themed workout apparel is also very popular and makes workouts seem less like something you “have” to do when your shirt is funny or thematic. With workout apparel, the one caution is to make sure you check what material the shirt is, as you would not want it to melt from the heat press or iron when using your heat transfer vinyl.
Trick or Treat Bags
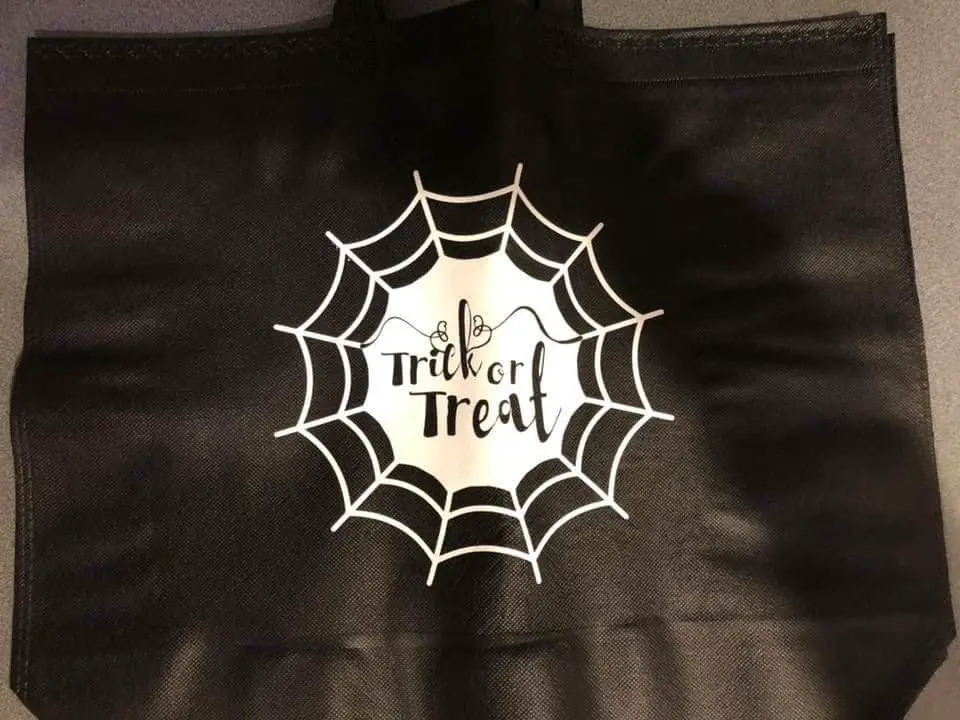
Using simple blank tote bags or pillowcases and heat transfer vinyl, you can easily make personalized trick or treat bags for the children in your life. This way, they have a personalized bag for their treats on Halloween, and thus do not run the risk of misplacing their bag or mixing it up with other children’s bags. As with the shirts, check your bag’s material to make sure it can withstand the heat from HTV. If necessary, place a t-shirt or Teflon paper inside the bag to prevent it from melting to itself.
Giving Plate
Giving plates are a new tradition where you design a plate with a saying (“This plate brings love and goodies from home to home. Enjoy. Refill. Then pass it on.”), then fill the plate with baked goods, and pass it on to your friends, family members, or neighbors. The plan is for them to then do the same, and the Giving Plate not only passes around goodies but also positivity and kindness. Using adhesive vinyl would be your best option, and make sure to mention to others that the plate should be hand washed, not in the dishwasher.
Easter Baskets
Vinyl is a great way to personalize Easter baskets, with either your child’s name or design they like. The type of vinyl you use for your Easter baskets depends on the material of the basket itself. You can easily use HTV vinyl on cloth or fabric baskets, and adhesive vinyl on plastic or wood baskets. Pay attention to your material when deciding on the type of vinyl to use, as you would not want to use HTV on plastic, as it might melt once you apply heat and pressure.
Stockings
When thinking about holiday crafts, Christmas often comes to mind. One tradition at Christmas is stockings, which can easily be personalized using HTV. Do make sure that you pay attention to the fabric your stocking is made of, as some might be lined with plastic or acrylic that could potentially melt under heat and pressure.
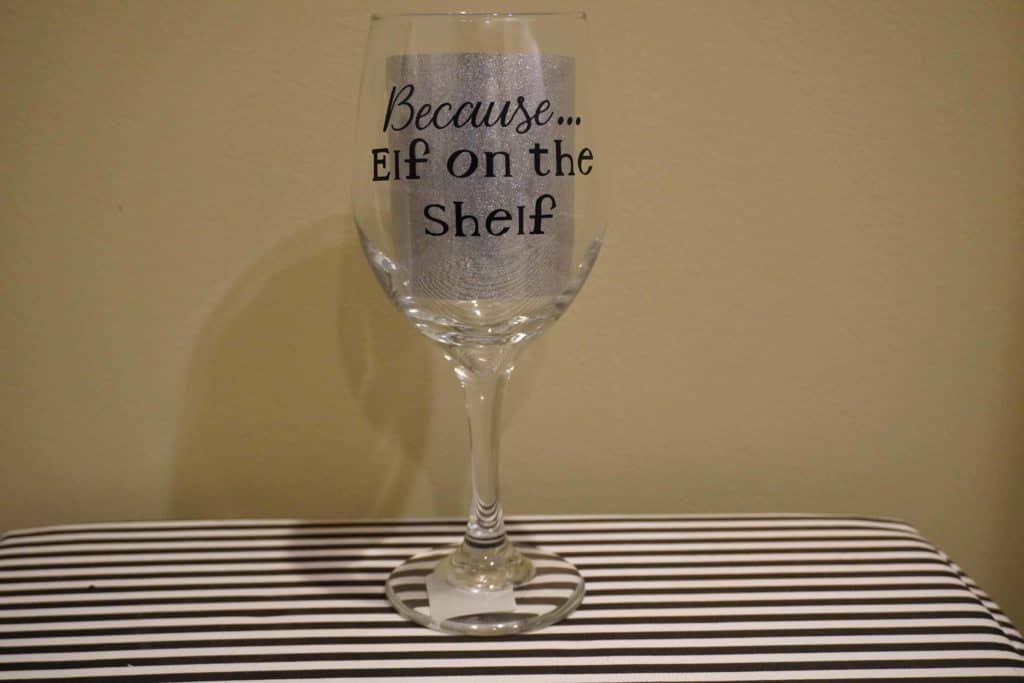
Wine glasses
Not only would customized holiday wine glasses make for great conversation at the dinner table or parties, but they also make great gifts for teachers, colleagues, and White Elephant events. These can be sold or given away as sets, so that the recipient has a matching set of wine glasses for a specific holiday. It is always fun to “swap out” your holiday drinkware with your regular daily drinkware, even if it is only for a month or so.
Cutting boards
Glass or acrylic cutting boards are definitely an easily personalized item if you use permanent vinyl. One note on this – you actually do want to mirror it so that the sticky side would be facing the glass, but so you can read the letters or see the design through the cutting board. Basically, you are adhering the vinyl to the bottom of the board so that the design can be seen through it, but also so that it does not accidentally get damaged when the cutting board is used.
Start making holiday crafts now!
These are easy holiday projects that you can either make for yourself, family, or use as gifts for other people. They are also great items to be able to personalize and sell, as many people shop for gifts through small businesses and boutiques to have customized items for their gift exchanges. Try them out and see what you are able to come up with in regard to holiday items – there are so many options and opportunities. Go craft away!
Be sure to check out some other nifty functional craft ideas through our other posts here on Craft-ILY as well as checking out some videos on DIY and How To’s over on YouTube. Look for “Crafting Unedited” to see!