Paper is one of the top crafts in the Cricut creating world. You can create so many things with a simple sheet of paper, one of those things is paper flowers. You can make them as big or as little as you want.
You may be wondering how you make these adorable and gorgeous flowers from paper, today I am going to show you exactly how you can do it. Through this tutorial you will learn all about the process, some tips and tricks as well as some ideas on what you can create with them.
Before we dig into the how and what, let’s start with the supplies you will need to create paper flowers. I will go over the supplies you need to create smaller rolled flowers as well as the giant flowers. Though they are very similar, there is a bit of a difference.
Supplies Needed
Before you begin making your flowers you will need a few things, the supplies are almost the same for all sizes of flowers but I will specify for you which supplies are for the large flowers.
- Cardstock – for smaller flowers a heavier cardstock is great, for large flowers you will want a little bit lighter of a cardstock so that it doesn’t weigh it down if you are going to hang it. You also want to make sure that you get a solid cardstock that is filled through. Meaning the edges are not white, if they are you will see it along the “petals” of your flower.
- Cricut machine – you can use any Cricut cutting machine, I don’t recommend using the Cricut Joy for this product though, it can get a bit time consuming when you are working with a smaller machine if you are doing several flowers, most will take up a whole 12×12 sheet. You do not want to attempt to cut these by hand, the smaller ones at least, it will take forever and hurt. The large ones you COULD but again super time consuming.
- Cricut Light Grip Mat (blue) – this will allow your cardstock to release easily.
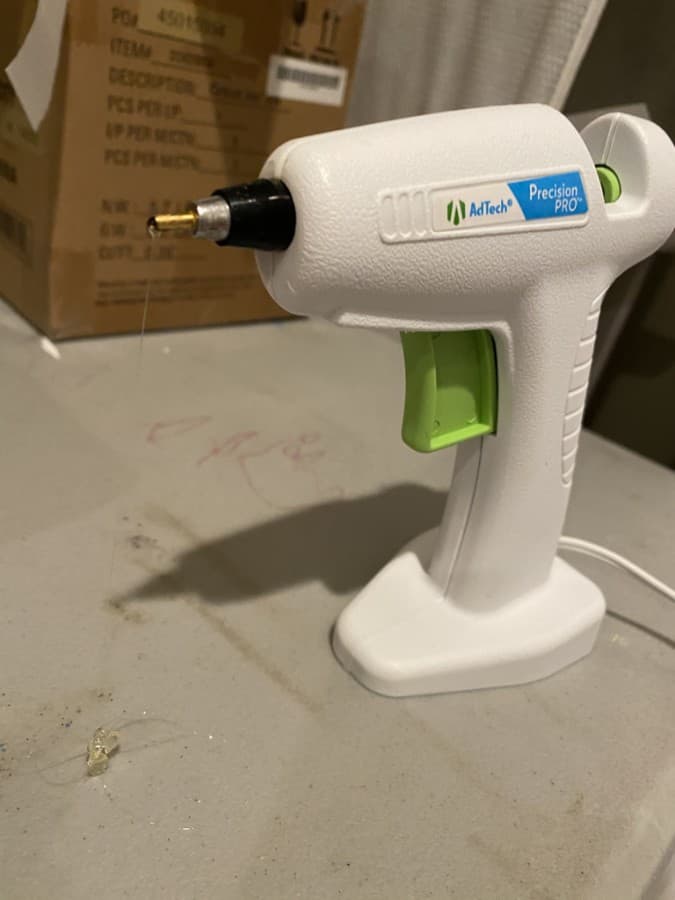
- Glue – I use hot glue for my flowers, some use glue dots or other glue. For me the quick dry time of hot glue is perfect.
- Design – you will need to have a design for Cricut to cut, you can use this one found in Design Space or you can use one of these from Designbundles.net.
- Dowel Rod split at one end or a quilling tool.
- General idea of what/where you want to place your beautiful flowers.
You don’t need a slew of supplies to create beautiful paper flowers. Now that you know what you need let’s get to the what you can create!
Paper Flower Projects
Some of the most beautiful crafts are created simply using paper. Paper flowers are one of my favorite things to create with paper and my Cricut Maker. There are so many things you can create with paper flowers I can’t cover them all here. So I will cover just my top 5 favorites.
Shadow Boxes
Shadow boxes are a lot of fun to make, you can make them for any occasion, a gift, a memorial, holidays and more. I have seen them with 3D designs, just vinyl, things like shells and even items of clothing in them but my favorite is when they are lined with paper flowers inside.
Add a little permanent vinyl on the glass and you can have a stunning piece of decor for your home. Here is an idea from Design Space for a Mothers Day gift!
Wall Murals
Ever seen one of those balloon banners or wall of flowers and question how the heck they did it? The steps that I am going to show you in just a few that is how. You can create so many different forms with these flowers and putting them together for a wall piece is super easy!
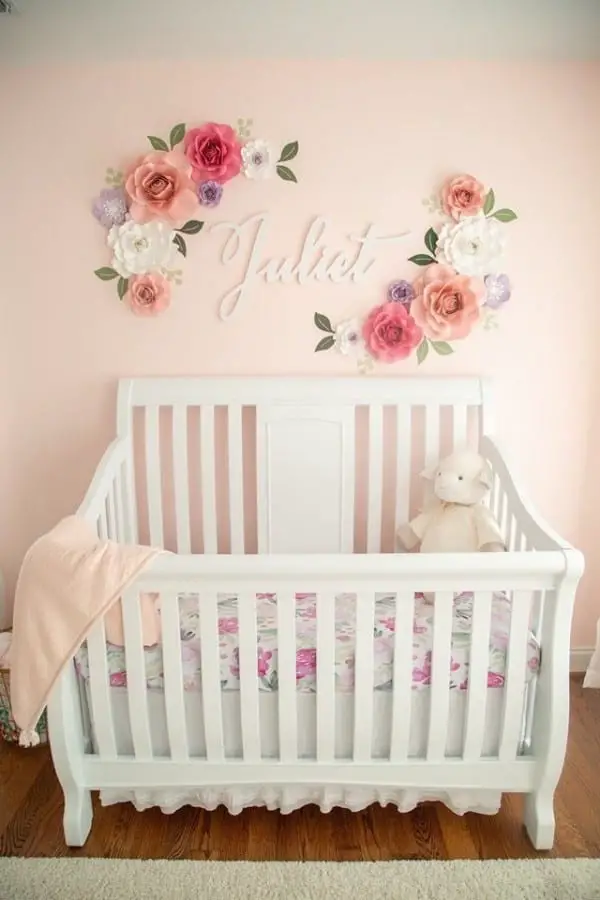
These are great for birthday parties, weddings, bridal and baby showers, basically any type of event but even better – you can put them up as decor for an accent wall in your office or a childs room (or even yours!)
Centerpieces
Centerpieces are always a huge topic when planning events, have you ever been to a wedding or party with the same piece as the last one you attended? I have, and I do not ever want to be that person. These are so easy to create and so much less expensive. When planning a big event the budget is always a big deal, so why not save on something you can make totally unique and amazing.
Wedding Bouquets
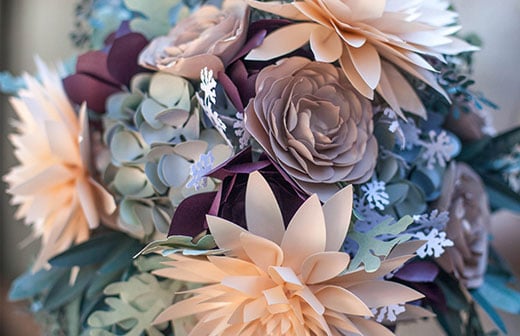
Ok, hear me out on this one. Wedding bouquets are on every brides top things to have done and in a very specific way right? Well after a couple days those beautiful flowers and that greenery die and it is no longer as beautiful as it once was. For pictures and the ceremony have that beautiful real bouquet if you want but have a back up that is designed exactly the same as the real one for a keepsake.
Just as your love, those flowers will never die or wither away. Yes, I am a hopeless romantic and still believe in a one and done marriage. True love never dies and neither will these faux flowers.
Floral Arrangements
Last but certainly not least is floral arrangements, I am speaking more about home decor, event decor, event bouquets and even the not so happy funeral displays. All of these can be made using paper flowers. They will last forever and are much more durable, the only hazard they hold is fire since they are paper.
Now for the how to, as in how to create these flowers for these beautiful pieces.
The How
You have your list of supplies and you have your idea of what to make and you are ready to tackle making paper flowers!
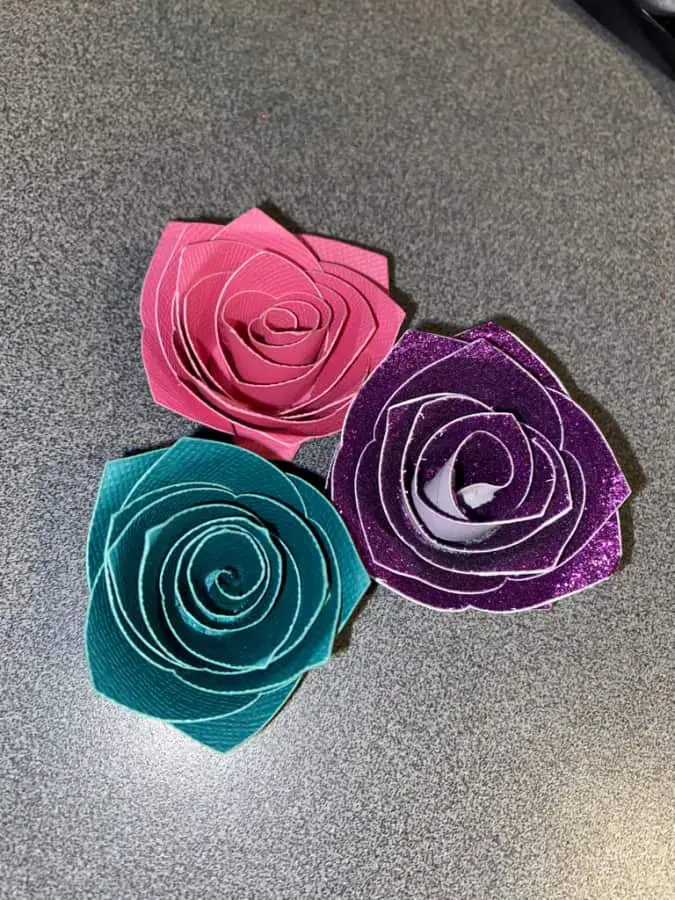
Lets chat about the smaller rolled paper flowers first.
Step One – Design Space
Open up Design Space and go to create a new project, then go to upload. here you will upload the SVG file for the paper flowers. You can use the file I did by clicking here and downloading it from designbundles.net (see below). Or you can choose a project from Cricut Design Space, here is one of my favorites (you will need a shadow box too, or you can just use the flowers).

Step Two – Select your Materials
Ready to cut, go to Design Space and select Make It, then choose your materials which SHOULD be 80lb or 100lb cardstock.
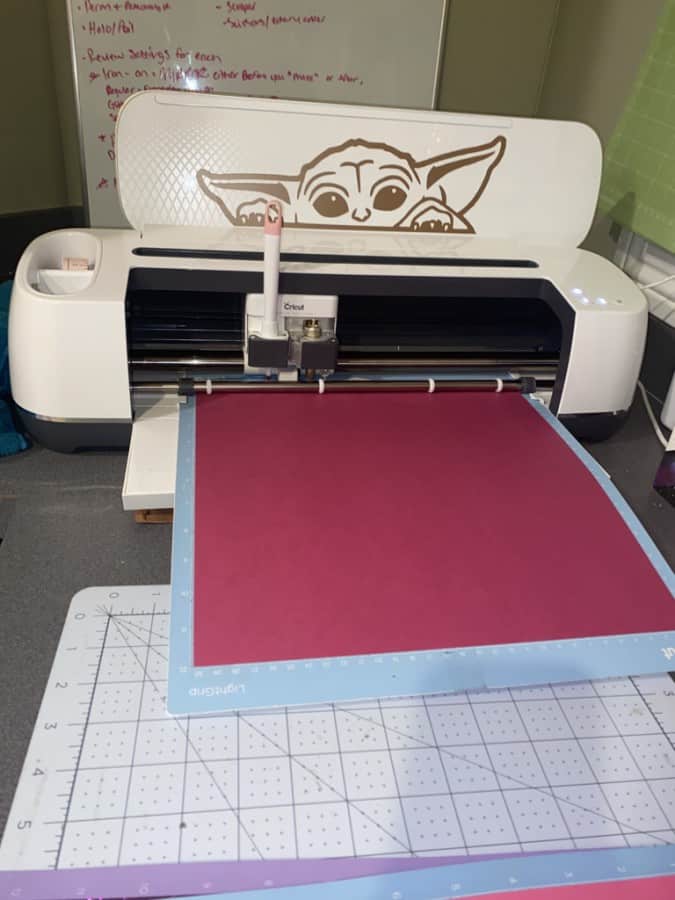
Step Three – Load Mats
Load your mats, I like to have mine by color, and to squeeze as many flowers onto one as I possibly can. Once you have your mats loaded you can go ahead and press the go button and let your machine do the work!
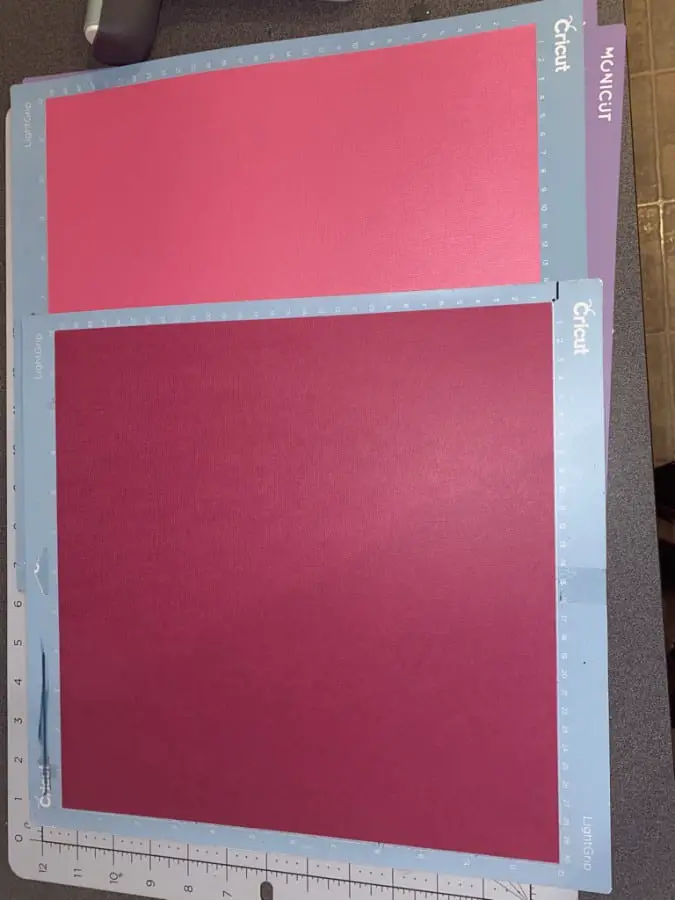
If you have more than one mat this will be a breeze! Just unload and load the next, if you have just one mat, then keep an eye on your machine and when one is done move on to the next and repeat.
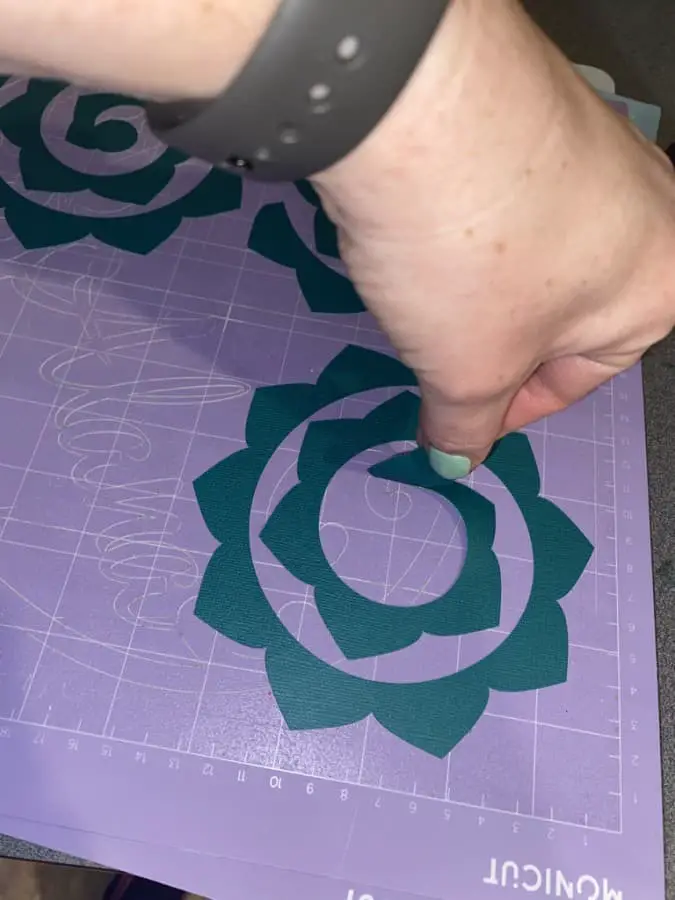
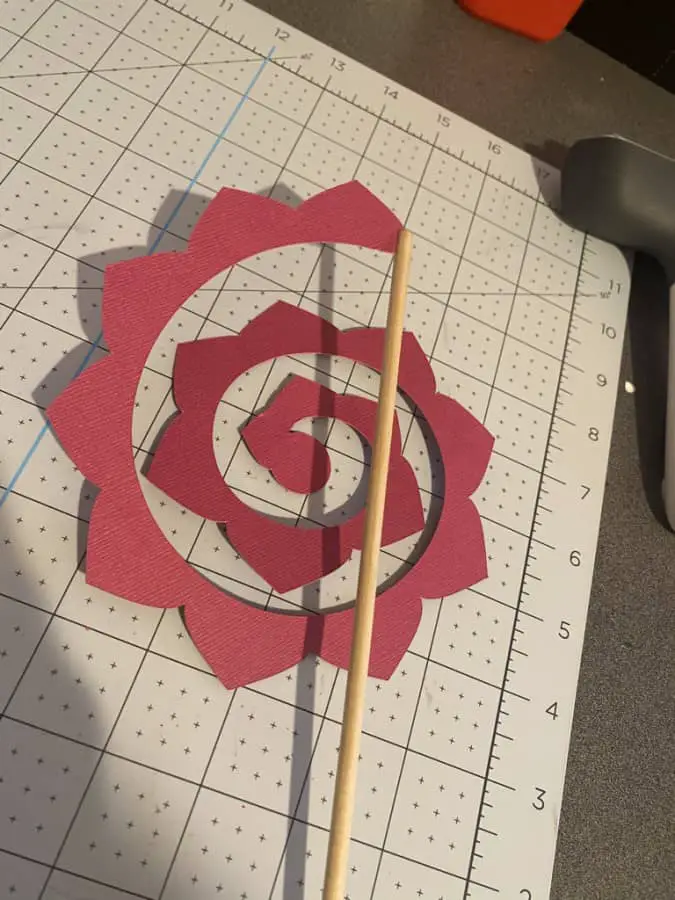
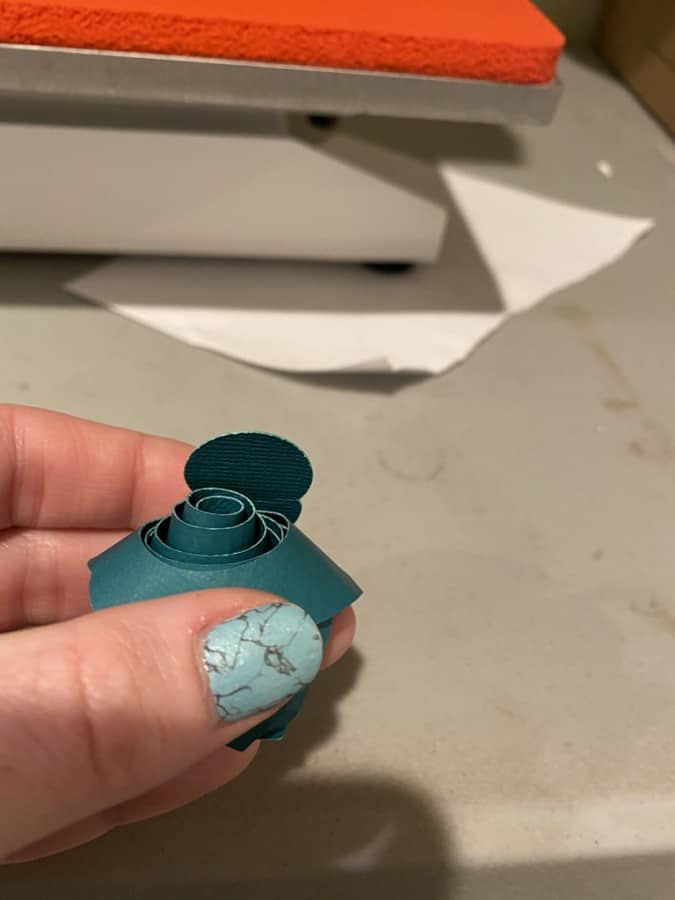
Step Four – Roll
Take the dowel rod or quilling tool and insert the end that doesn’t have the extra round piece on it. Then start spinning the rod while holding onto the flower. See images and video below.
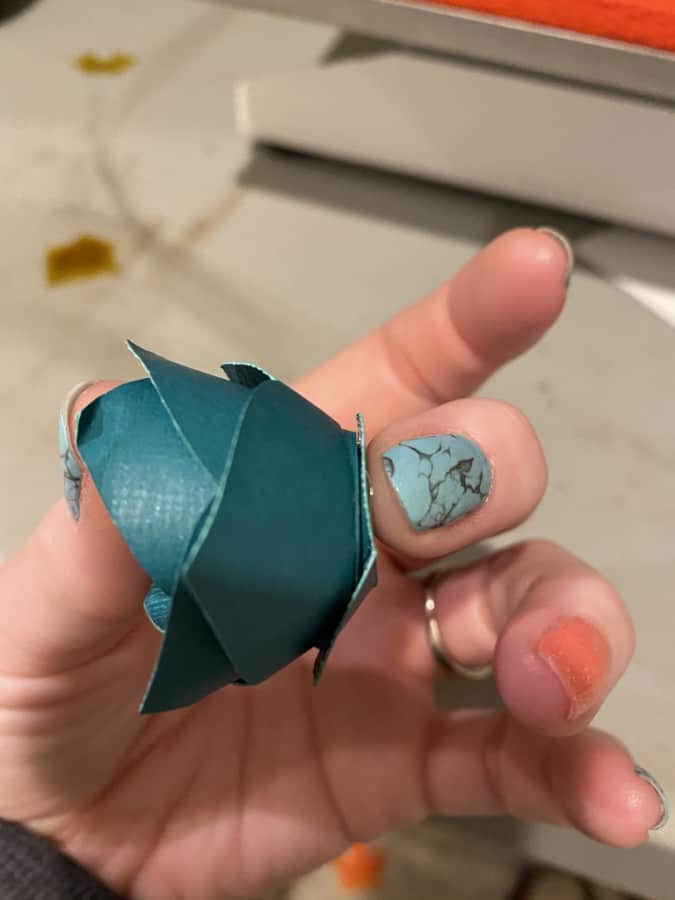
Step Five – Glue
Grab your choice of glue, and dab the top of the round end of the flower then place it under the layers of the petals and hold until it dries (the reason I prefer hot glue). Once it has dried you can take the dowel rod and shape the petals to make it look a bit more realistic. See images below.
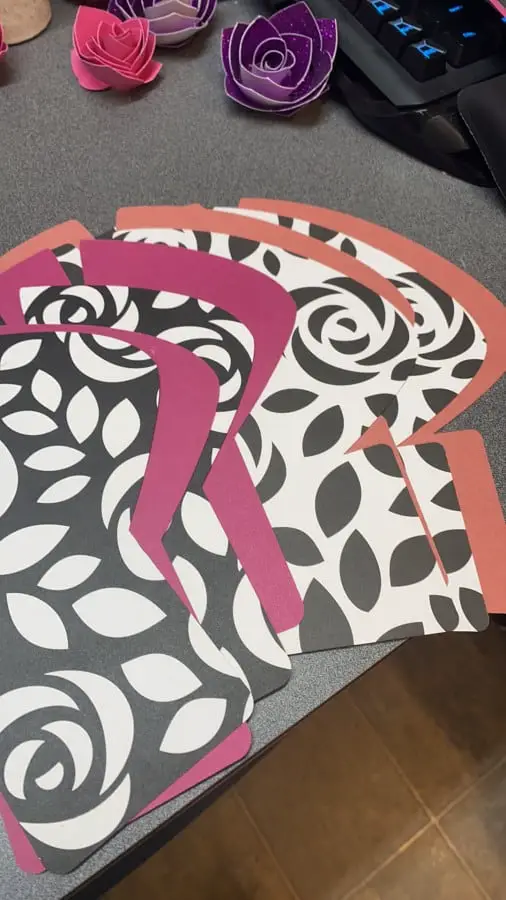
Now for the Giant Paper Flowers
For the giant paper flowers you will follow steps one through three the same as you did for the rolled flowers. Design, you can find the giant paper rose project here from Design Space or choose another one from Design Bundles. Then you will select your materials and let the Cricut cut the flower parts for you.
Step Four – Glue
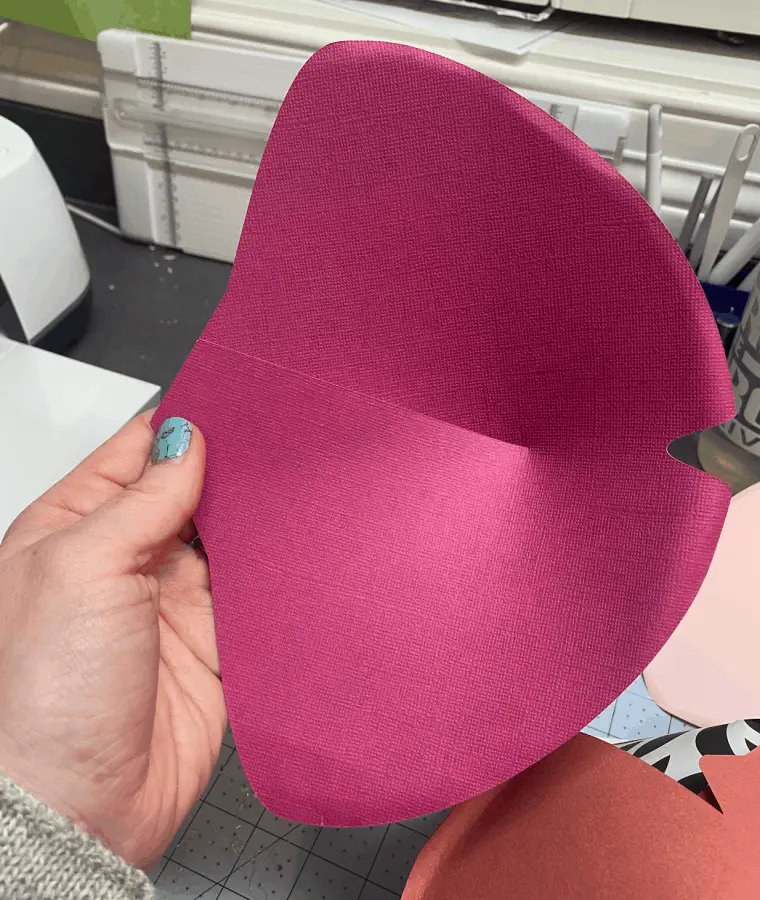
Before you start gluing you want to make sure you have sorted your petals. TO glue them you will start with the first piece that has two ends to it. You will fold the sides where the scoring tool pressed then connect to each other with a dab of hot glue. Continue with the second one of the same shape but this one has scoring on the edges of the petals too.
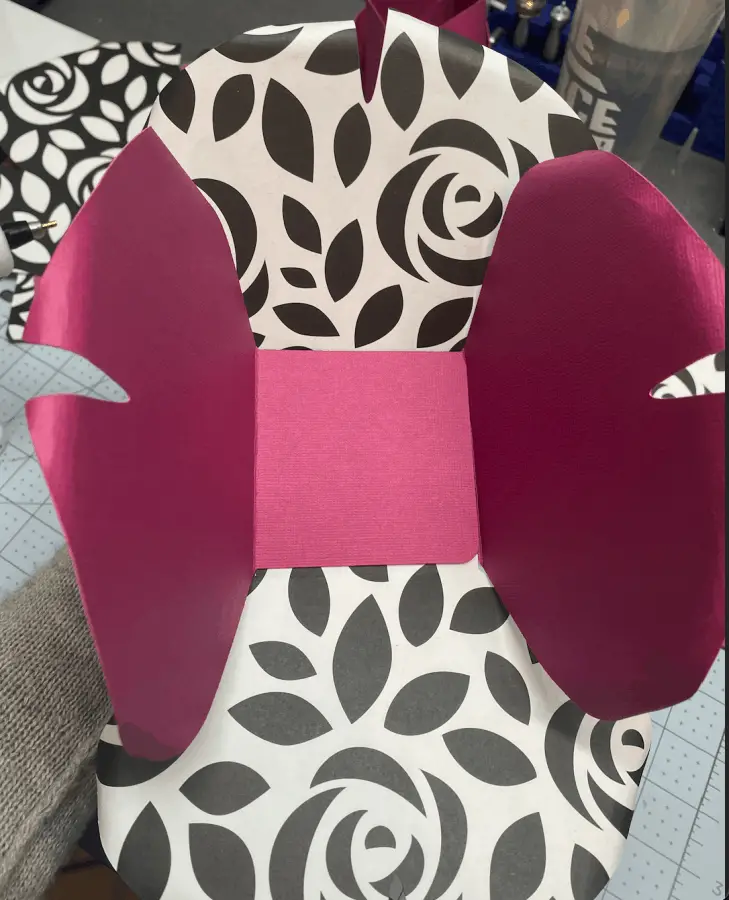
Instead of rolling these you will need to glue them petal by petal, this is where it can get super tricky because no one tells you what order to glue them in. You can see the steps to glue them in below.
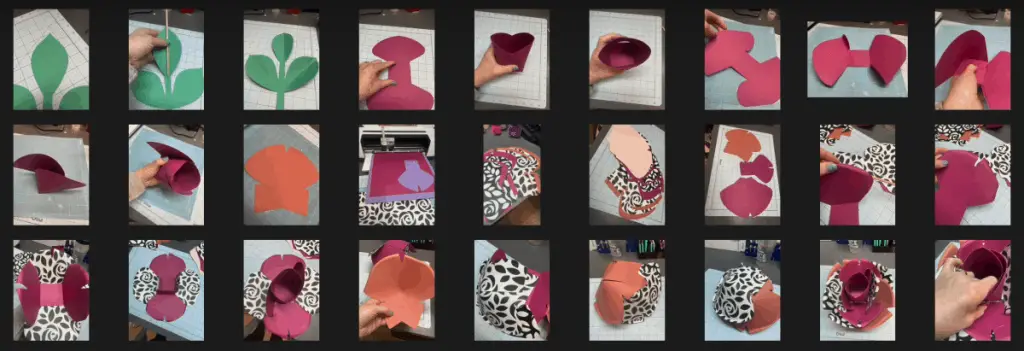
Then you will glue the two centers together, align the bottom squares together and use a lot of hot glue. I added some clear tape as well. You can see that you follow the same pattern in the next few steps. Gluing one petal at a time in a flow.
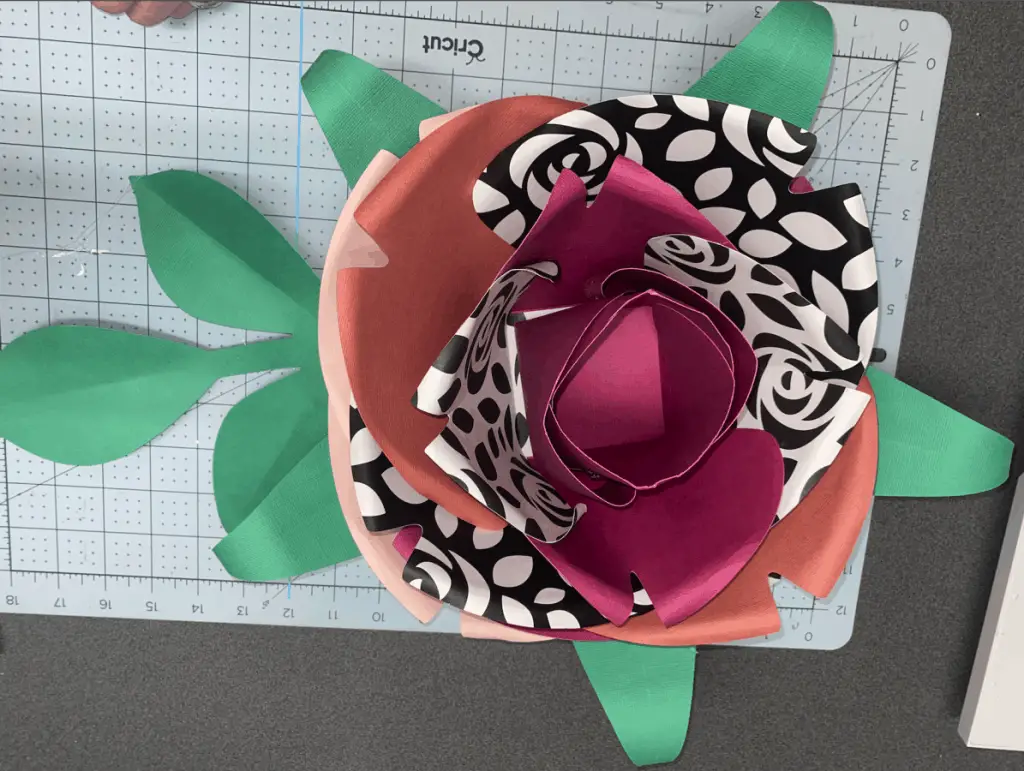
Step Five – Shape
Now you are ready to shape your petals! Take a dowel rod, pencil or some other rounded shaped item and just start to curl the edges to your liking. There is no right or wrong way to this, just use your best judgement and play with it. See below how I did it.
If you are a more visual learner and would like to see this process in a video format check it out over here on my YouTube channel.
These instructions are for basic paper flowers, there are a ton of flower designs out there and they all follow a very similar instruction but use different materials. You can do so many fun and unique things with these, so just get started and keep crafting!
Be sure to check out some other nifty functional craft ideas through our other posts here on Craft-ILY as well as checking out some videos on DIY and How To’s over on YouTube. Look for “Crafting Unedited” or just click the name in blue to see!