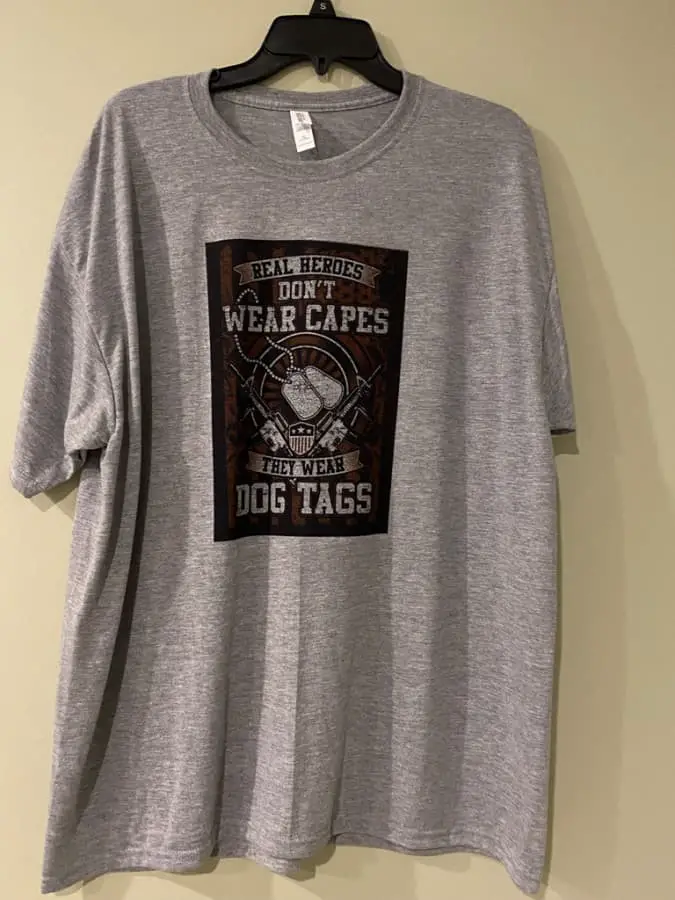
Have you recently gotten into sublimation and are trying to motivate yourself to take the plunge and get started? Well starting with something super simple is your best bet, something as simple (and useful) as a shirt is a good starting point.
You have probably watched several YouTube videos, maybe even some of mine, as well as read some other articles before finding mine. This guide is where you will learn the exact steps to take in order to successfully sublimate your first shirt.
I will also teach you what to look out for, how to avoid mistakes as well as how to correct those mistakes. This way you learn the whole process and know what to do to correct a mistake before you even get started!
Before you even start with the how you should always prepare with the what. As in what supplies you will need to sublimate a shirt. Here is a general list of the products and supplies you will need in order to sublimate.
What’s needed to do sublimation?
Before you get too into the tips side of things, you will probably want to take a quick review on what you need to get started. You can check out my post on full details here –
Here is a quick list if you don’t want a whole review:
As far as general supplies that is really all you need, I have linked them to my favorite vendors and products to make it easier for you to find what is needed. I know how stressful finding the right supplies can be! You will also need a lint roller, heat resistant tape and butcher paper as well.
How do we get started?
Now that you know that “what” you can move on to the “how”. From my experience most crafters are terrified to actually start sublimating things, it seems like it is much more complicated than it really is.
Heat Press Setting
The first thing you will need to do is prep your heat press by heating it to 385 degrees and setting it for 60 seconds. This is the setting that I have used for all of my sublimation shirts UNLESS they are a triblend, then I drop the temp to 380 and time to 50 seconds to prevent scorching the shirt.
Adjust your press so that it is set at a light to medium pressure, this will also help avoid any lines from the transfer paper.
Design
Next, you will need to create a design or use one from DesignBundles.net or wherever you get your images from (see bottom of page for recommendations) and print it using a sublimation printer and sublimation ink. If you don’t have those items yet you will need them. Check out my article Getting Started with Sublimation – Beginner Edition to learn about the products I recommend for the printer and paper.
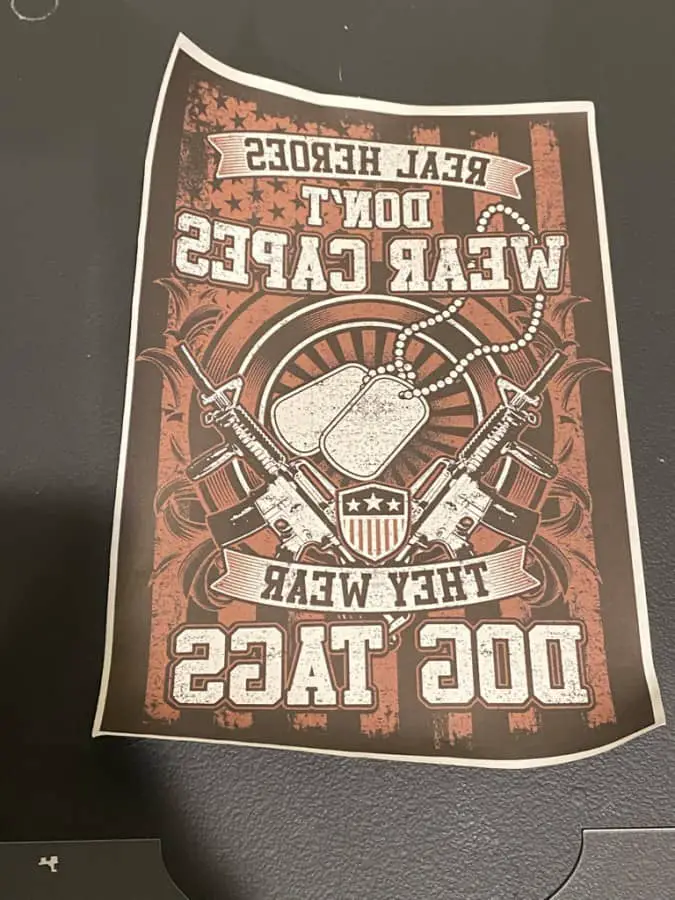
After you have designed or selected your design you will print it out and do a “rough cut”, basically just cut around the general area of the design, no need for perfection here. I do this to prevent the paper from leaving an outline on my shirt when I press. It is not an absolute must do but I highly recommend it. This also limits any extra spots your printer may have left on the paper that don’t show until after you have pressed.
You also want to make sure you print the design as “mirrored or reverse” and also select “photo matte paper” for the best print quality.
Prepping the Shirt
Now you will need to prep your shirt, the first step in this process is to use a lint roller over the area you will be sublimating onto. Then you will place it onto the heat press and pre-press it for about 10 seconds to remove any moisture.
After you have done the pre-press let the shirt cool and place a sheet of butcher paper on the inside of the shirt. This will prevent any of the transfer from bleeding onto the back side of the shirt. DO NOT skip this step, trust me.
Placing the Transfer
Now that your shirt is prepped and ready to go you are now ready to place your transfer. I use the shirt rulers from Heat Transfer Warehouse to get the best placement.
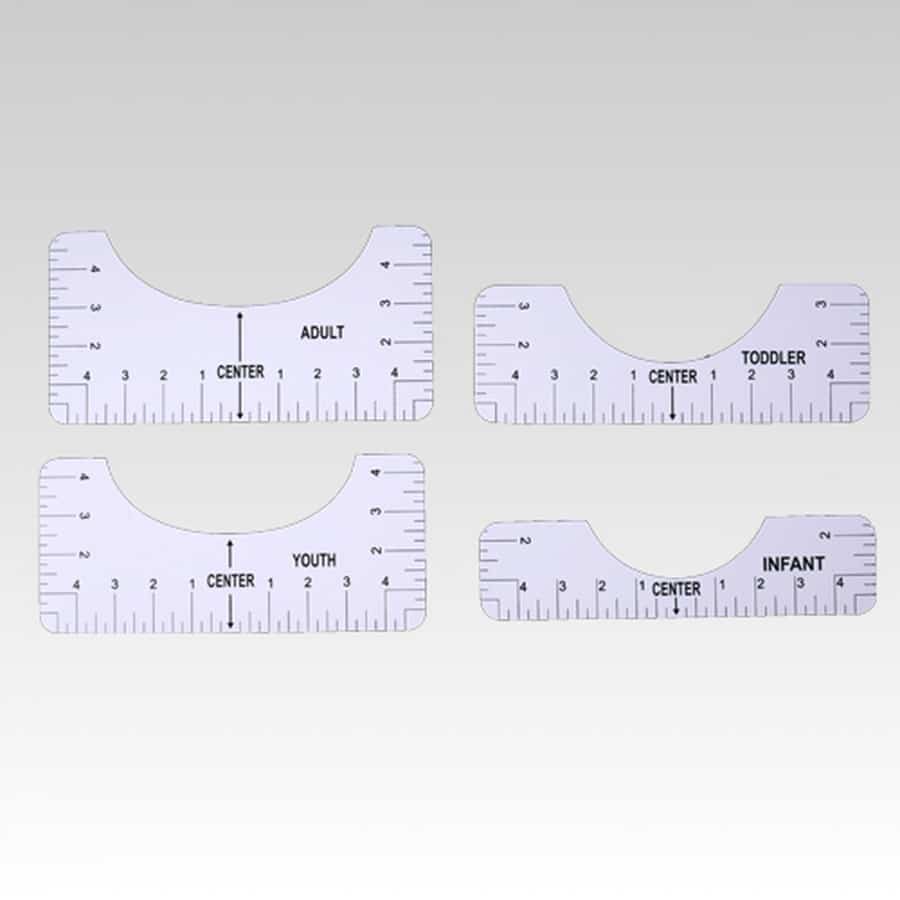
I place the top of the “center” arrow at the bottom of my collar seam and align it so that the inside corners are touching the edges of the collar seam as well. This typically gives me a spot on centered place marker. Then I take my transfer, fold it in half but just enough to create a small crease at the top and place it ink side down on to the shirt based on the guide.
I will usually place my transfers between 3″-4″ from the bottom of the collar depending on the shirt size, the bigger the shirt the further from the seam I go but never more than 5″ (for 4x+ shirts).
Time to Press
You have your shirt and transfer prepped and ready to go and now it is time to press. Before you push the platten down make sure of the following:
- Area under your transfer is free of lint or other debris
- Shirt is not wrinkled or folded on press
- Transfer is ink side down and mirrored (double check this, otherwise it will be backwards)
- Butcher sheet is inside the shirt
- You have a second piece of butcher paper on top or ready to place on top of your transfer that covers the entire transfer area
- Press is set to 385 degrees for 60 seconds
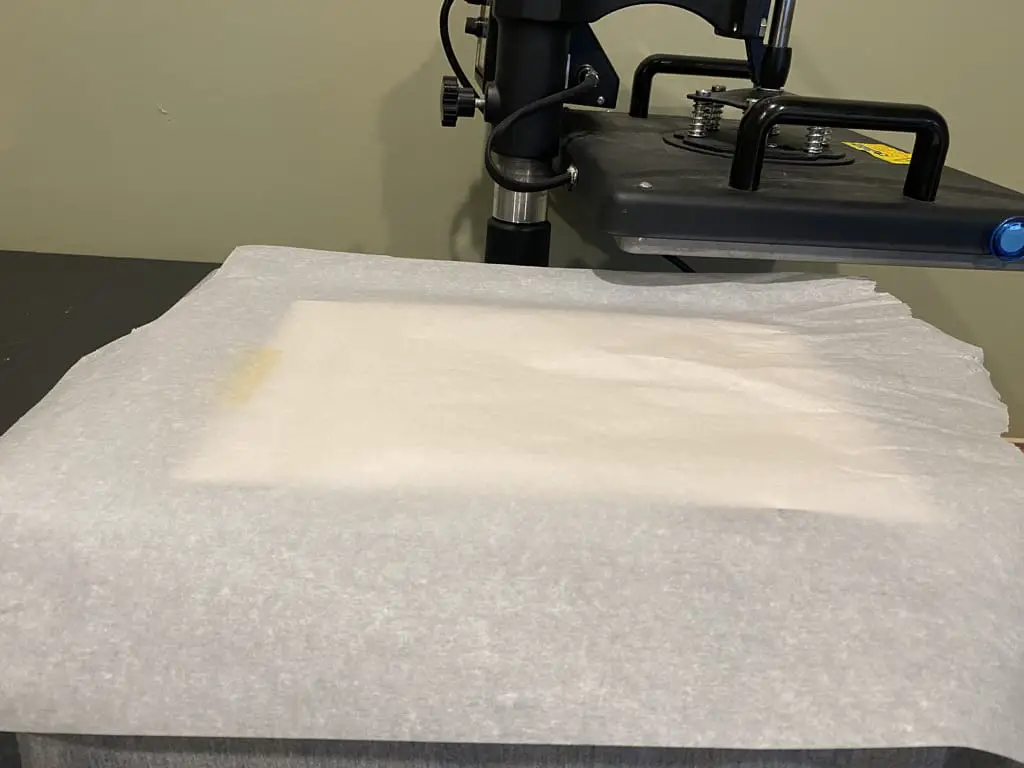
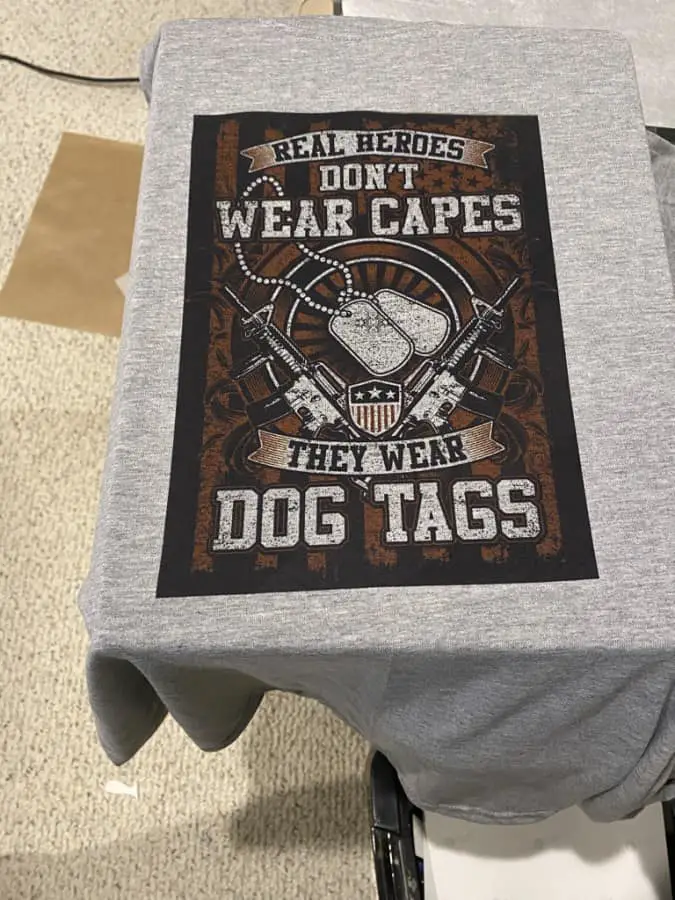
Once you have checked all of those place a sheet of butcher paper on top of your transfer, again making sure it covers the transfer entirely, and press your platten down onto your shirt with light to medium pressure. Then wait for the timer to go off.
Once the timer is done gently lift the press from the shirt and remove the butcher sheet from the top and immediately remove the transfer from your shirt. If you wait for it to cool it could cause ghosting or shadowing. When you remove the transfer do so very carefully.
When the shirt and press pad under the shirt are still hot the transfer can continue to gas onto the shirt, so when you remove the transfer try to do it in one swift movement and try not to let it drop onto the shirt after it has been lifted.
After you have removed your transfer you can lift the shirt off the press and remove the butcher paper from the inside. I then hang it for a few hours to let it cool and to prevent it from processing more. After a few hours hanging then you can fold it and it will be ready for you or your customer to wear.
NOTE – do not wash your shirt for at least 24 hours after subbing, if you do you run the risk of it fading.
Finished
You have now learned the entire process from start to finish on how to sublimate a shirt, you can follow these same steps to sublimate on sweaters too! If you want to learn more about the sublimation process here are a few additional posts I have done on sublimation.