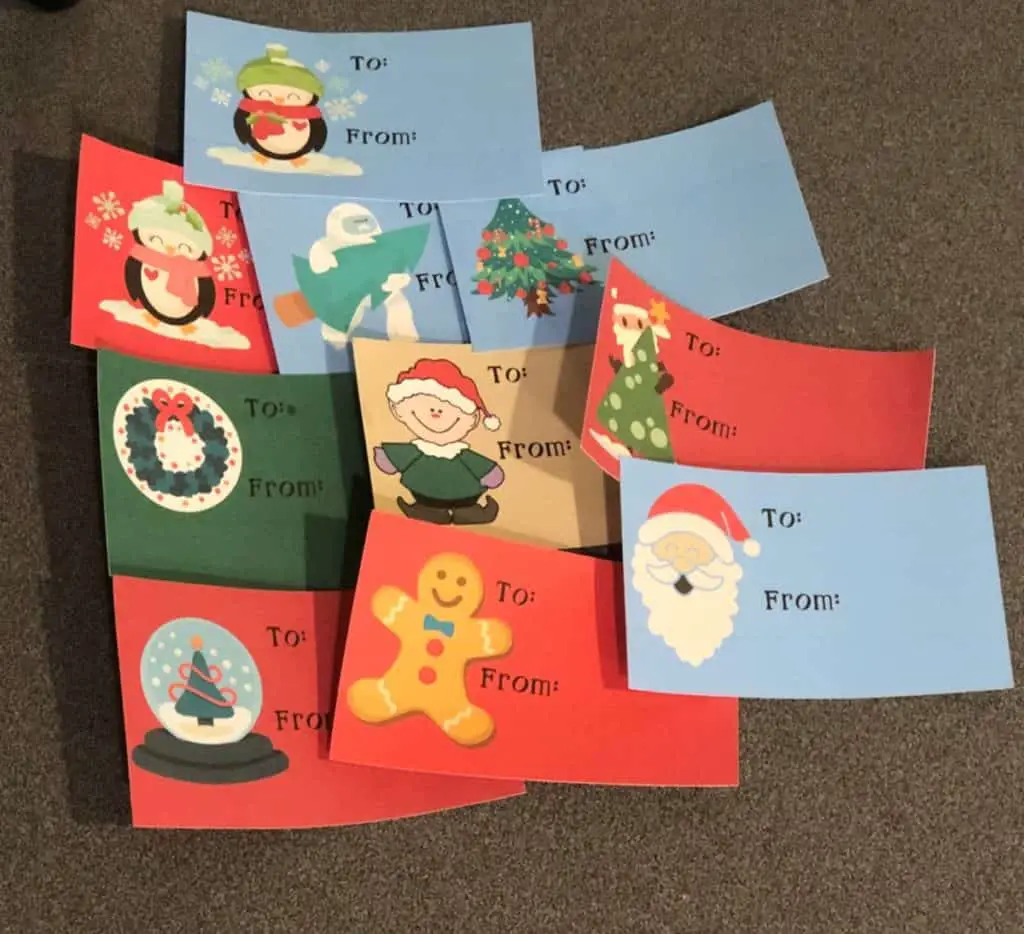
Everyone loves them, well I know I do and lots of people I know do so that must mean everyone does right? Well even if you don’t I am sure someone you know does and if you have a Cricut Explore Air or Maker you my friend are in luck, because now you don’t have to buy them AND you can customize them to be whatever your (or your customers) heart desires! Yes we all know that Cricut machines cut vinyl and vinyl is basically a sticker but what I am talking about here is printing them to be whatever you want and having the Cricut do the handy work for you. I will use the gift stickers I designed as an example for you and also give you a free design to enjoy!
Let’s get started!
Supplies
You are probably thinking that you will need some sort of crazy abundance of tools and a new blade and it is going to cost you a ton of money…NOPE. None of that actually! The only thing you will need to really purchase is some sticker paper and I will share which ones I like and use with you. Items that you will need include:
- Cricut Machine – Explore Air or Maker either will work, or if you have another cutter it will work as well, I just don’t have the steps for you 🙂
- Cricut Mats
- Scraping tool or Spatula tool
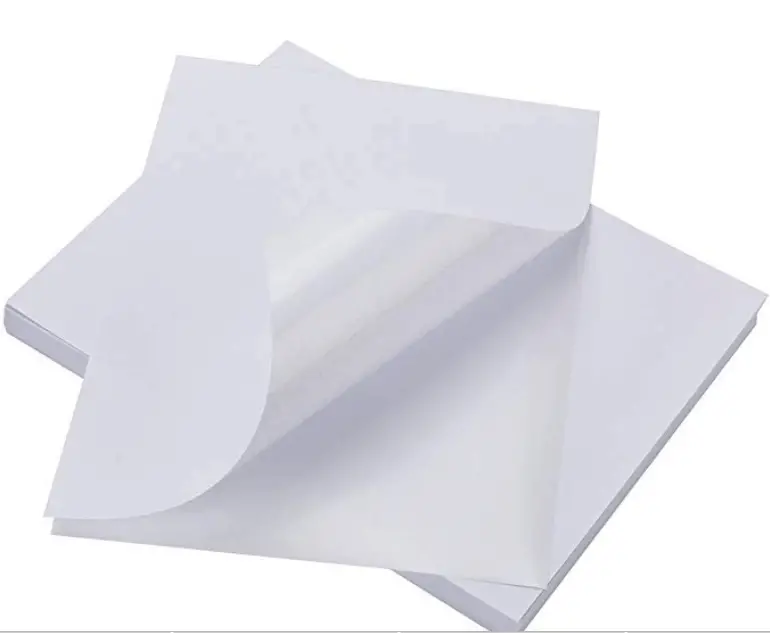
- Sticker Paper – I use this from Amazon, it’s matte and there is no slits in the backing, I will share why this is a great thing later.
- Printer – we have an all in one but whatever you have will do!
- Design – you can use mine or one of your own choosing
That’s it!
Where to purchase sticker paper and what types
I can tell you from personal experience that there are entirely TOO many styles, brands and suppliers of this stuff. Some of which are great and some that are the absolute worst, like didnt even stick to the backing worst. Lesson learned, if you buy from Amazon (this type of stuff at least) make sure it is from Amazon or read through a variety of reviews. Reviews on Amazon are super helpful, even when they are paid reviews. Because the people that they pay to give them a review are not required to write a five star review AND you can read that the review is paid for. Anywho, back to the subject, where to get sticker paper and what kind to get.
Well the reality of it is you can get it almost anywhere, just look for full sheet shipping labels or sticker paper and I am sure you will find some. I however like to get mine from Amazon. I like the amounts they offer, the convenience of ordering online and it being delivered within a day or two but for those last minute projects that you just so happened to run out of paper for any local department store or craft store will carry it. My choice is definitely always Amazon, unless I am in a pinch, then I will go to a local craft store.
As far as what kind of sticker paper you should get that really depends on what you are wanting to do with it, as with many other things. I personally prefer the matte style over the glossy paper, I have had much more success with the matte than I have with any of the glossy paper, for some reason my printer just hates it. Yes, I realize it might just be my printer but I don’t want to replace that just so that I can print shiny stickers. Matte paper is less expensive and easier to find than glossy or clear sticker paper. My favorite ones are stickers you can color, coloring is so fun and such a great stress reducer! So the type that I use is actually a full sheet shipping label. It’s from amazon and you can find it here. Very inexpensive, works great and the quantity is awesome! Cricut sells a version of sticker paper but it is quite expensive for me. You can also use brands like Avery, ULINE and Silhouette as well but again the price for the quantity won’t match what I use.
Now that we have covered the types of sticker paper and where to get it let’s move on to how shall we?
Steps
I am going to try to explain this as easily as I possibly can, it’s pretty easy to show you how to do it but I am kind of terrible at writing these things out. So bear with me.
First you will want to make sure you have all your supplies ready to go, also you will want to make sure your printer has ink…yep another lesson learned the hard way here. The second thing you want to make sure of is that you have the latest version of Cricut Design Space, during the project I will share with you momentarily Design Space decided it wasn’t going to work any longer…well not properly anyway. This was a MAJOR inconvenience, mainly because I was in the middle of filming this how to video and the darn thing just wouldn’t cooperate with me. So I gave it three chances on camera and had to do a “to be continued” video to finish the project. I had to completely uninstall the plugin and reinstall, THEN it tells me it needed to update. Super frustrating!! Cricut doesn’t give you a heads up, it just stops working, that’s your “update is needed” sign! Anyway – end of rant, my bad! So you have ink and design space is updated right? Okay then let’s proceed.
The very first step is to put your sticker paper in the printer, for my printer it goes face down. Different printers may go face up, the easiest way to figure it out is to write face down on a sheet of paper and run a “test” print if it prints on the same side as your writing then you know its face down, if it prints on the opposite then you know it’s face up.
Next – the design! You can you the design I created that is at the end of the post or your own design. I only know the steps to take using Cricut’s Design Space so that is what these instructions are for. If you are using my design you will need to download the file and upload it to Design Space. Once you have the file in your Design Space it is ready to go, you shouldn’t need to do anything special with it. If you are using your own design just be sure you have “flattened” the design. This is how your Maker knows to only cut the edges and not the entire design. Once you have verified this step is complete, you are ready to start the next step.
Now you will click on the “make it” button.
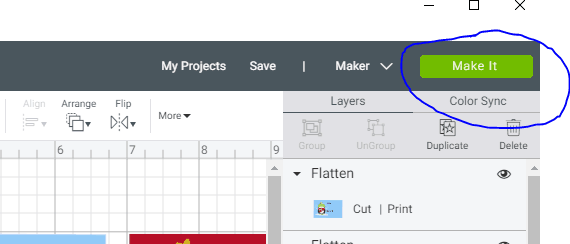
Your screen should look like this:
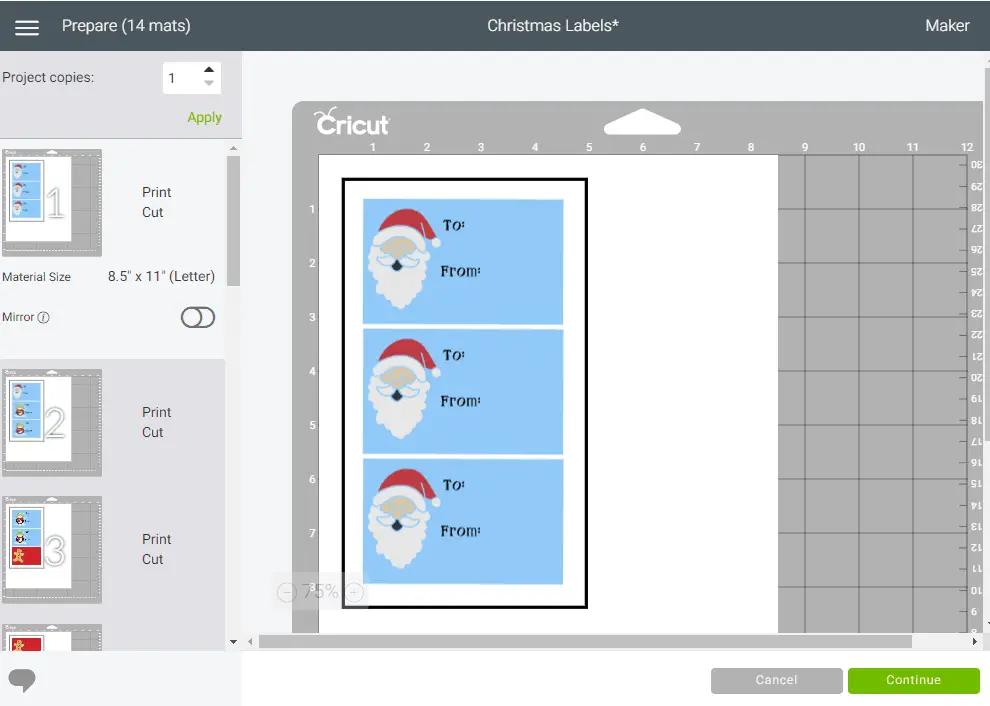
Once you have gotten to this screen you will see the black outline around your design, this is normal and is actually the guidelines for the machine to know where your paper is.
Let’s print! Now you will want to double check and make sure you have loaded your sticker paper correctly and you have ink, then you are ready to print! From Design Space it should look like this:
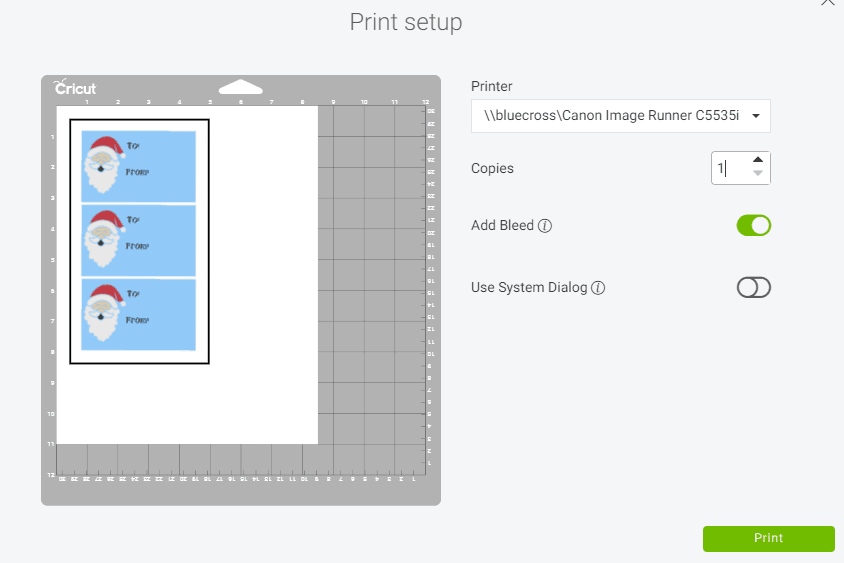
I like to have my image use the “bleed” function, this makes it so that there is less white are around the image and it cuts to the edges. Select your printer and hit “send to printer” and wait for the design to print.
After you have printed you will be ready to cut! Lay the sticker paper on your Cricut mat, making sure to align it as close as you can. Then select “continue” and load your mat by pressing the arrows button on your Cricut once it’s loaded you can go ahead and press the Cricut “c” and the machine does the rest. Now as far as how many of these bad boys you want to do you can just repeat the same process over and over again.
If you don’t want to print and cut one at a time you can print all mats then just select “I’ve already printed” and load your mat. I find this way more beneficial for me but mainly due to the printer being in another room. One trip is enough!
As you finish cutting you will pull off the excess sticker paper and be left with your stickers stuck to the mat. This is where the spatula tool comes in handy, and I mean it really comes in handy! I have ruined many mats and stickers by thinking I didn’t need a spatula tool (like those are ONLY used in the kitchen, right?). Using the spatula tool graze under one corner of the sticker while making sure you get under BOTH the backing and the sticker. After you’ve done it a couple times you will be a pro!
That’s all there is to it! Easy, fun and you can get really creative with them! I will be writing again soon on how to design something like these for y’all. So keep an eye out!
Freebie
Now earlier, like way earlier in the post I mentioned you would have access to my design and I never break a promise. Also as stated earlier in the post this is only able to be used in Cricut Design Space, it will not work outside of that as that’s where I created the tags.