Sublimation is one of the best and most popular product decorating methods available. It is used by hobbyists as well as big sellers.
Given that it is also one of the easiest ways to decorate products sublimation also involves lots of possibilities for mistakes. In this article you will learn the most common sublimation mistakes and how to avoid them. Some of the most common sublimation mistakes are:
- Ghosting
- Bleeding
- Faded or light transfers
- Scorching
- Wrong color profiles
These mistakes are very common and luckily they are easy to fix!
What is the Sublimation Process?
Before we jump into common sublimation mistakes, it’s crucial to clarify what sublimation is and how it works.
Sublimation is the process of transferring a colored image or design onto a light-colored fabric. It’s commonly used to create custom t-shirts, tote bags, and other fabric items.
To start, a creator designs and prints an image onto heat transfer sublimation paper. They then position this design onto the fabric they’re hoping to alter.
After that, they place the fabric and sublimation paper into a heat press machine, covering the image with butcher paper. This device clamps onto materials and generates massive amounts of heat ranging between about 350℉ and 450℉ (176°C and 232°C).
The heat press machine transforms the ink on the sublimation paper into a gas. When this happens, the gaseous ink doesn’t drift into the air but instead sinks into the fabric beneath it, forming a permanent bond between the material’s fibers and the ink.
Now that you know how it works, we can learn the common sublimation mistakes and how to avoid them.
Ghosting
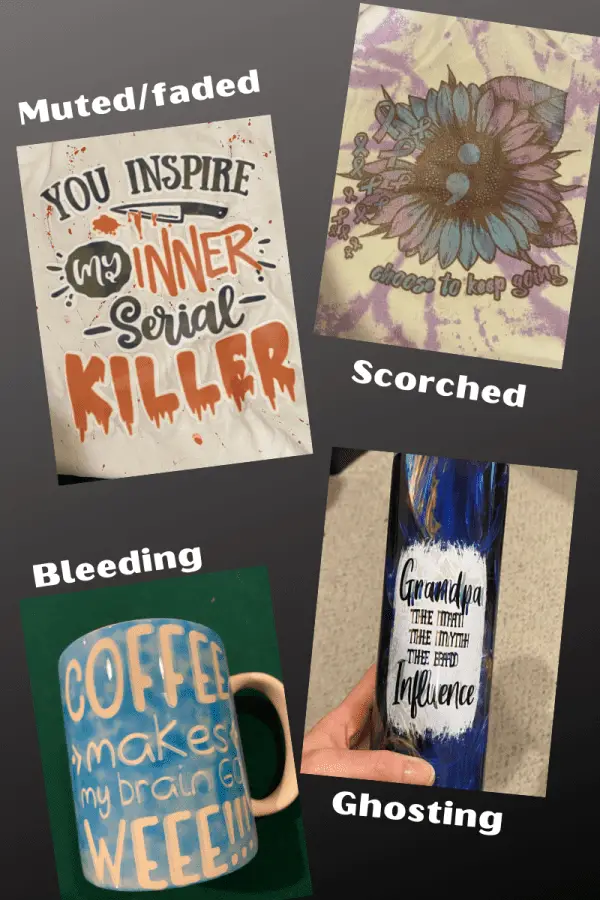
Ghosting looks like your transfer has a shadow or a second image after it has been pressed. This is the most common of all sublimation mistakes I have seen. Ghosting happens when the sublimation paper moves or shifts while it is on the substrate. This is the main reason why learning how the process of sublimation works is so important.
The gassing of the sublimation ink is activated by heat, so if the sublimation paper moves while it is under the heat it will continue to gas and transfer onto the substrate. This creates a “ghost” image.
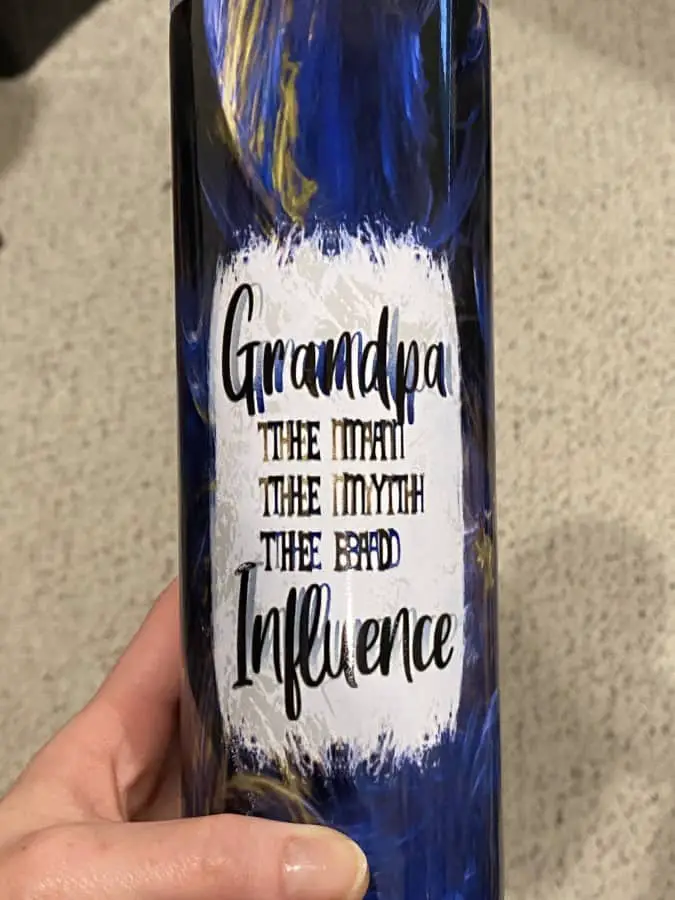
The way to avoid ghosting is by making sure your transfer is secure to the substrate. There are a few ways to do this. You can use heat resistant tape and tape the transfer to your substrate or you can use a light adhesive spray to tack your transfer down. Just be cautious of this method and not use too much spray, also only spray on the substrate, not the transfer. If you spray the transfer it will bleed.
Bleeding
Bleeding is one of the most annoying sublimation mistakes. The main reason it is so annoying is that there is not a lot that can be done about it. You can minimize the amount of occurrences that bleeding happens but there is not a true way to avoid it completely.
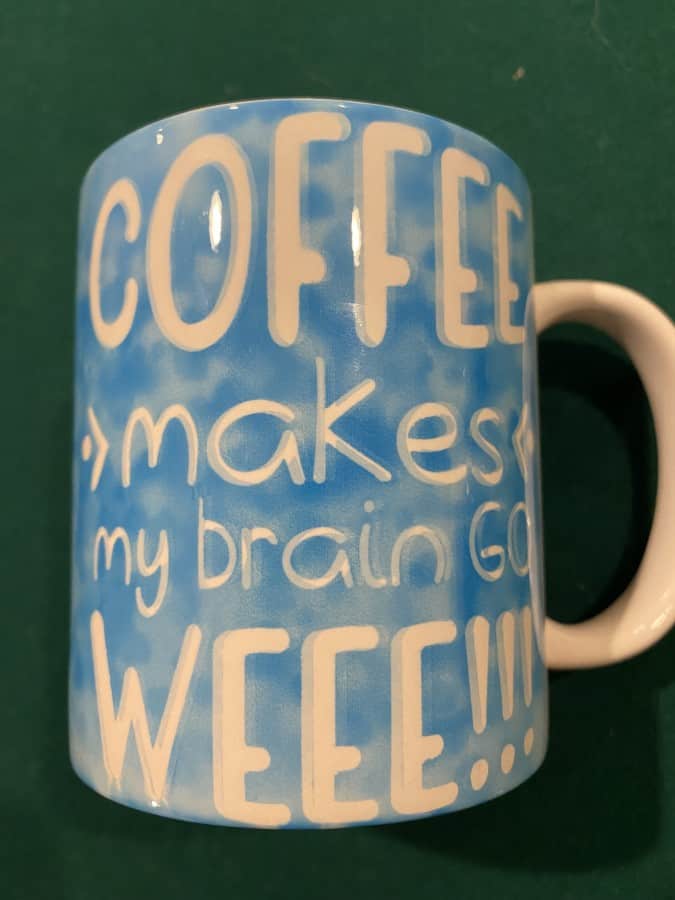
When you sublimate a blank and remove the sublimation paper and the ink looks like it is runny or like something got it wet is what bleeding looks like. This is due to the ink being too thick on your paper or when you have the “bleed” option selected in Cricut Design Space.
The ways to avoid this are by making sure your print settings are set appropriately for your paper settings. For sublimation paper you want to have it set to either photo matte paper other matte paper settings. If you are using Cricut Design Space make sure you deselect the “bleed” function before you print.
Faded or light transfers
Faded or light transfers are exactly as it sounds, it is when the sublimation print goes through the pressing process and when it is completed and you remove the sublimation paper the image is faded looking or lighter than it should be.

When you sublimate the transferred image should be vibrant and detailed. The faded or light image is normally caused due to low heat or a non compatible substrate. Sublimation will only work on a polyester or polyvinyl coated blank. If the blank doesn’t have the coating it will not have that vibrant and bright transfer you want
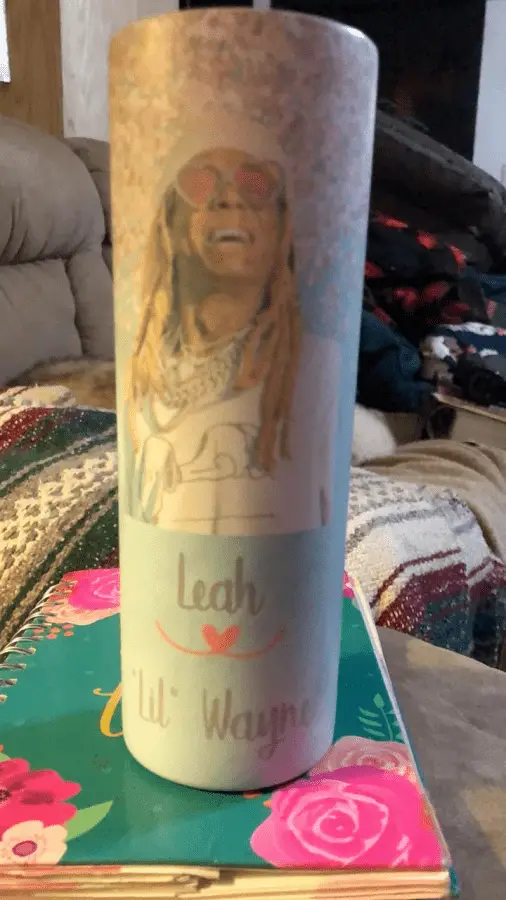
The best way to avoid this common sublimation mistake is to make sure that you are purchasing high quality blanks from reputable vendors. Just because it says it has that coating does not always mean it does.
Scorching
Ah, scorching! Scorching is (in my opinion) the most common mistake in the sublimation industry. When you get scorching you will see yellow or brown marking on the area that the heat press was covering. Scorching happens a lot when creators do the bleaching shirts trend, this is caused by the bleach in the process. You can also have this happen when the heat is too high.
The best way to avoid scorching is to make sure your heat press is at the appropriate temperature for your substrate. Luckily there is a way to help fix this common sublimation mistake if you do end up having scorching on your product.
If you find yourself with scorching on your product take some hydrogen peroxide and put it in a spray bottle and spritz the area with the the peroxide, then hover your heat press over your blank to let it dry. This will remove the scorch marks and you will have a non scorched product.
Wrong color profiles
Not having the right color profiles for your ink can really make for a terrible image. When you are selecting what sublimation ink to chose you need to make sure you have the color profile available for your specific printer. This will really play a big part in the right colors transferring onto the substrate.
The easiest way to avoid this common sublimation mistake is just to make sure you are using the right ink and color profile for your ink and printer. If the right color profile is not available from the vendor you can typically find it online.
Final thoughts
Sublimation is a quick and amazing way to decorate a substrate. Mistakes are bound to happen, that is just part of the process. Learning how avoid and to fix these common sublimation mistakes are your way to a less stressful and more enjoyable hobby or career!
Be sure to check out some other nifty functional craft ideas through our other posts here on Craft-ILY as well as checking out some videos on DIY and How To’s over on YouTube. Look for “Crafting Unedited” or just click the name in blue to see!

I am using an Epson eco tank with Epson dye-sub ink. When I try to transfer the print to a light-colored polyester shirt it comes out very pale. What Can I do?
Hello, I haven’t used the Epson dye sub ink yet, you can try a couple of things. Change the print settings to presentation paper, press at a higher temp or for a longer period. Those should make it more vibrant.
Just wondering if you may know something about sublimating on hypafix medical tape. It’s working great, but, as I’ve been wearing some of them on my NJ feeding tube, the Color’s are showing up on the tube. I’ve ordered many designs and different colors and sometimes this happens…but I feel like maybe there’s something I could be doing differently to avoid this happening? It’s a poly blend woven fabric. Maybe it’s too high of a temp or too long? I can’t for the life of me find any tutorials on this type of fabric. Thanks in advance for anyone’s advice!
I havent tried this type of material BUT I have subbed on woven polyester before. If the colors are bleeding through to the tube chances are the material isn’t holding the ink. How long do you wait to put the tape on and how long does it take for it to start bleeding?