Sublimation has become one of the most popular substrate decorating processes available to crafters worldwide. It is an inexpensive and simple(ish) process. Some question before even getting into it what the process entails exactly. Knowing the process of something before you fully commit is really important and will help you become a more successful creator.

The sublimation process in short is the process of dying ink into a blank substrate that has been coated or blended with a polyester material. You use a special printer to print your high resolution images with a special ink and paper, then you press them at a high temperature (385 degree or higher) for between 45 seconds and up to 4 minutes.
There is quite a bit more to the process however and that is what I wanted to go into detail with you on. This article will cover the entire process of sublimation from the prep work all the way up to the final product reveal.
What’s Needed
Before you even get started with sublimation you want to make sure you are prepared and have all of the right tools, materials and software you need. Here is a list (with links) for what you need, I trust all of these products as they are ones I have used in the past.
Tools/Machines:
The main components you will need are:
- Computer with design software, Cricut Design Space, Silhouette Studio, Procreate, Word are just a few.
- Sublimation printer – Sawgrass and Epson are my top choices
- Heat press – WalaPress 8 in 1 is recommended, this way you are not limited to what substrates you can make.
Materials
The basic materials you will need are:
- Sublimation ink – if you have a Sawgrass you need their ink specifically, if you have an Epson get HTVRont sublimation ink
- Sublimation paper – Walacut is highly recommended
- Heat resistant tape
- Sublimation ready blanks
- Butcher paper
Additional good to have items
- Lint roller
- T-shirt ruler or regular ruler
- Scissors
Once you have all of the materials, tools and supplies you need you are ready to begin learning how the sublimation process is done.
First
The first part of the process is to either design or create your image. You will want to make sure the image is high resolution or you run the risk of the colors not matching and more so that the image can print out blurry, have ghost spots (spots you do not see until you press or sometimes watermarks (if you got the image off of a dump group, which I don’t recommend).
You can check out this post on Best Sites for Cricut Designs and SVG’s for ideas on where to get images if you can not create your own. There is nothing wrong with using someone else’s designs, just give them credit for their work.
Second
After you have a design you will need to print it, this is the second step to the sublimation process. You will want to make sure you follow the print settings that came with your sublimation printer. If you converted a printer the settings can be pretty tricky. You can check out this post for more details on converting a printer to sublimation.
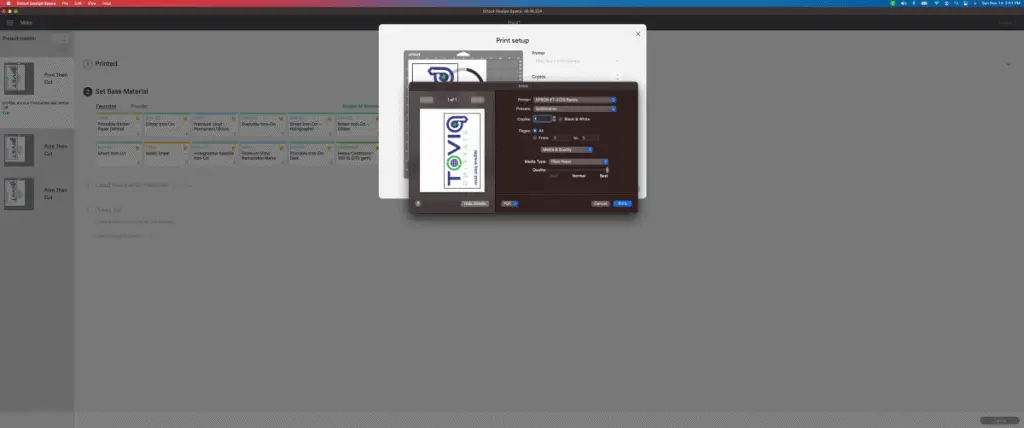
These are the print settings I use:
- Mirrored image (reverse layout)
- BEST quality
- Matte gloss print
I do have these settings saved to my print dialogue so that I don’t have to redo them every time, this is what it looks like:

Keep in mind that every printer is different and though these settings work for great for the Epson Eco Tank 2720, they may not work for yours. Always refer back to the set up manual and have the right drivers installed on your computer.
After you have your print settings configured you will be ready to print, be sure you are using sublimation ink and paper. These two products are very important in the process. Regular printer ink will not transfer and regular copy paper will bleed through. Allow about 10-15 minutes or more for your image to dry.
Third
Now that you have printed your image and it has had some time to dry you are ready for step three, the press. Before you start pressing your substrate there are steps to this part itself.
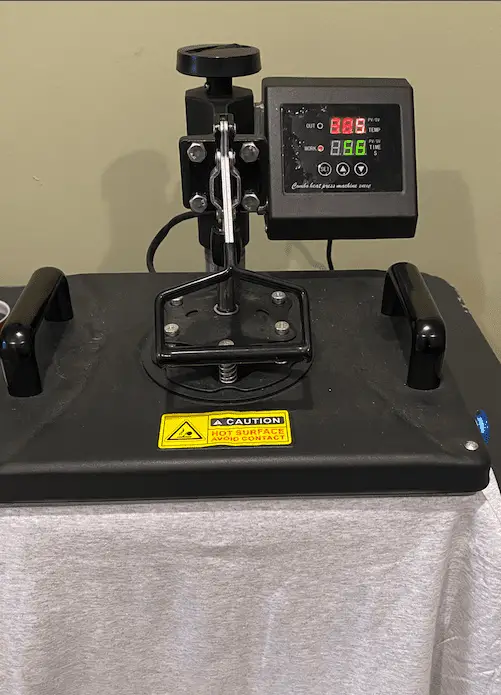
First you will need to preheat the heat press (if you are sublimating a garment like a shirt you will need to preheat that as well by doing a shirt 5 second press before you put your image on it).The press needs to be at a temperature of at least 385 degrees for it to get the ink to transfer onto the substrate.
While your press is preheating you will need to prepare your substrate, this step is different for the various products you can sublimate onto. The generic prep is to lint roll or remove any debris with a bit of rubbing alcohol, if sublimating a shirt or other garment with an inside place a sheet of butcher paper inside the product then you will need to preheat the product.

Preheating removes any moisture from the substrate and gives a really even surface for your image to be pressed onto. It is an essential step and only takes up a couple of seconds, so no skipping!
Once you have you substrate prepped and your heat press to temperature then you are ready to press. Simply place your printed design on the area you want face down, tape the edges of the paper to the substrate to keep it in place, place a sheet of butcher paper on top of the sublimation paper to create a barrier between the paper and the press, this avoids the ink from bleeding onto your press.
Then press your platen down with medium pressure and set your timer for 60 seconds or whatever time the manufacturer of the substrate recommends. After the timer goes off you will then lift the platen and remove the butcher paper and the taped image from the substrate. Then remove it from the heat and let it cool.
Final
After you have pressed and your substrate has cooled you are ready to reveal it to the world! Typically you will need to allow it to “dry” for 12-24 hours before shipping it off to its final destination or washing it. Remember to check the manufacturers website on the specifics of the substrate you are using.

Ending Thoughts
Now that you know how the process of sublimation works you can get started in your new crafting journey. Sublimation is such an easy way of creating one of a kind designs and putting them on various items to help you or your customers express themselves, gift to family or friends and much more.
Be sure to check out some other nifty functional craft ideas through our other posts here on Craft-ILY as well as checking out some videos on DIY and How To’s over on YouTube. Look for “Crafting Unedited” or just click the name in blue to see!
