Having a heat press is a vital machine when it comes to the sublimation industry. Regardless of the material, you are pressing or if you are just doing it for fun and not as a business owner. You need a heat press for any sublimation creating. The question is, what are the settings for all these materials?
When you are using a sublimation heat press, one of the things you need to understand is that there are plenty of different settings that you need to know how to use. That is because different materials require different settings depending on how well such materials can handle the heat and on certain other factors. This is why you need to know the different sublimation heat settings.
What are the different sublimation heat press settings?
When it comes to the graphics printing business, some people think that the art of transferring a design to a material is easy because you only need to follow the manual. But that is far from the truth because you have to know what each heat press setting you should be using depending on the type of material you want to transfer the design on. And the actual design also plays a role here. This is why transferring a design to a shirt using a sublimation heat press is trickier than you think it is.

Swing Press for larger items 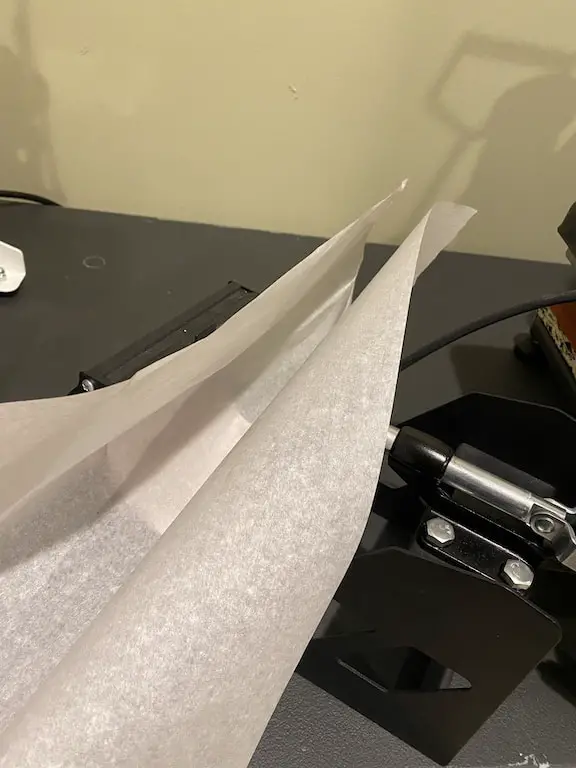
Mug press for mugs 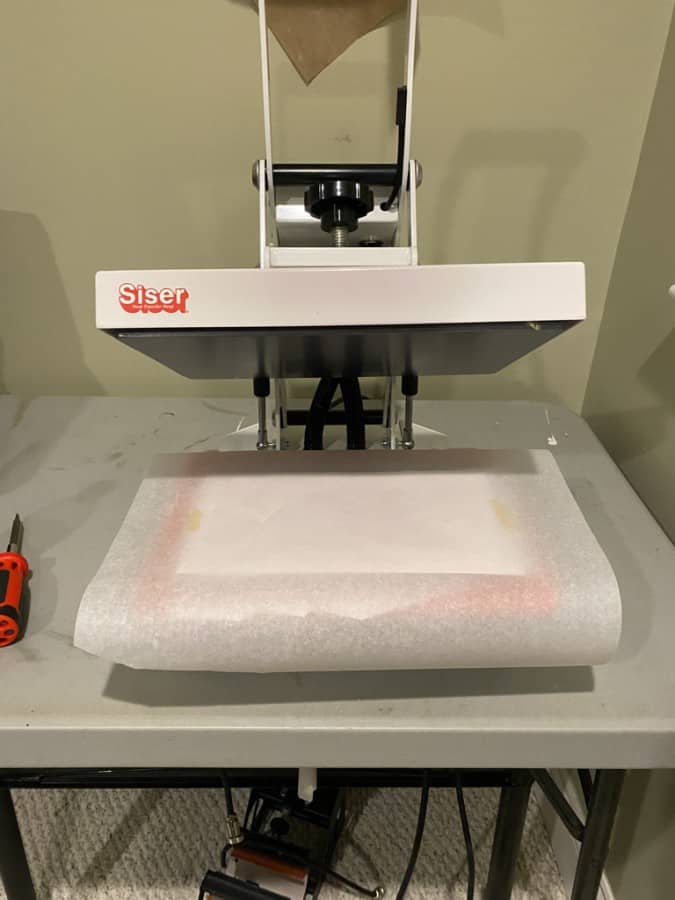
Siser Heat Press for smaller items
Of course, one of the things you need to keep in mind is that the product at the end of the sublimation printing should be in the best condition possible. This can be difficult to achieve if you don’t know how to properly use your sublimation heat press or if you don’t know the right temperature levels that are perfect for certain products.
This is where knowing the right kind of material to use depending on the settings comes in because you need to make sure that the material and the heat settings are right for one another.
The actual heat transfer using a sublimation heat press setting should get the right temperature if you want the transfer to be vibrant and clear. You also need to know the right pressure to apply based on the temperature you are using because this can also depend on the material.
Of course, knowing when to peel out the paper after using the heat press makes a huge difference in making sure that your design comes out perfect. Press times are different for each material as well.
It might seem a bit too overwhelming to consider all of these factors when you are using your sublimation heat press and when you are choosing the right settings. However, this quick guide that will help make things easier for you so that you no longer have to experiment with the different heat settings you need for the different materials that you use.
1. Multi-purpose
For multi-purpose materials, it is quite easy to set the sublimation heat press settings because these are some of the simplest materials that are available on the market. This is why multi-purpose materials are usually the favorites among graphics printing businesses, as they can be used for plenty of different purposes.
It is best to put the temperature setting at 350 degrees F when you are using a multi-purpose material. Time the heat press at about 10 to 12 seconds. This should already be enough to give you favorable and efficient results.
2. Polyester fabric
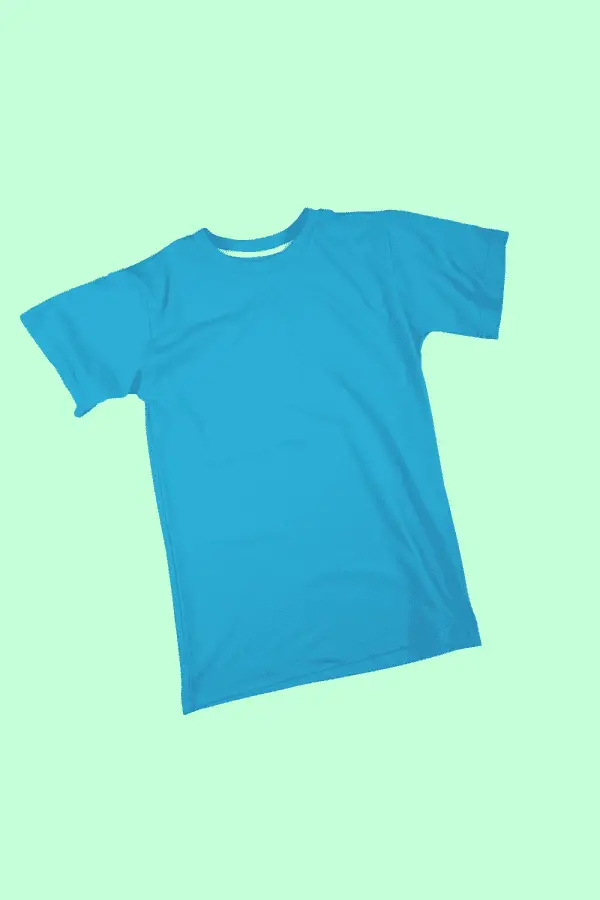
Polyester fabrics are quite common in printing businesses because these are basically what a lot of different shirts are made of. And the most important thing to keep in mind here is that polyester can handle heat well enough but not for extended periods of time.
So, when you are using polyester fabric, it is best to keep the temperature at around 400 degrees. But make sure that you only leave it for about 35 to 40 seconds and apply a pressure of about 40 psi (light to medium pressure). It is also best that you press the shirt beforehand to keep the moisture level down.
3. Ceramic mugs
Mugs are also some of the most popular materials used for printing businesses because plenty of customers want to have customized designs on their mugs. But the time that ceramic mugs need can vary depending on the type of sublimation heat press that you have.

Still, you can keep the temperatures at around 385 to 400 degrees. Meanwhile, make sure that you press the design on the ceramic mug for about 150 to 210 seconds, depending on the machine that you have and the mug you are pressing, some require less time than others.
Peel the paper off the mug as soon as possible while the mug is still hot. But make sure that you cool the mug on a cooling plate as soon as possible. If you don’t have a cooling plate, use a bucket of warm water. You can also allow the mug to cool at room temperature for about 30 minutes.
4. Performance apparel
Performance apparels are materials that are for athletic purposes. This means that they are different from simple polyester fabric because of the fact that they wick away moisture better and are great at keeping any athlete cool and fresh.
If you are using a material type that is for any kind of performance apparel, keep the temperature at 380 to 390 degrees. Apply about 40 psi or medium in terms of pressure. Keep the press on the material for 45 to 55 seconds. Then peel paper immediately after the timer goes off and allow to cool by hanging on a clothes hanger.
5. Mousepads
Mousepads are also in-demand materials for printing companies because some people would want to give personalized mousepads as gifts. While most mousepads are made from polyester or neoprene fabric, you need to keep them on the press for a bit longer than shirts because of how mousepads are thicker.
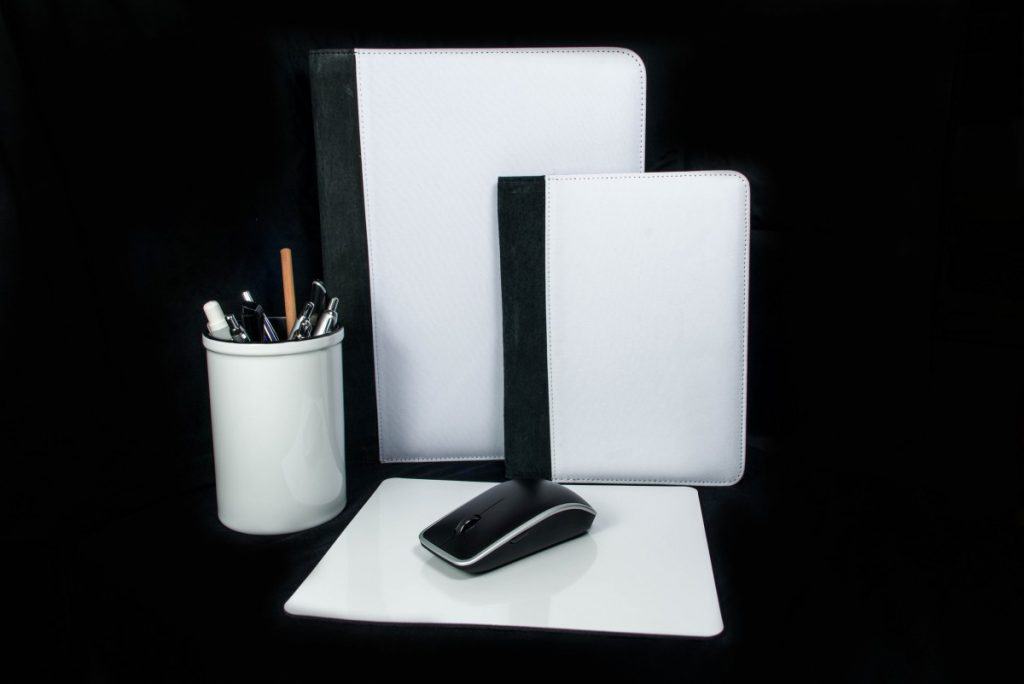
Keep the temperature settings at around 400 degrees when dealing with mousepads. Meanwhile, use a medium pressure on the mousepad. Make sure that you keep the mousepad on the press for about 60 seconds.
6. Unisub products
Unisub is a brand of different products that are often used for sublimation printing and other similar purposes. These products usually require the same kind of sublimation heat press settings regardless of what they are made of.
Most Unisub products should be placed on the sublimation printer for about a minute with a temperature of 400 degrees. Meanwhile, keep the pressure between light and medium. These settings will work for most Unisub products. However, if you are dealing with a larger Unisub product, you should keep it in the press longer.
7. Hardboard
Hardboard is one of the most forgiving materials you can use for your sublimation heat press because of how it can be used in a wider range of settings. However, the larger your hardboard, the longer you need to press it. This includes clipboards and dry erase boards.
Keep the hardboard in the heat press at a temperature of somewhere between 360 and 400. Use medium pressure as and keep the hardboard pressing for somewhere between 40 to 80 seconds.
8. Metal
Metals can be quite tricky when you are using them on your sublimation heat press because the settings depend on the coating of the metal material. Some use softer coatings that need to be used at lower temperatures and lighter pressure. Meanwhile, the ones with a harder coating can be used at higher temperatures and can easily take more pressure.
When using metal, you can keep the temperature range somewhere between 360 and 400. Again, this depends on the coating. Press the metal for 50 to 70 seconds, depending on how large it is. And make sure you use light to medium pressure.
9. Fire-resistant plastic
Fire-resistant plastics require a pretty high temperature setting because of how resistant they are to heat. You also need to make sure that you peel the paper away after removing the material from the heat press.
When using fire-resistant plastics, keep the temperature at about 400 degrees. The pressure should be medium or 40 psi. And keep the material in the heat press for about 40 to 75 seconds, depending on the size of the plastic.
Conclusion
Now that you know the settings for most of the sublimation ready materials you are ready to start creating your own unique products! Generally the heat press settings for sublimation are 400 degrees and 60 seconds but you should always refer to the product manufacturer’s website just in case.
Be sure to check out some other nifty functional craft ideas through our other posts here on Craft-ILY as well as checking out some videos on DIY and How To’s over on YouTube. Look for “Crafting Unedited” or just click the name in blue to see!
HI CIERRA
i am requiring heat press settings for suede and everything else that can be thought of please
The settings are normally on the packaging of materials you get. For suede, if doing sublimation it has to be at least 375-380 for the ink to transfer and that will apply to almost every other material available as well.