Getting started with sublimation is incredibly exciting, yet super stressful. There are so many things that can go right but even more that can go wrong and on top of that there are so many decisions to make.
From how to chose your vendors and suppliers to how to take care and store your supplies there is so much to learn. I have complied a list of some of the most important tips on sublimation for beginners. Before you begin your sublimation journey take a look through this list, it will help you avoid mistakes and wasted money.
What’s needed to do sublimation?
Before you get too into the tips side of things, you will probably want to take a quick review on what you need to get started. You can check out my post on full details here –
Here is a quick list if you don’t want a whole review:
Software
The very first thing you should look into before you start a sublimation business or hobby is the software needed. While you can use literally any device to print from, having a PC or laptop makes the process so much easier. When you buy an image (chances are in the beginning and that is all you will do) the images can come out faded looking. That has nothing to do with the person that created it or the image itself. It is probably just the settings on your software or printer.
For my sublimation printing I use the epson app or on my MacBook I use the Color Sync app to create vibrant prints. If I need to edit a background of a photo out or add other things to one I use Canva Pro. If I want to design a graphic I will use ProCreate, I am still learning about how to work that app but I love what it is capable of.
I will also use Microsoft Word and Cricut Design Space from time to time for sublimation but not often, the size limitation kills me for Design Space and Word’s editing capabilities lack a bit. These are my most used choices but there are many more, here are a few I use on occasion and have heard great things about.
- Lunapic – This is a website that you can access from anywhere, it is great for removing background and cleaning up an image.
- Inkscape – This is an app type program that you will have to download but it is free.
- PhotoShop Element – https://go.magik.ly/ml/16urq/ this is an alternative to Adobe Photoshop, less expensive and super easy to use. It really is an all in one!
Vendors
When it comes to selecting vendors I have specific ones I use, unless something goes tragically wrong, I don’t plan to change them. I am huge on either shopping local or supporting small businesses, when you are looking for a vendor keep in mind that most small businesses are just like you out here pouring your heart and soul into what they do. Look for a company that sits well with you.
Here is who/what I use for vendors:
- Heat Transfer Warehouse – They have EVERYTHING you need for sublimation, blanks, printers, ink, paper, vinyl and even tutorials for most of their products. They started as a small business and have grown to be big but keep a small business passion.
- JPIBlanks.com – Blanks, vinyl, graphics/images and FUN! JPI is a small distributor located in Florida, they have two locations (as of 2021) and love to show their community and customers (friends) so much love and appreciation.
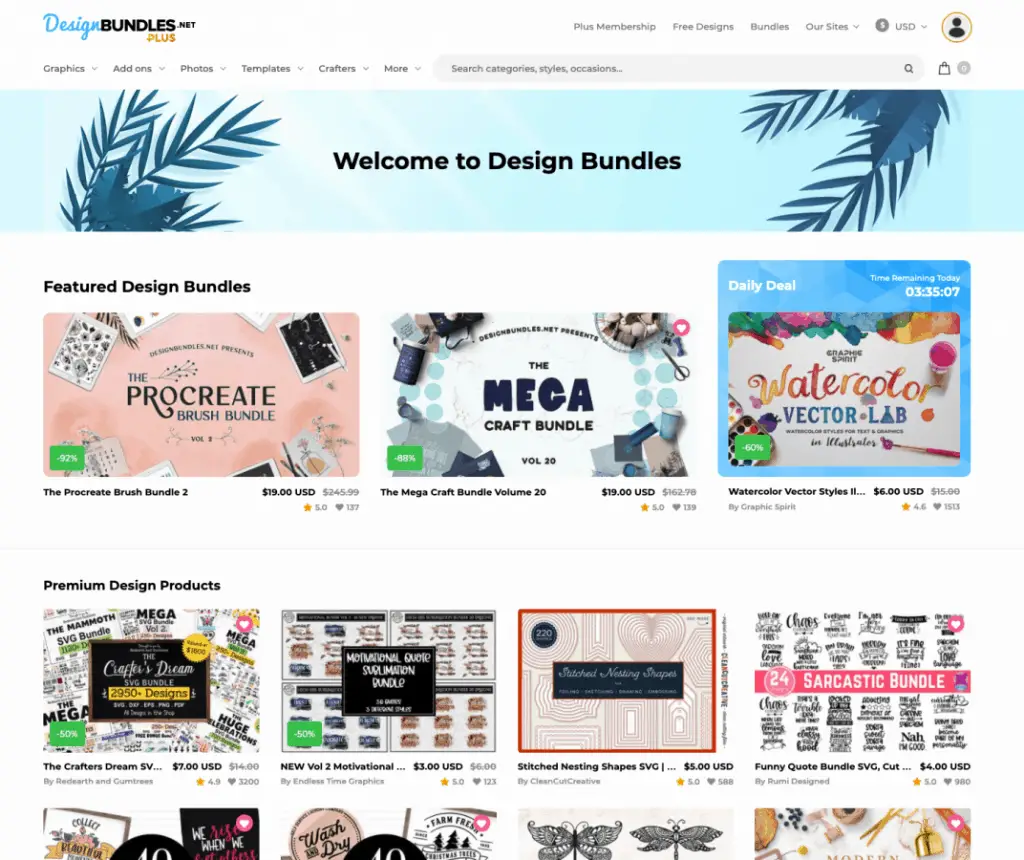
- DesignBundles.net – graphics, fonts, mock ups and more, Designbundles.net has been my go to for most of the images and fonts I use. I have the plus membership and it has paid for itself month after month.
Again these are just the vendors I use most often, I have used others, I have also shopped in big box stores for blanks and such I have learned what red flags to look for. Some of those red flags to look for when you are searching for your vendors are:
Reviews – Always, always, ALWAYS look at reviews. If they don’t have any make sure to reach out to them and ask as many questions as you can, they may just be getting started and that is totally cool, but they might also be a scam. If something seems too cheap to be true chances are IT IS.
Perfect example – tumblers at their lowest are about $5 each IF you buy a full case of 50, if you find them for any less than that do not buy them. They will either not sublimate properly or never make it to you and the seller will disappear with your money and block you.
Limited pictures of product – this is a big one for me, if they can’t send you real life pictures of what they are selling then it probably doesn’t exist.
Lack of Communication – if you are buying from a small business and they are legit they will reach out to you, they will communicate with you and most of all they will answer your questions. If they are flaky, they will be short with answers/responses.
Too much communication – when I say this I am referring to that haggling that some businesses can do. Consistent messages only asking for payment, I am not saying one or two messages but back to back to back, then when you start to ask questions they stop responding until you mention buying again then it is the same responses on repeat. If you have been scammed before you know what I mean.
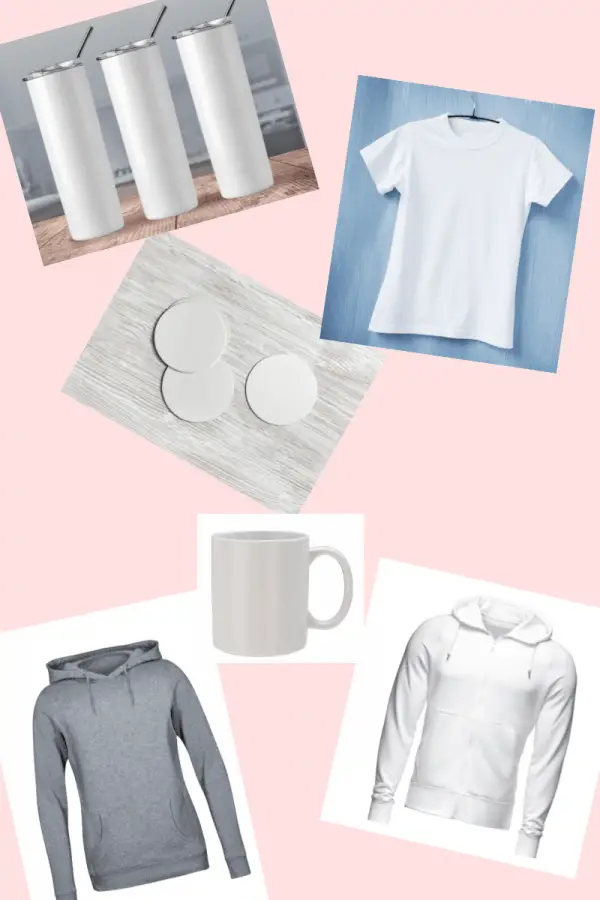
Types of Blanks
The types of blanks you will chose will vary depending on what you want to do. Do you want to keep it simple and stick to one thing like tees or tumblers? Or do you want to offer a bit of everything? Just keep in mind that these blanks need to have a polyester blend to the fabric or a coating of polycrylic on them.
Here is a short list of the different types of blanks you can use for sublimation:
Designs/Images
I use a massive variety of options when it comes to images, but when I am creating a product to sell I am very picky and specific with my image options. I won’t even use Etsy unless I can speak to the creator of what I am purchasing first. Here is my list of vendors for images/graphics when I don’t create my own:
Here are some super useful sites and tools for getting your images free of copyright issues:
Design Bundles – designbundles.net offers thousands of SVG’s sublimation images, brushes and fonts for ProCreate and so much more. The inexpensive monthly plus plan is the best way to go, you get tons of free credits to purchase their “plus”products that come with the commercial use license.
Design Space/Cricut Access – If you use Cricut you have access for $11/month to thousands of fonts and images as well. I always search Design Space for what I am looking for first, this way I don’t have to go through all the steps of uploading and what not.
I also use JPIBlanks.com for images often as well. They design the images/files themselves so the copyright is released when you purchase the image/file from them. Sometimes they will even do a coupon code for free images!
Be sure to check out some other nifty functional craft ideas through our other posts here on Craft-ILY as well as checking out some videos on DIY and How To’s over on YouTube. Look for “Crafting Unedited” or just click the name in blue to see!
Costs
The cost to start sublimation will vary based on what you want to do, just like the type of blank you get will depend on what you want to do. Here is a basic cost for starting small and going big. Keep in mind these are general numbers and not actual costs, it is also 2021 when this is written, things change.
Starting small – the cost of starting small is for those that are in it for the passion and hobby of it, not to make money selling their stuff. If a sale comes of it then great, if not thats amazing too! If this is you its going to cost around $1,000-$1,200 to get started. Breakdown of basics when getting started:
- Printer – $300-$500 Epson EcoTank or other converted printer
- Paper – $40-$50 for variety of sizes and quantities
- Ink – $20-$30 if you use HTVRont or similar
- Heat Press – $200-$400
- Blanks – $200-$500 wide range I know, but you want to buy in bulk and have a variety of sizes to choose from. If you buy in smaller quantities you will spend a lot more between shipping and low quantity ordering.
Going big – if you wanna go big you better have a big wallet, these machines and blanks can get insanely expensive.
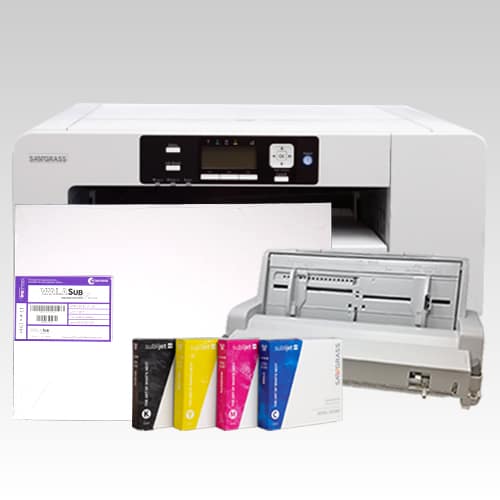
- Printer – $500 – $1,000 these can get crazy, it will depend on what you want to do with them, how big you want to print and how often you want to print. If you are going big you will want a high quality printer like a Sawgrass from Heat Transfer Warehouse. I would highly recommend doing a bundle deal, this way you have most of whats needed to get started.
- Paper – $30-$50 you will basically double the cost of this, you will want to have a ton of paper to keep up with orders and do not want to run out.
- Ink – $20-$30 Ink will cost the same, however you will go through more of it so you will want to stock up and keep back ups.
- Heat Press – $1,200+ you can most definitely use a less expensive one, but I do highly recommend using one with a slider for shirts and with the ability to use different attachments if you decide to do hats or cups.
- Blanks – $500-$1000 the amount of blanks you buy can make or break your business in the beginning. You want to have enough on hand so that your turn around time is not weeks. Buying in bulk is less expensive as well.
Space
When you start sublimating you will quickly realize just how much space it takes in order to have everything even remotely organized. You will need space delegated for your sublimation printer and a little extra area for the bypass tray and paper output.
You will also need a delegated space for your heat press(s) to operate properly and safely. If you get a clamshell press it does take up less space, unless you get the tshirt press that has the slider (which I highly recommend) then you will need space in front of the press for the slider to pull out. If you get a swing press you will need roughly 24 inches all the way around the press, or at least on both sides. Not to mention the footprint these things need to even sit somewhere.
You also want to make sure that the surface you press on is sturdy, please do not press on a glass table, it will end badly. Most heat presses weigh a decent amount and put pressure into one specific area when you press the arm onto the base. This will cause a lot of pressure to be forced onto the surface,
Of course you will need ample space for your bulk blanks you purchased and all the other supplies like paper, ink, other press attachments and butcher paper. Read on for some storage ideas!
Storage
Storage and organization are going to be your best friends on this journey, regardless of which route you choose. A successful crafter is messy but very organized. There are several inexpensive ways you can store all your goods.
Shelves – the most obvious storage option is shelving, but what shelving works best for your space? Wall shelves? Book shelves? Hanging shelves? The answer to those will ultimately be up to you, I am just here to tell you which ones I recommend.
- Wall Shelves – if you have a bigger space then wall shelves are the way to go, there are so many options available but I like these from Amazon the most. Why? Well because they are not permanent, they are adjustable and totally customizable.
- Book Shelves – I love book shelves! But I love second hand book shelves the most! Being a crafter means you like unique, and unique typically means a little out dated in most cases, or handmade. If you have a lower budget for getting things organized this is the way to go. Head to your local Goodwill and thrift you some book shelves!
- Hanging Shelves – I am huge on hanging shelves for small spaces. Hanging shelves get things off the floor and away from lower area to create more space for things that can’t hang like a heat press, printer and computer. These hanging shelves from Amazon are amazing. As are these over the door hanging shelves, also from Amazon.
Storing blanks and supplies
When it comes to storing your blanks you want to keep them in a dry environment to prevent any issues with humidity and moisture. Mostly with shirts, clothing in bulk can attract unwelcome critters, especially with moisture.
When you store your ink and paper please make sure that area is also dry and warm but not overly warm or cold either. Storing them out back in a shed that is not temperature controlled will ruin them. Your best option is in your home or a controlled environment.
Get started
Now that you have the basics and a general idea of what you need to get started, get to learning the actual process and make your first product. I have several how to videos over on my YouTube channel @craftingunedited.