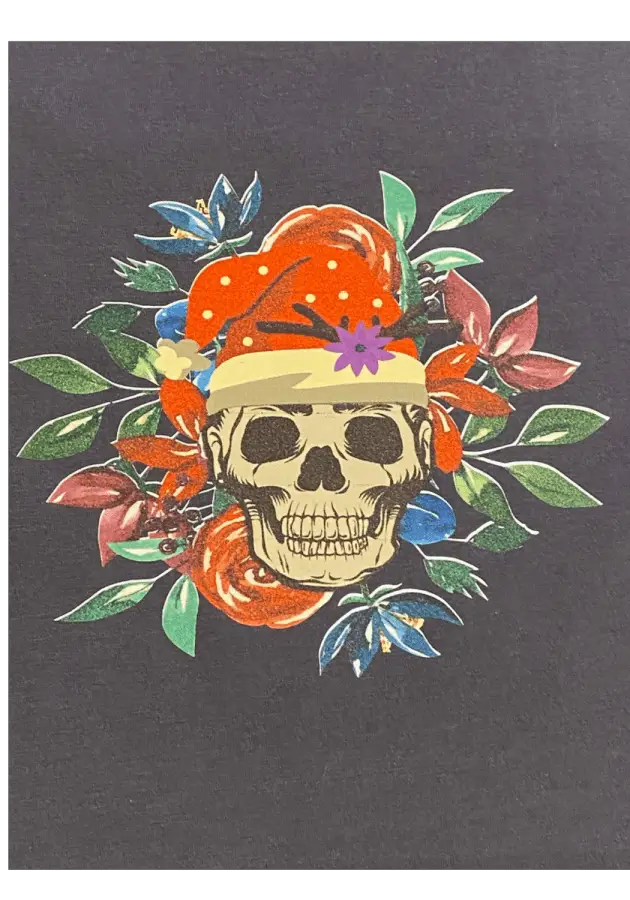
If you’re anything like me, you want a unique shirt design that stands out. Buying a shirt means that there are millions of people out there with the same one as you, but there’s a way to ensure that your shirt is one of a kind. There’s nothing more eye-catching than a white or colorful pattern on a black shirt, and you can create your own.
Here are all the steps you need to sublimate white on black:
- Make sure you have everything you need.
- Create your image.
- Print your image on sublimation paper.
- Cut out your image.
- Prepare your shirt or material.
- Position the print on your material.
- Transfer the print onto your fabric (heat transfer).
- Enjoy your shirt!
Creating your own shirt or hoodie design might seem daunting, but in this article, we’ll run you through all the steps you need to feel more confident in creating the shirt you’ve always wanted. Keep reading to learn more.
Make Sure You Have Everything You Need
The first thing you should do is make sure you’ve all the right equipment and materials you’ll need to create your unique t-shirt. You don’t want to get halfway through the process and realize you’re missing an essential element.
- Design software. You’ll need design software to create your unique image or wording. Adobe Illustrator and CorelDraw are popular options, but any design software should do the trick. If you own a Cricut machine, you’ll get free software with it.
- Sublimation printer. A sublimation printer is a crucial element of the process. A standard printer won’t work for sublimation.
- Sublimation paper. Sublimation paper isn’t like standard paper. You need to use sublimation paper for the ink to be able to transfer to your shirt.
- Cricut machine / Vinyl cutter / Plotter or scissors. Any one of these cutting machines will do. They vary in price, size, and ability, so choose the right one for you. If you don’t own a cutting machine, you can use scissors, but it’s more time-consuming, and your cut might not be as accurate.
- Black shirt. You can choose any clothing item or material, but we’ll use a shirt for this guide. You can use sublimating to create original printed shirts, hoodies, socks, table cloths, blankets, dresses, pants, and so much more.
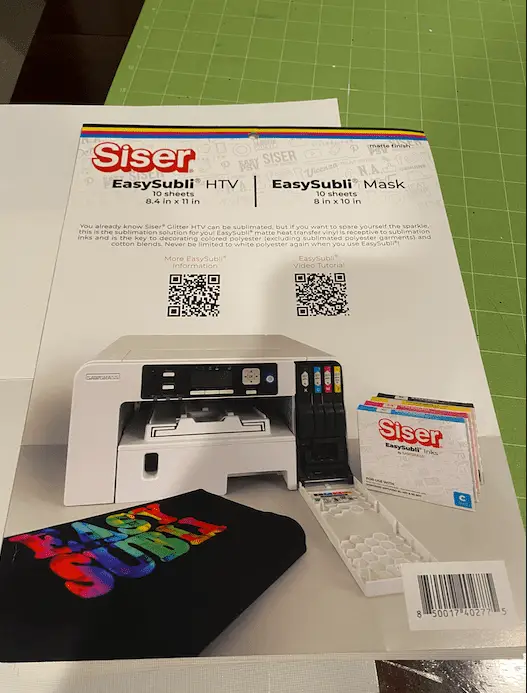
- Vinyl or other material as a base for your print. In order to sublimate on black or dark color you will need a base. Siser EasySubli is amazing for this, or even glitter HTV or Glow HTV work well too!
- Lint roller. This might seem like an odd item, but it’s necessary. Once you use it, you’ll see how much it helps.
- Heat tape. It’s essential that you have heat tape. Regular tape can melt into the fabric in extreme heat conditions and ruin your shirt.
- Parchment paper. Parchment paper is needed to protect your print and material. You don’t want to spoil your masterpiece by forgetting this vital material.
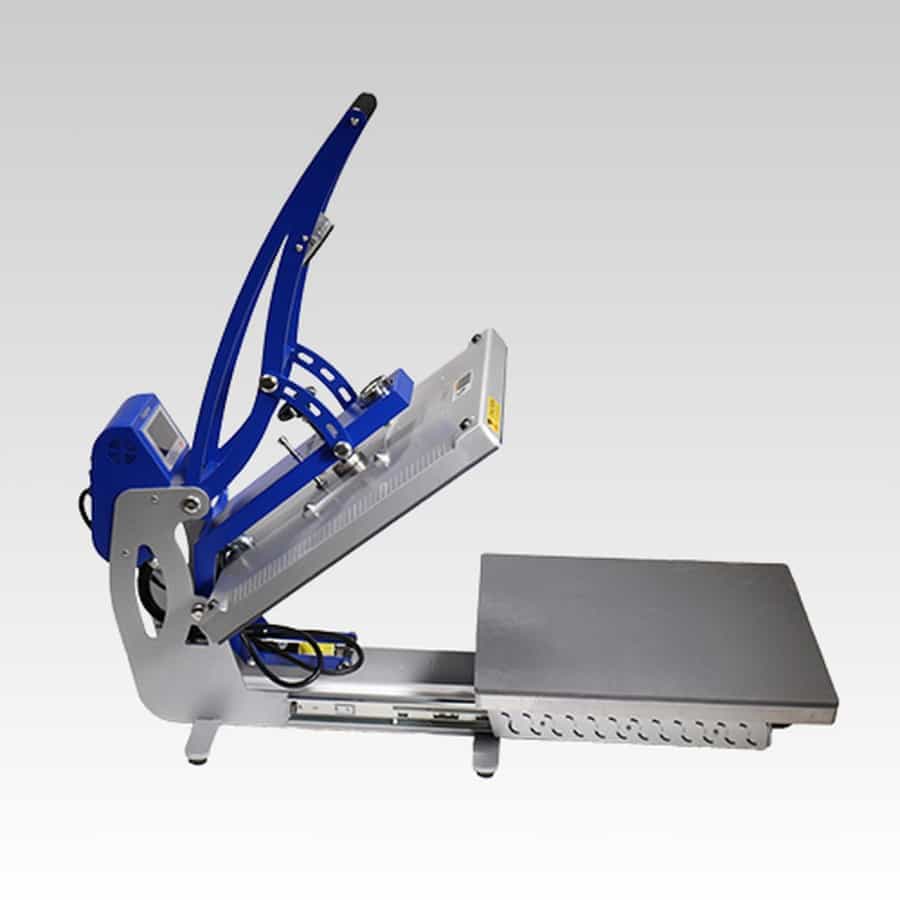
- Heat press. This is an essential item to have. Without a heat press, you can’t create your shirt.
Best Material for Sublimation
You can use cotton, polyester, or a blended material such as Nylon, lycra, or spandex.
Sublimation of cotton used to be a problem as the ink didn’t take well to the fibers, but now it’s easy to sublimate on cotton. You have to use the correct transfer paper though, or it might not work. Siser EasySubli transfers work perfectly and is easy to use.
Create Your Image
To create your unique image, you’ll need a designing program; you can choose to purchase one or use a program that you already have. There are many free options available that’ll work perfectly fine.
Design your image or wording using your designing program or choose one of their stock images if they have any available.
Once you’re happy with your design, make sure to size it correctly so that it’ll fit on your printing paper of choice.
Print Your Image on Sublimation Paper
To print your image, you’ll need a sublimation printer like the VEVOR Heat Press Machine (available on Amazon.com) which has an LCD display and a 360° swing-away feature that’ll help you avoid any accidents.
Make sure to print on the correct side of the paper, or your print will be useless. If you touch the paper, you’ll feel that one side is stickier than the other. Make sure to print on the sticky side.
Cut Out Your Image
Now that you’ve printed your image, use your Cricut Explore Air or Cricut Maker for a flawless cut-out print. You can also use any vinyl cutter to ensure that your image is cut perfectly.
If you are using a base such as Siser EasySubli you need to print the image onto the EasySubli then allow it to dry for a minimum of 12-24 hours before attempting to cut it, also remember you do not need to mirror for Siser EasySubli, otherwise it will smear everywhere. If you chose Glitter HTV or Glow you will follow the general instructions of mirroring your image and cutting the vinyl with your cutter of choice.
Ensure that you place your printed image on a cutting mat and that it is aligned straight before inserting it into your cutting machine.
For a tutorial on how to use Siser EasySubli please refer to this easy to follow and mistakes included video:
Once you’re ready, you can start the cutting process. Keep in mind that if using Siser EasySubli you will need at least two passes through the cutter.
Prepare Your Shirt or Material
To prepare your shirt, use your lint roller to remove any dust or lint, and then place a heat mat inside your shirt. A heat mat will avoid ink transferring to the other side of the shirt.
Set your heat press to 360 °F (182.2 °C) and pre-heat it.
Once your heat press is hot, you can pre-press your shirt for five seconds. This will help to create a good quality print.
Position the Print on Your Material
Position your print on your shirt and stick it down with heat tape such as this Selizo High Temp Tape (available on Amazon.com), which is heat resistant up to 536 °F (280 °C). This will ensure that your print doesn’t move. Place a piece of parchment over the print to protect it.
Transfer the Print Onto Your Fabric (Heat Transfer)
Once you’re happy with your print position, you can heat press it for 45 to 60 seconds at 385 °F (182.2 °C). Be sure you hold the heat press down long enough to fully transfer the image onto your shirt. Otherwise, you may only get a partial print, or you could have sections of the print missing.
Enjoy Your Shirt
Your shirt is now ready to be removed. Take it off the press carefully as it’ll be scorching hot. Let it cool down, and then remove the heat tape.
You’ll now be able to wear your shirt and show your unique design to the world.
Conclusion
Designing and creating your own t-shirt design is possible and easier than you thought if you’ve all the right materials and follow the provided steps:
- Create a design you can be proud of.
- Use good quality sublimation paper.
- Prepare your shirt and position your print.
- Ensure your heat press is set to the right temperature.
Be sure to check out some other nifty functional craft ideas through our other posts here on Craft-ILY as well as checking out some videos on DIY and How To’s over on YouTube. Look for “Crafting Unedited” or just click the name in blue to see!