Sublimation is a very popular process in the crafting world, it is a way of creating unique one of a kind products. The process is really easy to learn, less expensive than using vinyl as well as some other forms of printing and you are able to have as many colors as you want without layering anything. There are an abundance of things you can sublimate onto making the never ending creating possibilities a reality.

One of my favorite things to sublimate onto are mugs, typically shirts and mugs are my number one sellers in my shop. As a newer creator in the sublimation world you may be a tad confused on the process of sublimating on mugs. Today, you will learn exactly how to sublimate your first mug!
When you have finished reading through these steps you will be so confident in your mug sublimation skills you’re going to share them with the world, whether through gifting, selling or just showing off. Mugs are a really fun way to express your mood, they can be a warning to others or a reminder to yourself, affirmations if you will.
What is Needed
As always you will need a few things before you can start sublimating mugs. Here is a list of products I swear by due to the cost, where they come from and most of all the quality of the product. The majority of blanks come from Heat Transfer Warehouse
- Mug Blanks
- Mug Press
- Design
- Sublimation Transfer
- Heat Resistant Tape
- Butcher Paper
- Pot Holder or Heat Glove
- Trivet or second pot holder for after
- Tweezers
- Rubbing Alcohol
Once you have gathered your supplies you are ready to learn how to sublimate a mug.
Start
You will start by heating your mug press to 400 degrees for 60 seconds (yes less time than most will advise, just keep reading). You want the press warmed before you start to avoid rushing and it not being an even temperature which can cause ghosting and other issues.
After your press is starting to heat you will cut a piece of butcher paper to the size of the entire mug and set it next to the press (to remind yourself to use it). Then you will head over to your computer and go to Designbundles.net or your favorite design site and grab an image to sublimate on your mug. I love using snarky and sarcastic quotes on mine.
Once you have picked your design and have printed it you are ready to get set up for pressing.
Pressing
Now that you are all set up you can get to the fun part, pressing! This is my second favorite part of the process, the first is the reveal. Before you press you will need to prep your mug with a quick wipe of rubbing alcohol in the area that you will be placing your transfer. This will remove any oils or residue left behind from your fingers and packaging.
Then you can place your transfer on your mug. Figure out where you want it to be, I highly recommend avoiding the handle area, stay about 1ish inch away from them to avoid any possible issues.
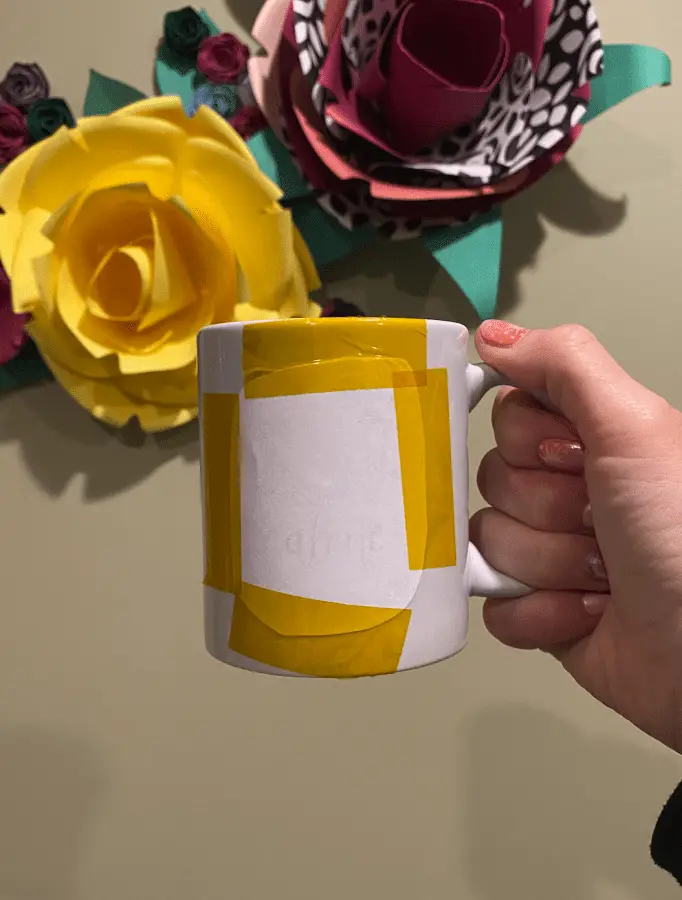
Tape
When you know where you want the image go ahead a tape it in place, be sure you tape the top, sides and the bottom. This is very important if the image is close to the top and bottom of the mug. It will help avoid any gaps and uneven pressing.
Protect
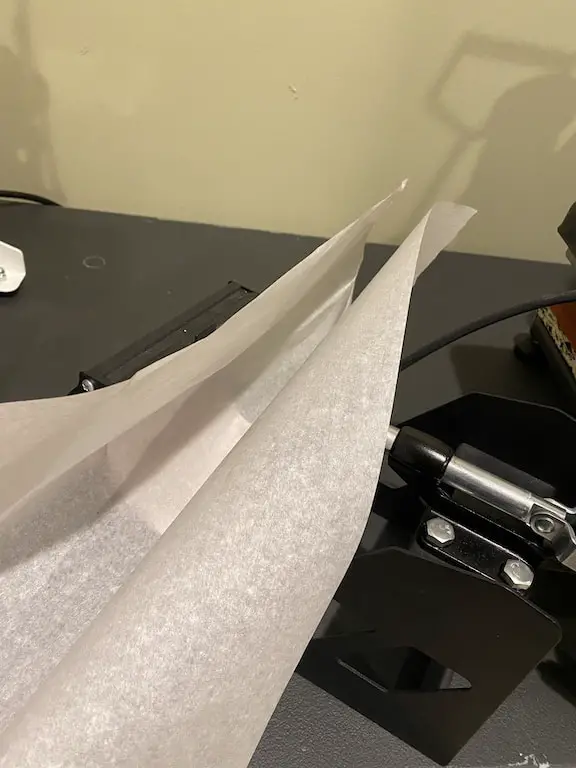
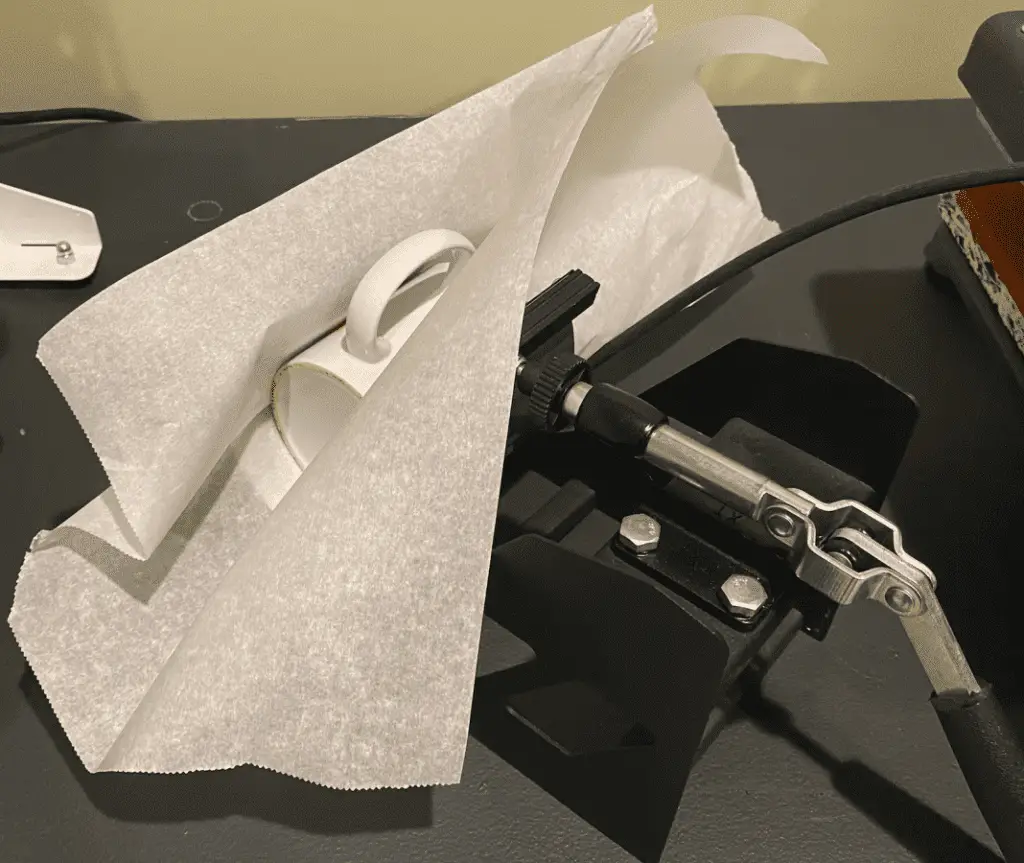
After you have taped you will take the sheet of butcher paper you have next to the press and wrap it around the mug, no need to tape it but you do want to make sure it secure enough that it stays when you put it in the press. The butcher paper is a barrier between the press platten and the transfer so that no ink is transferred onto your press.
If you skip this step you run the risk of having the sublimation ink bleed through the paper and onto the press, which in turn will transfer onto other blanks when you go to press them in the future.
Press
Now we press! Place your prepped mug into the press and close it, make sure the timer has started and let it bake for 60 seconds. After the first 60 seconds release the press and remove the mug, DO NOT TOUCH the transfer. Let the mug cool for a minute or two then put it back in the press in the opposite direction, covered with the butcher paper, and press again for a second 60 seconds.
My Favorite Part
The reveal, is by far the best and most exciting part of the whole sublimation process, regardless of the blank! It is almost always an awe factor or an OH MY GOSH IT WORKED factor! Who doesn’t love the satisfaction of revealing something incredible? You
Once the second timer is done remove the mug from the press and using your tweezers remove the tape and transfer. Be cautious when removing the transfer, trying not to let the paper fall onto the mug, this may cause ghosting. Since the mug is still hot it can still continue to process, this is why you want to avoid dropping the image back on to the mug.
Now that you have removed your transfer you will place the mug on the trivet or second potholder for it to cool. Do not attempt to cool it on your own, do not submerge it into cold water it will break the mug. If you are in a hurry for it to cool you can place it in a WARM bath, like lukewarm or room temperature water. You don’t want to destroy your masterpiece, do you?
You can now say that you know how to sublimate a mug and share it with the world, a mug master you are! Head on over to Heat Transfer Warehouse and buy all the blank mugs and get to creating!
Want to see one be made first, no problem! Head on over to YouTube and watch me here.
Here are some additional articles that will help you in your sublimation journey: