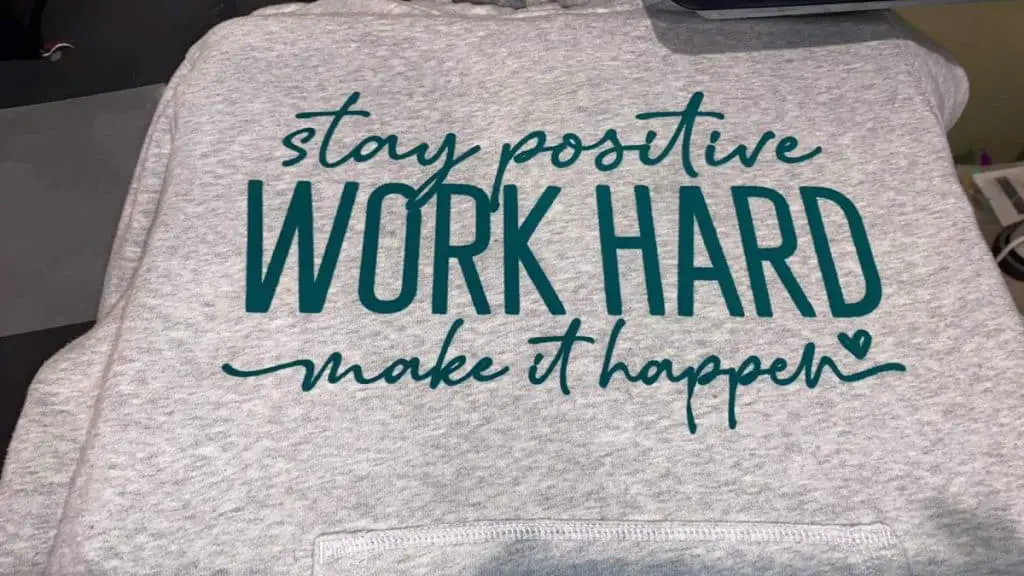
Puff Heat Transfer Vinyl is a really fun and unique vinyl that can bring life to your project. This vinyl is like magic, creating a lifted texture look to your projects.
Using puff heat transfer vinyl is pretty easy but it does come with some tips and tricks to create a one of a kind project and to get the right texture. Here is a short snip of how to use puff heat transfer vinyl.
- Preheat the heat press
- Find your design or create one
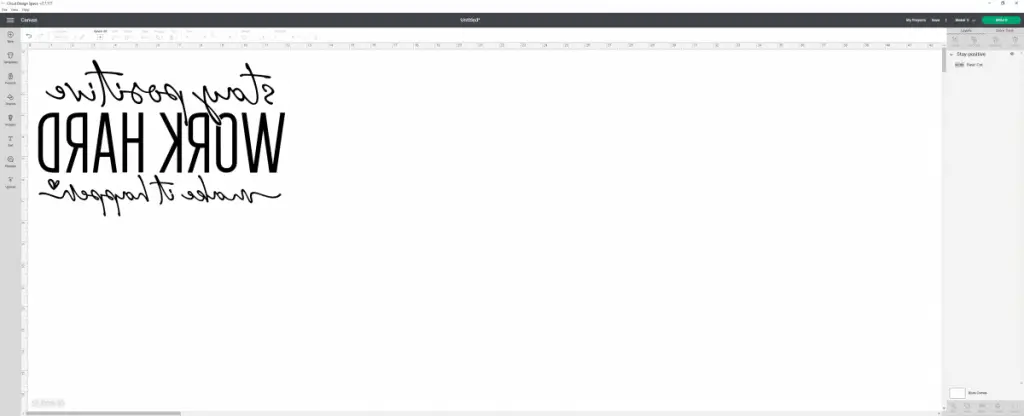
- Using a Cricut or other vinyl cutter, send the image to the cutter, mirrored and with the puff htv shiny side UP.
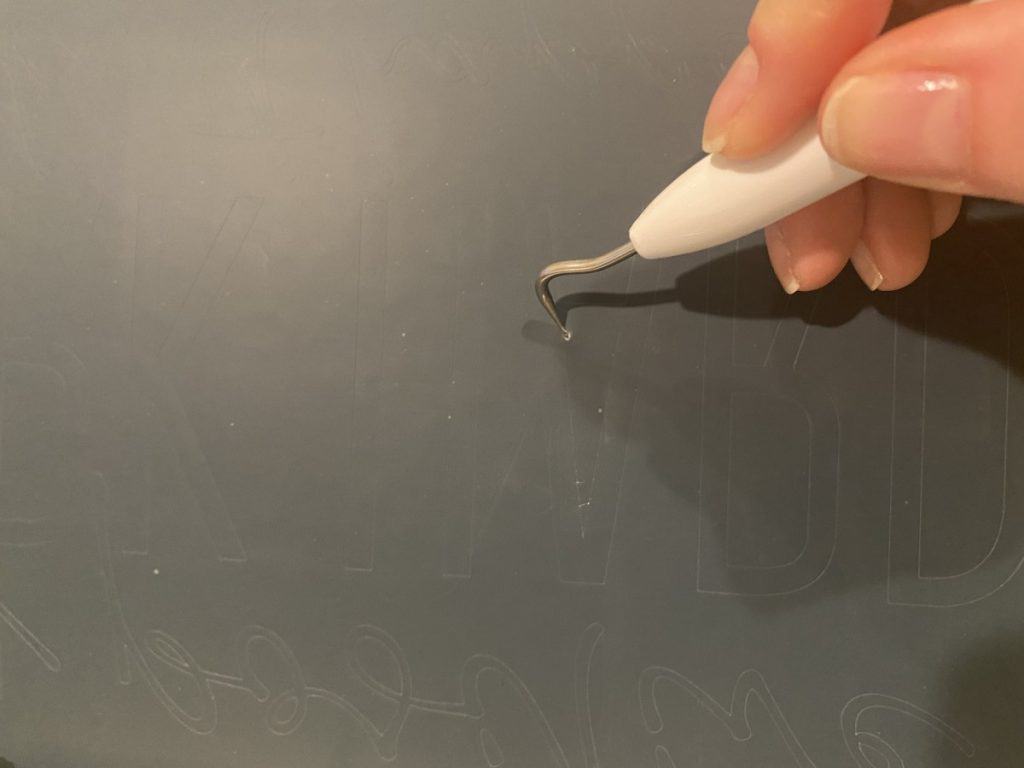
- Weed out the negative spaces.
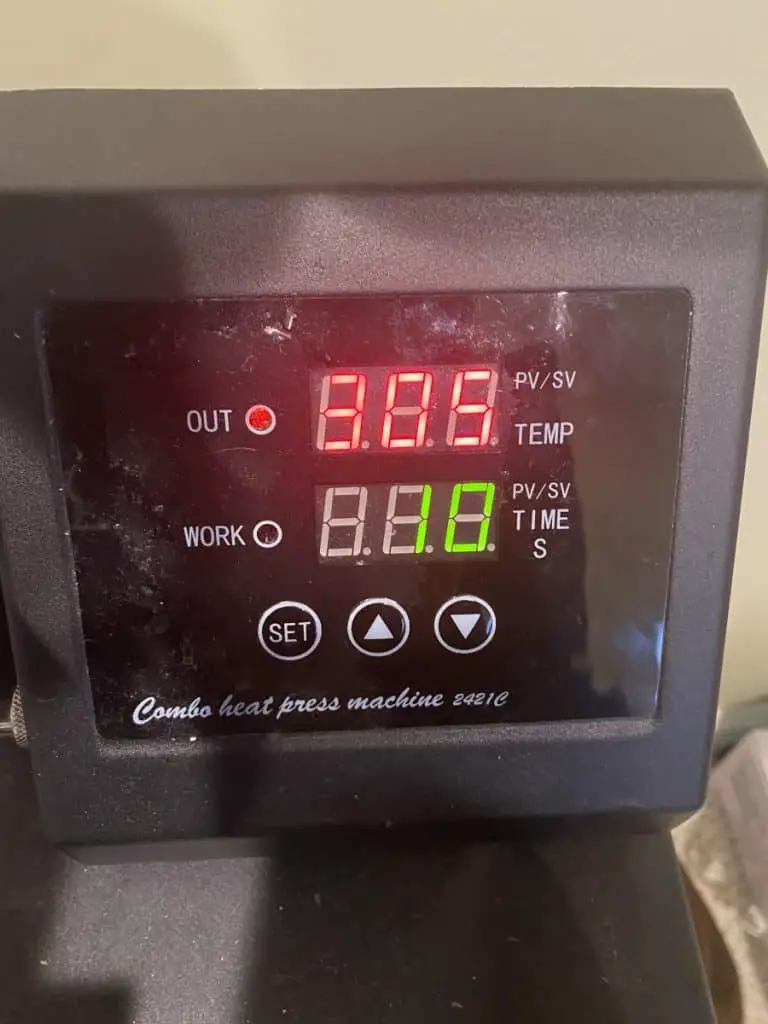
- Press your transfer onto your substrate at 305°F for colors, 290°F for White, 275°F for Pink (this is important!) for 10 seconds ONLY!!
- Peel the mask off while the transfer is warm
- Watch in awe at the amazing texture of puff heat transfer vinyl.
Now that you have the basic idea of how to use puff htv, let’s get into the real details and how to on this amazing product.
What Is It?
The first question that comes to most minds is, “what is puff heat transfer vinyl“? Well it is an iron on vinyl that when applied with heat (which is required) will puff up and give your design a pop out or puffed texture. Often it will look like it is a 3D image, which is pretty neat.
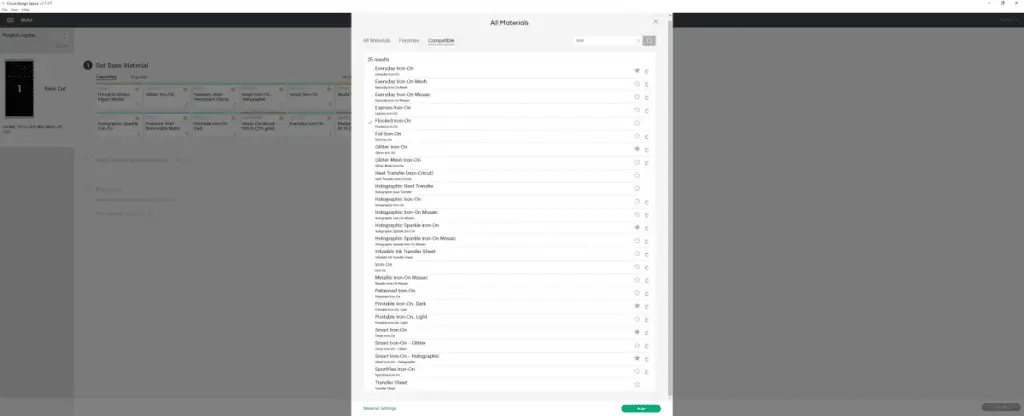
What is Needed to Use It?
For most crafters the first step to any project is to find out what supplies are needed and have them ready before you even start designing your image. The supplies you will need to create a project using puff htv are:
- Heat Press
- Puff Heat Transfer Vinyl
- Teflon Sheet
- Vinyl Cutter (Cricut or Silhouette are preferred)
- Lint Roller
Once you have gathered your supplies you can prepare your space. It usually flows really well if you lay things out in the order you will need them or even on one general area. You will be less likely to lose something mid project and have to search for it.
How to Use It?
The next question is the how to question, how do you use puff heat transfer vinyl. The answer is very similar to any other iron on, with a couple exceptions. We will review those as we go along.
Preheat the heat press
The very first step is to preheat your press and prepress your blank. These are important time saving tips. Preheating the press means it will be at temperature before you are ready to use it. Prepressing your blank will prevent wrinkles and will also remove any moisture from your blank that can cause the vinyl to not last as long.
After you prepress your shirt you will want to use a lint roller on the area that you will be pressing your design to. This will avoid any lint or other fuzzies like dog hair or even your own hair from getting trapped under the puff htv.
Find your design or create one
After you have preheated you can go ahead and start designing or looking for your design. The best part of using puff heat transfer vinyl is that you can pick whatever design you want and it will look amazing. I try to avoid many layers as pressing puff htv more than one time does not end well. You will end up with a brain looking texture to your vinyl and unless that is what you are going for I would avoid it.
Cut the Design
Using a Cricut or other vinyl cutter, you will send the image to the cutter. A Cricut or Silhouette cutter machine are recommended. When you are ready you will make sure you have the image mirrored and then send it to the cutter. I like to mirror mine before sending to cut so I don’t forget.
Place the puff heat transfer vinyl shiny side UP on the mat (unlike normal iron on, this is opposite. The shiny side is the back of the product, you cut the matte side), once it is done cutting you will then remove it from the cutter and weed out the negative spaces.
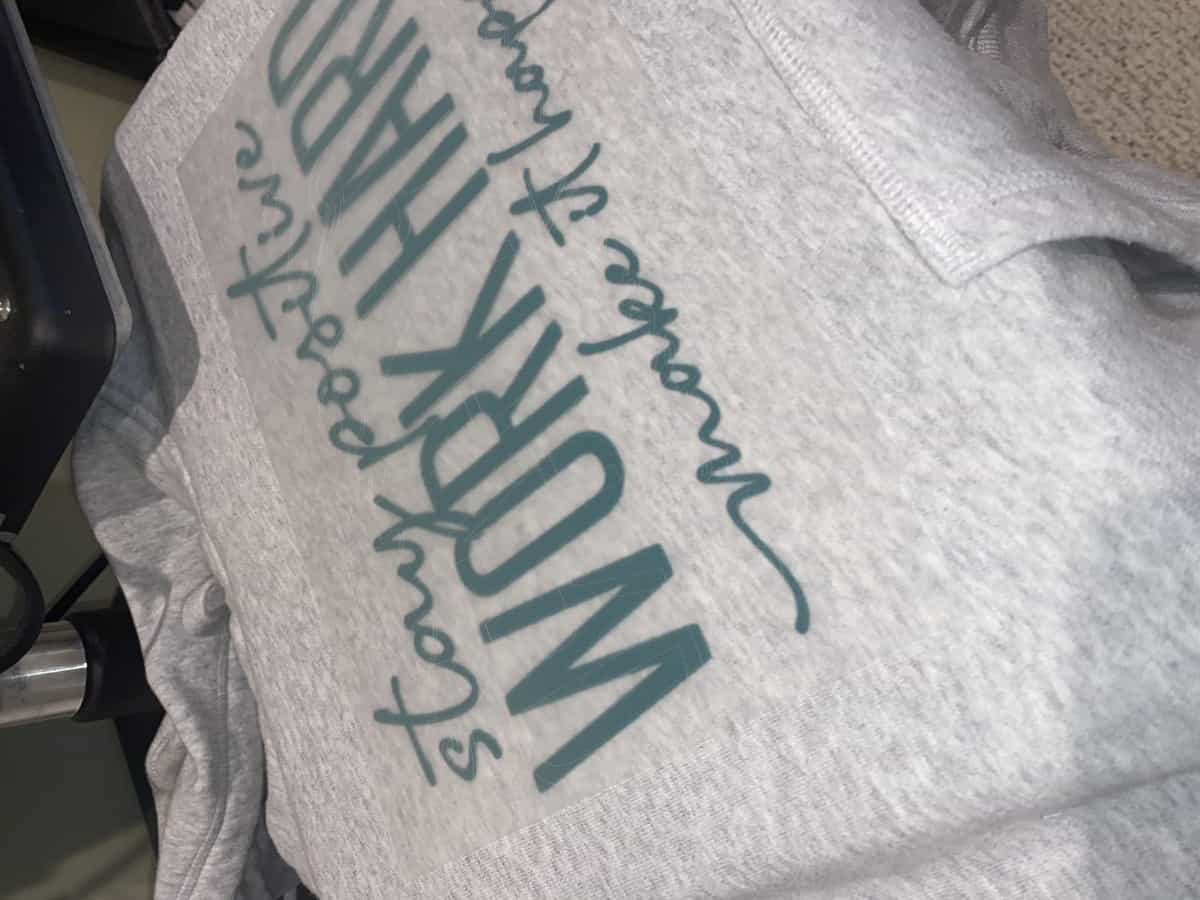
Press It
Place the design on to your blank shiny side up this time, then put your blank onto the heat press (this can be reversed as well) then place a teflon sheet on top. Press your transfer onto your substrate at 305°F for colors, 290°F for White, 275°F for Pink it is vital that you follow these temperature guides. The different colors require different temperatures. Press for only 10 seconds, puff heat transfer vinyl does not take as long as regular HTV. Longer than 10s and you will melt it and have that brainy looking material as a result.
Peel the mask off while the transfer is warm, puff htv is a warm peel product s you want to peel the negative away while it is still hot.
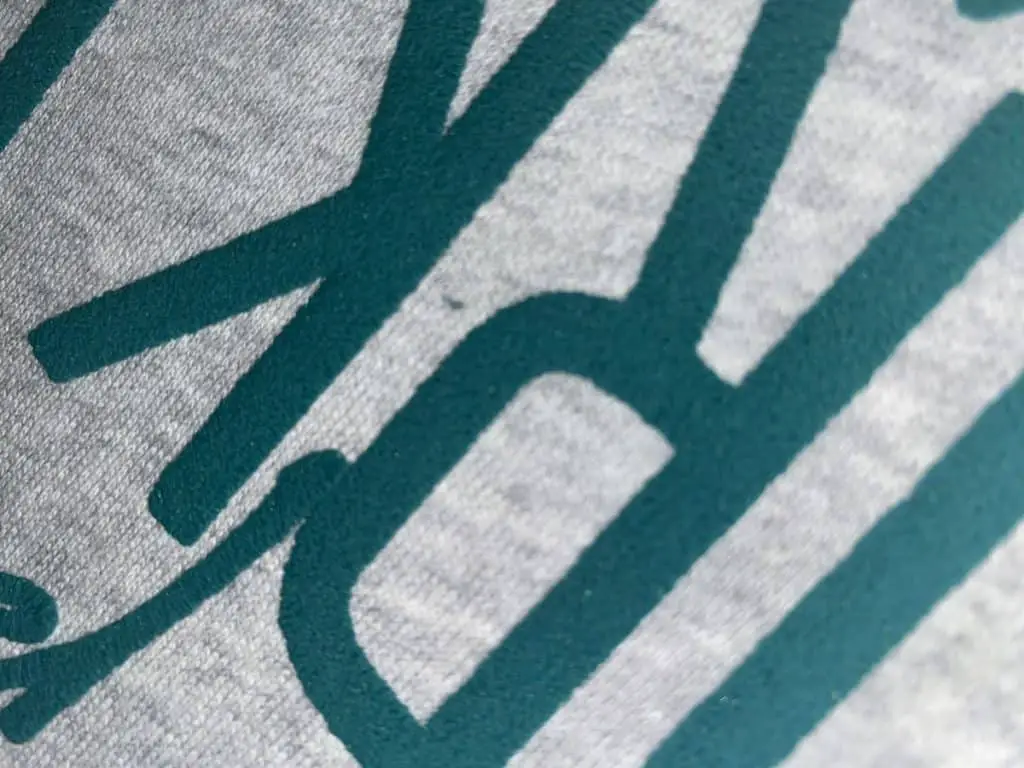
See the Magic
Watch in awe at the amazing texture of puff heat transfer vinyl. As the vinyl cools you will be able to watch it puff up and create the texture you are looking for! It is a really fun process to watch and the outcome is even more fun!

How to Wash
Regardless of the material you used as a blank for your puff heat transfer vinyl there will be a time that you will need to wash it. To wash your newly designed puff heat transfer project you will follow these easy steps:
- Turn inside out
- Wash on gentle cycle COLD water
- No fabric softener (this loosens the adhesives)
- Either hang dry (recommended) or tumble dry on low
- DO NOT IRON – but if you must use an ironing board or something inside of the shirt and only iron around the puff htv.
Conclusion
Puff vinyl is one of those really fun and exciting products to work with. Just like patterned vinyl, holographic vinyl and all other specialty vinyl’s there are special instructions on how to use them. Following the instructions listed here will help you master the craft and never fail (after a few fails of course).
Be sure to check out some other nifty functional craft ideas through our other posts here on Craft-ILY as well as checking out some videos on DIY and How To’s over on YouTube. Look for “Crafting Unedited” or just click the name in blue to see!