Printing sublimation transfers is easy, quick and inexpensive. With most sublimation printers you can print a general 8.5×11 transfer, which is perfect for most products. But what if you need to print larger and your printer only allows up to 8.5×14?
Most small business or hobbyist sublimation creators start out with the Epson Eco Tank style printers, I did and many I know did as well. They are on the lower end of the expense category and perform really well. The only downside is the print size limitations. I found a way around those limitations, a work around if you will. You see if you use Microsoft Word or any other design program you can slice the images then print on two sheets of sublimation paper and tape them together.
Let me explain a bit more for you, so you can master this work around and not have to buy a bigger printer.
Why would you need to print bigger?
First I want to explain a few reasons as to why you may need to larger than 8.5×11. Most adults wear (or prefers to wear) a large T Shirt, based on orders. An 8.5×11 image is just barely large enough to look decent on an adult large, if you need anything bigger than a large the image looks unproportionable to the size of the shirt.
There are also other projects that you may want to print bigger, like signs, towels, flags and more. Having the ability to print larger will not only save you some money and space but it will also open up some new products for you to sell or give away as gifts.
What is needed?
- Before you get started with making these larger sublimation prints you will need a few things:
- Sublimation paper – 8.5×11 or even up to 8.5×17 depending on what you are printing.
- Heat resistant tape – this is not regular tape, it has to be able to withstand the heat of the press (385 degrees)
- Paper cutter or really sharp scissors- I highly recommend a paper cutter, if you have trouble cutting straight scissors are not a good option.
- Images – what project can be done without an image! When just starting out go for something simple.
How?
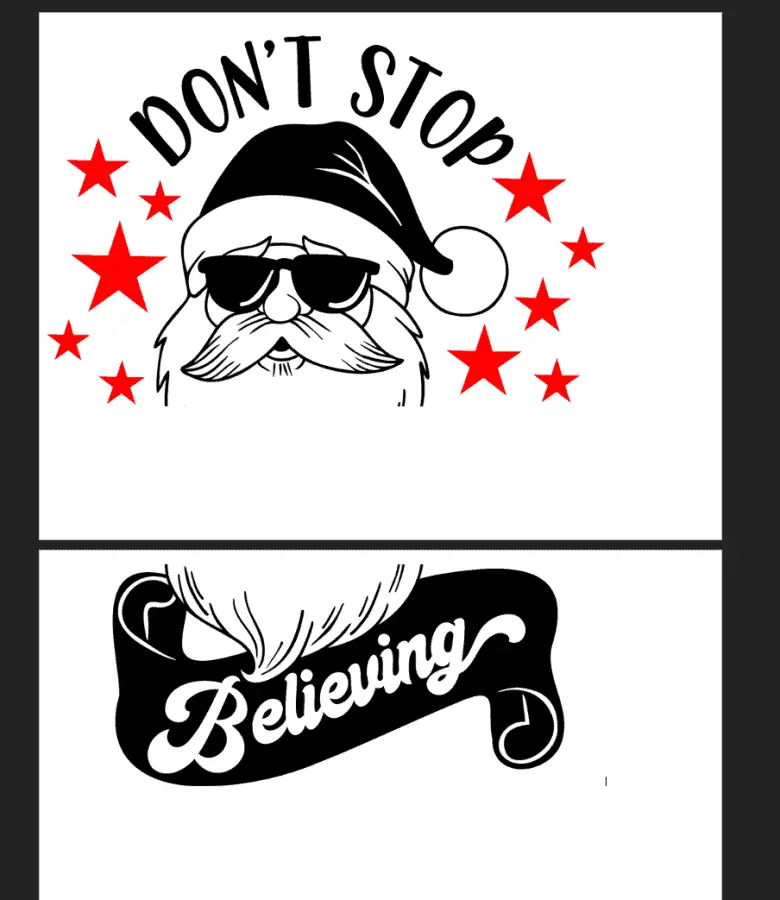
The very first step you will need to do is open the software or program you are going to be using to slice your file, you can use Cricut Design Space Microsoft Word or any other program that you know how to slice in. I used Cricut Design Space for this example, then switched to Microsoft Word. You will need to make sure you have the image sized the way you want it before you slice it. If you try to resize after you slice it will not match up.
You will want to slice the image in a spot that will be easy to create a seam with, typically that will be around letters or where there is a lot of graphic in place, that way you can hide it if you mess up. Basically go with the area of the image that is the simplest.
After you have sized and sliced your image you are ready to print. When you print you will want to make sure you use the sublimation settings or make sure you use these (my recommended settings):
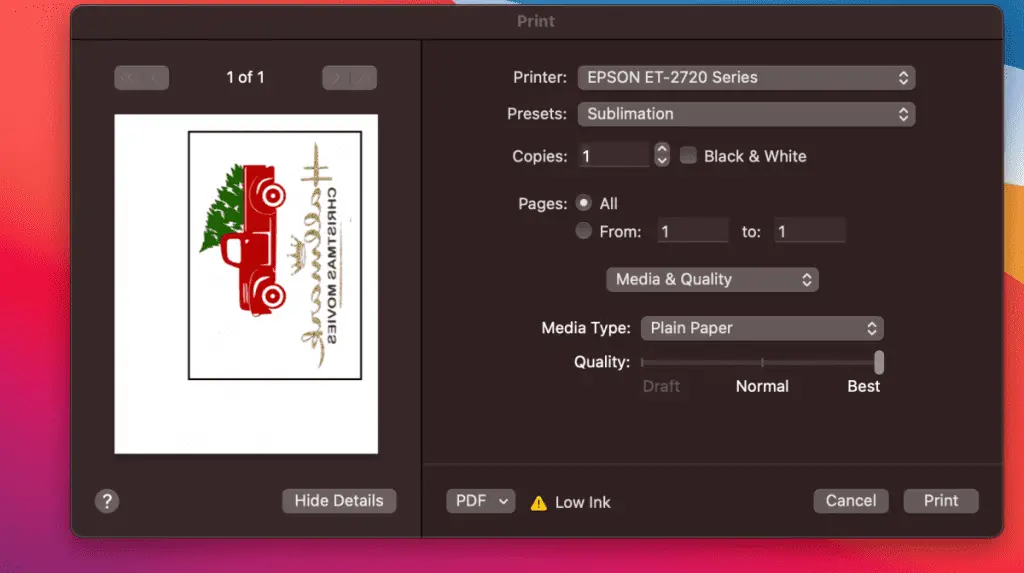
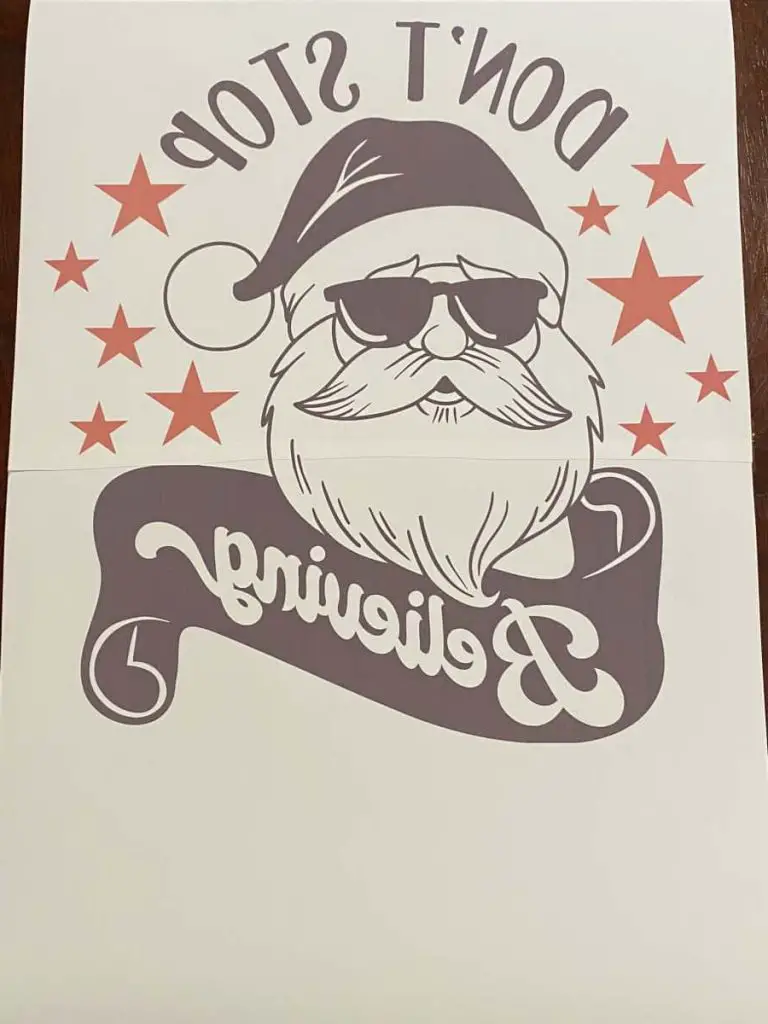
If you are using Cricut Design Space you will want to make sure that your sliced images do not exceed 9.25×6.75 each and that you remove the bleed and use the print dialogue box when ready to print. If you are using Word or another program just make sure you MIRROR YOUR IMAGE. Do not forget to mirror, you will end yo with a backwards image.
After you have printed you will want to give your image some time to dry, I would say at minimum 15-20 mins. Before you handle the prints to cut them you will want to give your hands a good wash or use gloves to prevent any oils transferring over to the prints or your fingers from absorbing the ink.
Once your prints are dried you are ready to trim them to create your seam. You will need to decide which print you want to cut and which you want to leave the trim onto. See below:
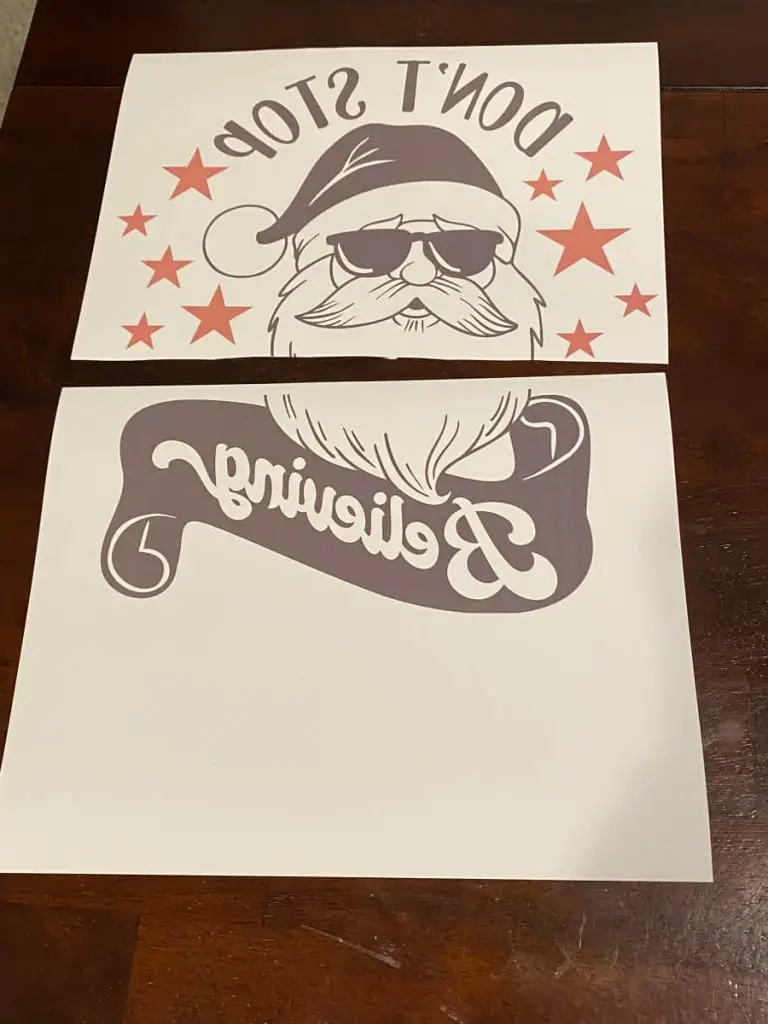
Now you will cut the side you chose and align the seam as close to perfectly as you can, then tape on the back of the paper the two together like this:
After you have them taped they should look like it is one sheet and align nicely. If not, remove the tape and try again until they are “seamless”. Check out the tips for ideas on how to ensure you get (and keep) the perfect seam.
Once you have taped you are ready to transfer onto whatever substrate you like! These larger prints are great for blankets, larger shirts and hoodies, table cloths and even flags!
Tips!
A few tips for you so that you can become a pro at printing larger than your printer allows:
- The first several attempts will be fails, do not give up, you will get it!
- Use a small piece of heat resistant tape on the edges of the front of the paper so that it does not shift when you flip it over to tape the backside, you can also use a light pad to align the image. Either way you will be able to get pretty close to where the seam should be.
- Tape the entire seam across the back of the page, this avoids the risk of it shifting when you are moving it around to place it onto your substrate. It will keep that perfect seam, well, perfect!
- Take your time, do not rush through this, getting that seam right will save money.
Conclusion
Sublimation is a lot of fun and a really amazing way to decorate substrates, now that you know you CAN create larger images for those larger substrates without having to buy a new, larger and bulkier printer, all of your sublimation dreams can come true. Well maybe not all but some. So get out there and start creating!
Be sure to check out some other nifty functional craft ideas through our other posts here on Craft-ILY as well as checking out some videos on DIY and How To’s over on YouTube. Look for “Crafting Unedited” or just click the name in blue to see!