Jewelry findings are small components used in jewelry making processes that come in many different sizes, shapes, and styles. Findings are most commonly used as fillers or endings in jewelry making.
Jewelry findings are essential to making jewelry, you need them to end or seal off your pieces or sometimes to fill in as spacers, and sometimes, just because they add that last little detail to make something stand out or become one of a kind.
In this post, I will cover the types of findings, how to use them and where to buy them. But first, a little history lesson.
Why are they called “findings”?
Back in the day where all jewelry was made by hand (some still are but there is a whole lot more being made by machines) and when they would make jewelry they would make their findings or extras from their leftover pieces of metal. Having to “find” these extra bits is how the name came about. Their findings created a finishing touch to their jewelry.
I could not imagine the amount of creativity those jewelers had, I mean think about it. Now I am determined to figure out how jewelry ever came about in the first place! Who thought “man, I think adding a piece of metal around my neck, wrist or finger would be nice” in the first place?
I am forever grateful these are now made the way they are and I do not have to make them by hand, because let’s be real, I would never have the patience or time to make ALL of them by hand. Jump rings and simple tings, sure I am all for it but you get into clasps and such and that is a hard pass for me.
Types
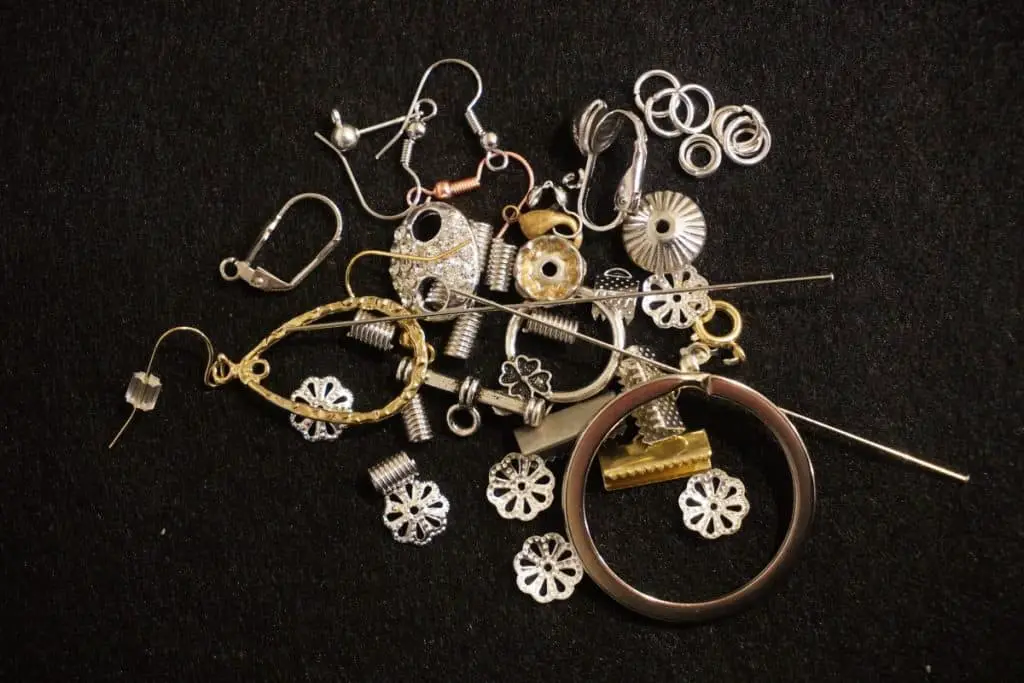
There are many types of jewelry findings on the market, knowing what uses each one (well most of them) have will help you and your budget significantly. Here are a few examples of popular findings.
Connectors
- Split Ring
- Jump Ring
- Bail
- Headpins
- Eye Pins
- Crimp beads and bead covers
Clasps
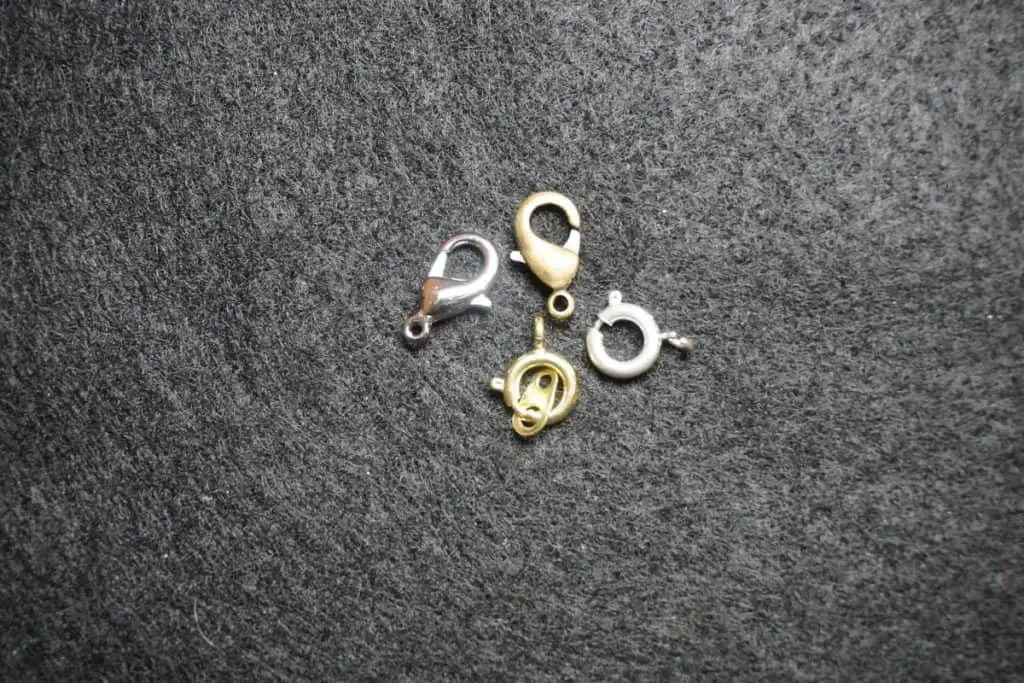
- Lobster claw
- Spring ring Barrel
- Hook and loop
- Toggle
- Fish hook
Finishers
- Earwire
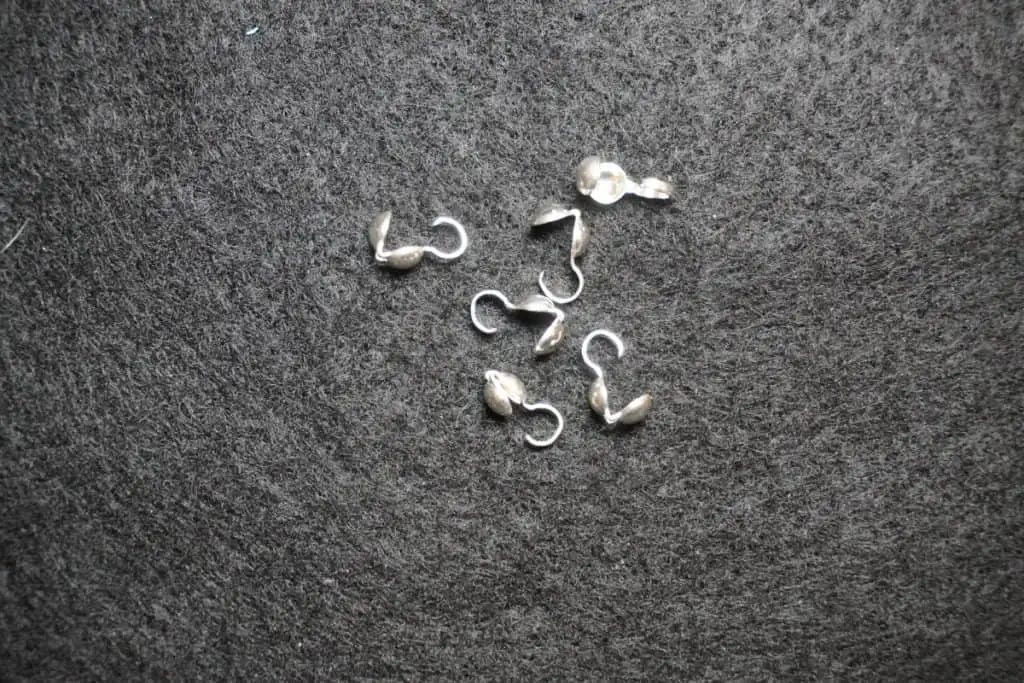
- Callotte (or clam shell)
- Bullion
- Beading cone
- Cord and ribbon ends
Terminators
- Cord end
- Cones
- Bead tip
- Wire protector
- Crimp end
Decorative
- Bead caps
- Chandeliers
- Links and connectors
- Spacers
How to use them
Now you what most jewelry findings are called but you have no idea how in the world to use them, do you? No worries, I will explain that too! Now before I dive into how to use them you need some tools, I recommend some specific tools for jewelry making here. They are all available on Amazon or at your local craft store.
As I said before, each type of jewelry finding has a different purpose. But, they can also be multi-use if in a pinch or if you want to get super creative with your work.
Read below on some fun hacks using jewelry findings!
Connectors are used to connect two ends, one would think that makes sense but sometimes in the jewelry making world things that should make sense, don’t. Connectors like bails and crimp beads with bead covers are sort of decorative looking, this way it adds a little flair to the piece rather than just a mechanism.
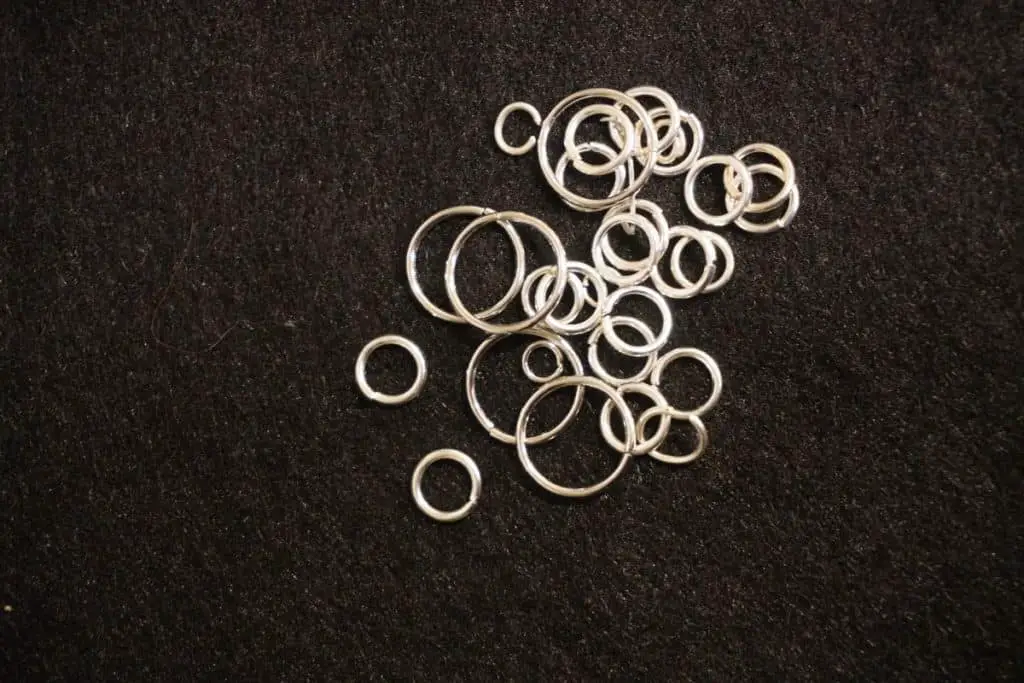
When selecting connectors do not go cheap! Connectors like jump rings can make or break your quality work and your customers will suffer. You can find my recommended jump rings here. They are small pieces but they really do hold your pieces together.
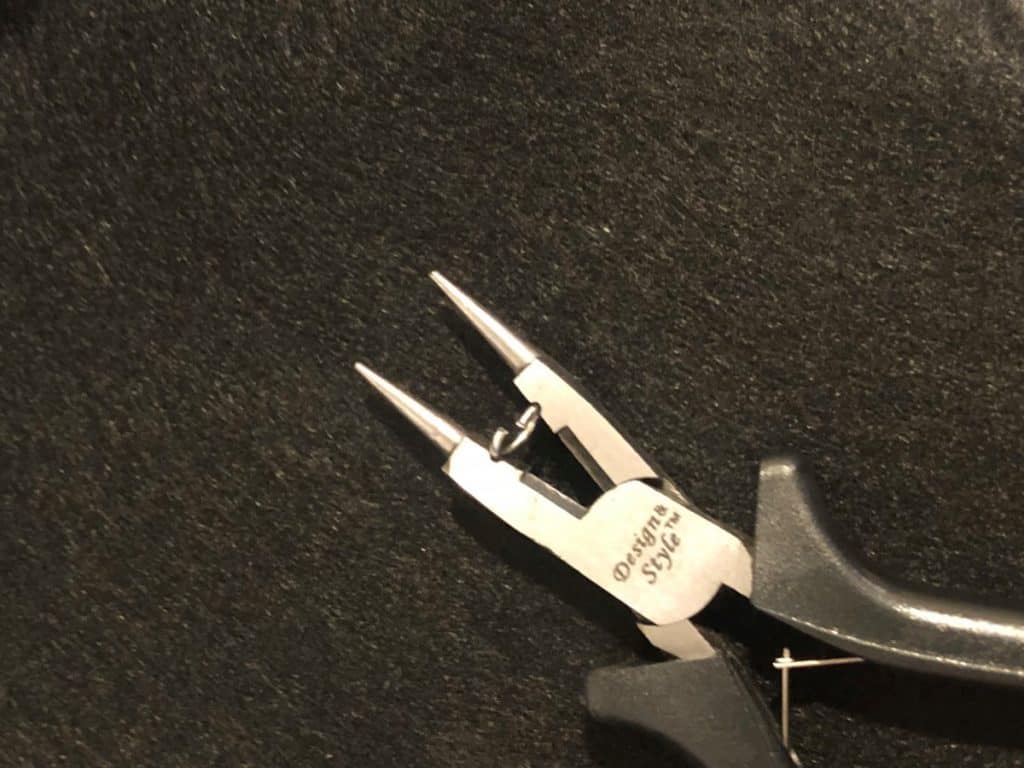
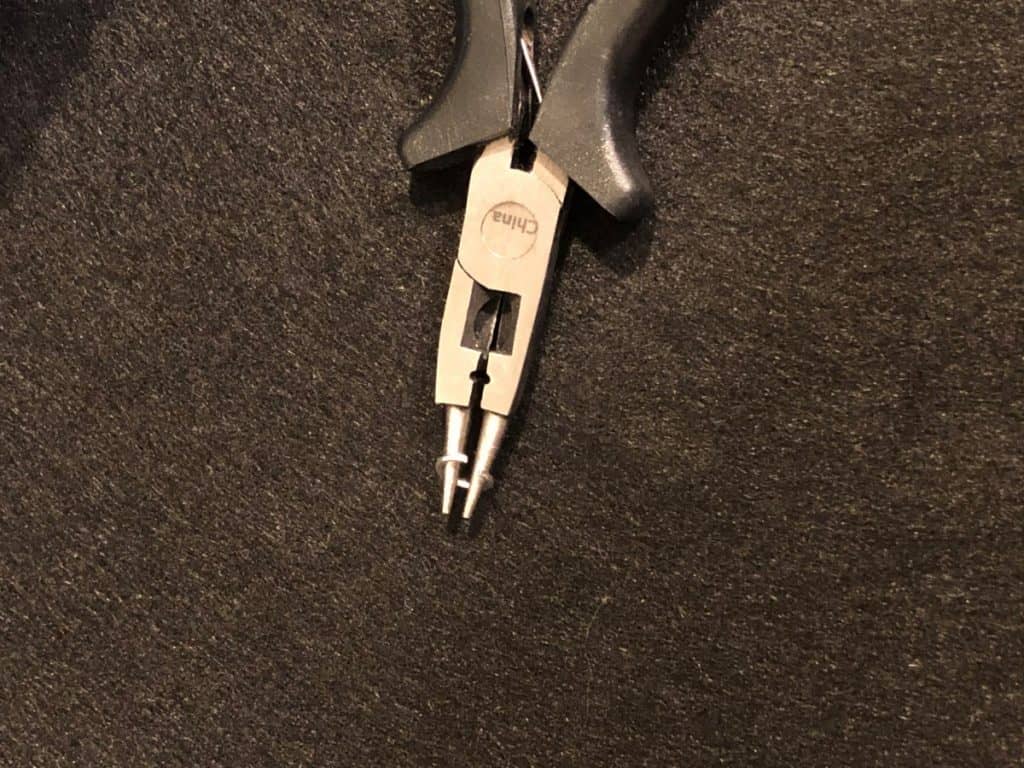
In order to use a connector, you will need some of those jewelry pliers I recommended earlier in the post. What you will do is insert the pliers into the hole of the connector (see below) and separate the jump ring or other connector pieces by pulling your plier handles apart.
Then you loop the connector through your jewelry piece and close the connector by using these pliers and squeezing gently and slowly, taking care, not to over squeeze and overlapping the connector. Then you have closed your connector and your piece is ready to go.
Clasps are used for almost the same concept as connectors, almost. You see, in order to use a clasp you have to use a jump ring to connect the end of a chain or other material to the clasp, then you have to use another jump ring to connect a larger jump ring to the clasp.
Did you catch that? I know a ton of jump rings, you will go through these more than your toddler changes her clothes in a day (just trust me if you don’t have a toddler). I use jump rings on pretty much every piece of jewelry I make, with only two exceptions, stretch bracelets and rings. Here is a picture to show you what I meant.
To use a clasp you have to first attach a connector, I mostly use jump rings as I said, but you can use whatever you like. Once you have looped your connector and before you close it with your pliers you will add the clasp to the connector then close it up. Kind of like the process of adding a key to a key ring.
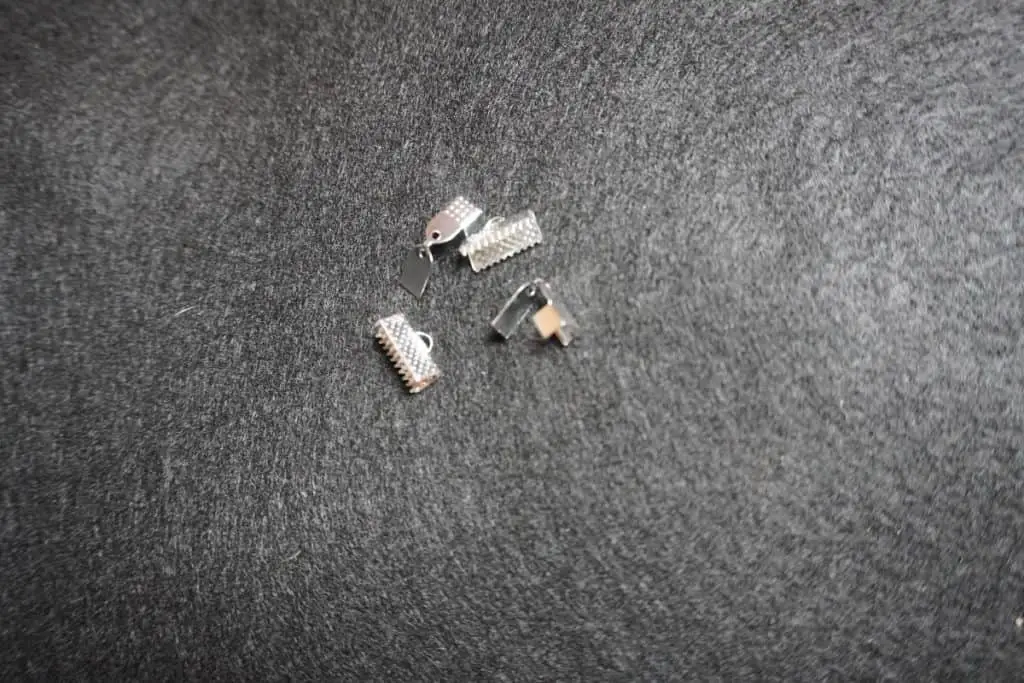
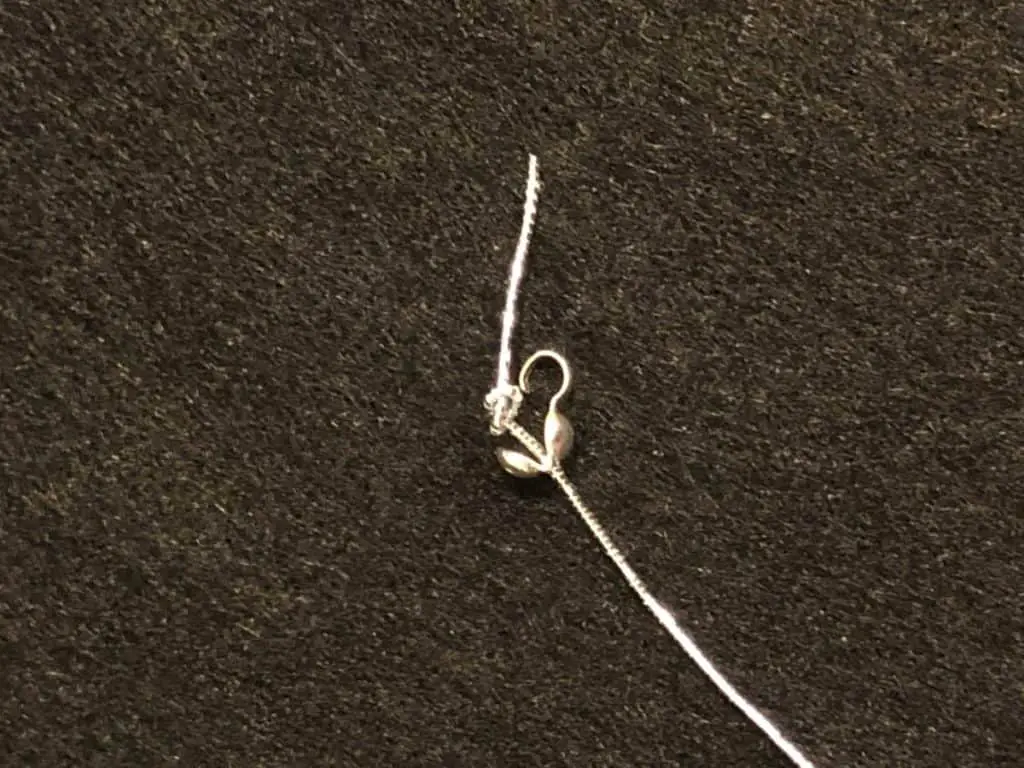
Finishers are endings, the “finish” your piece, but unlike connectors, they do not connect two ends. Many get the two confused, a finisher just ends one cord or many strands of cord or beads together, then you use a connector to connect the two ends.
A callotte or clamshell is used to cover a knot at the end of a string. These tiny metal shells give you something to end your piece without looking like a four-year-old made it in the daycare art class. It also keeps the knot a little more secure and gives you something to connect your ends together with.
Beading cones are used at the end of a strand of beads so that you don’t have to attach them one at a time. They keep the multiple strands together so they look neat and secure.
In order to use a finisher, you will need to tie off your string first, this will add a secure knot to the end piece. Then you can add your finisher by either crimping it with pliers or gluing with jewelry glue. See below for an example.
Just like finishers, terminators are used to ending a piece, or in other words “terminate” the piece. The two are not much different from one another, just the name mostly.
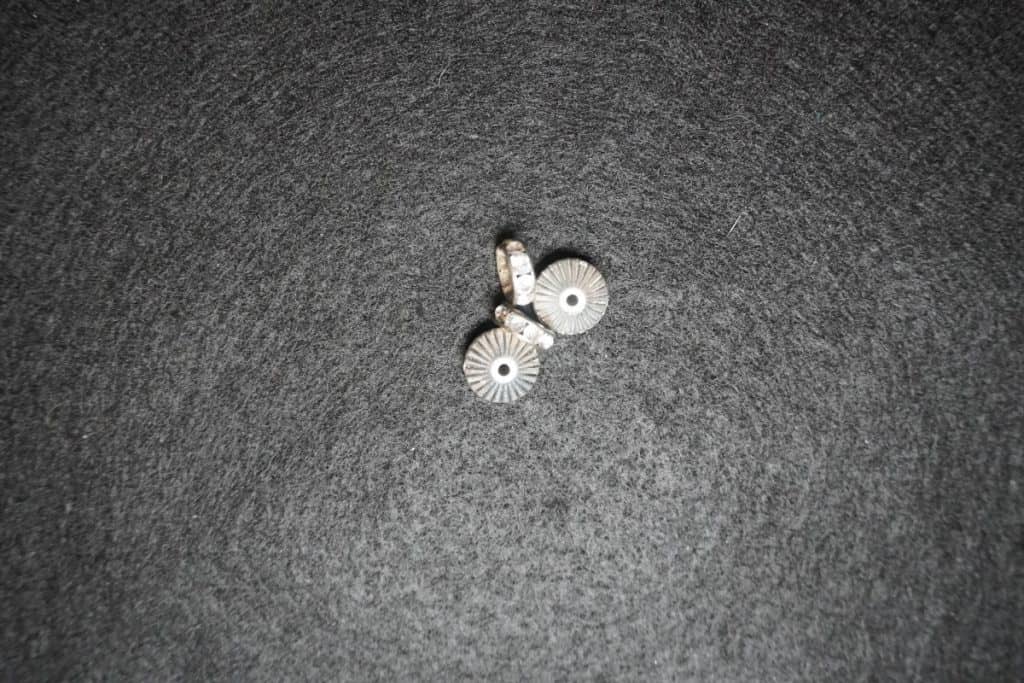
Decorative findings are quite possibly my favorite of them all, they are so fun and can easily add a personal touch creating a unique and one-of-a-kind piece. Decorative findings are literally that, decorative metal beads, spaced in between other stones or beads to break up a sequence or pattern to create a new one.
They can also be bead caps to turn a simple plain bead into something beautiful. Bead caps come in all sizes and are metal (mostly aluminum or other thin and flexible metal) that can bend and curve to fit your specific bead perfectly.
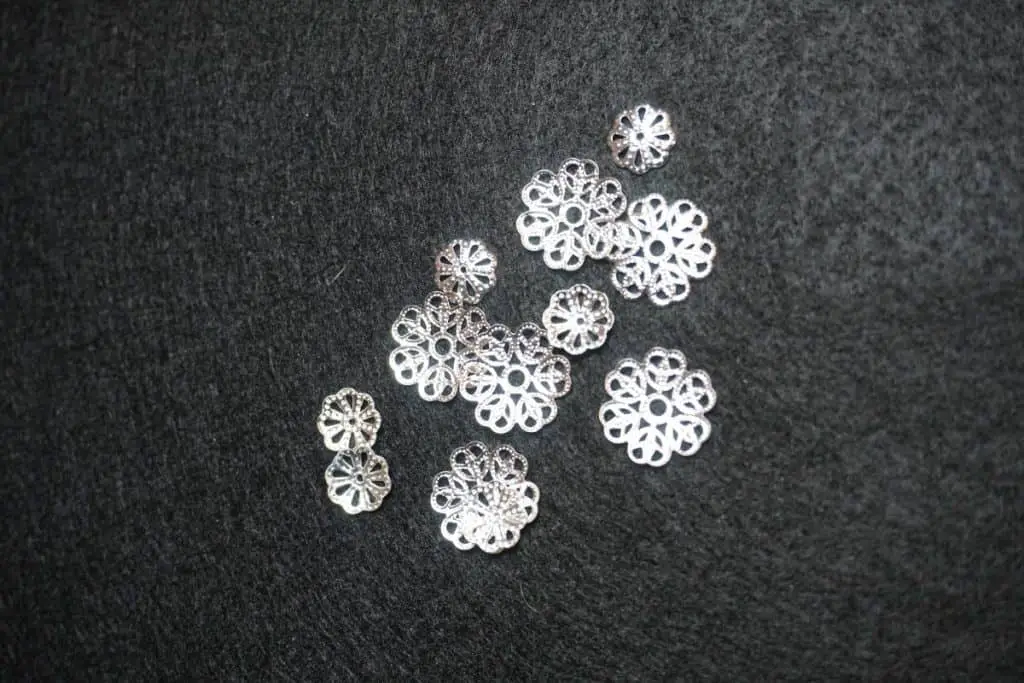
To use decorative findings there really is not much to the process, most are just a simple slide on or crimp close method. You can actually use them in any way you find suitable, they are there for decoration, some of these findings serve no other purpose.
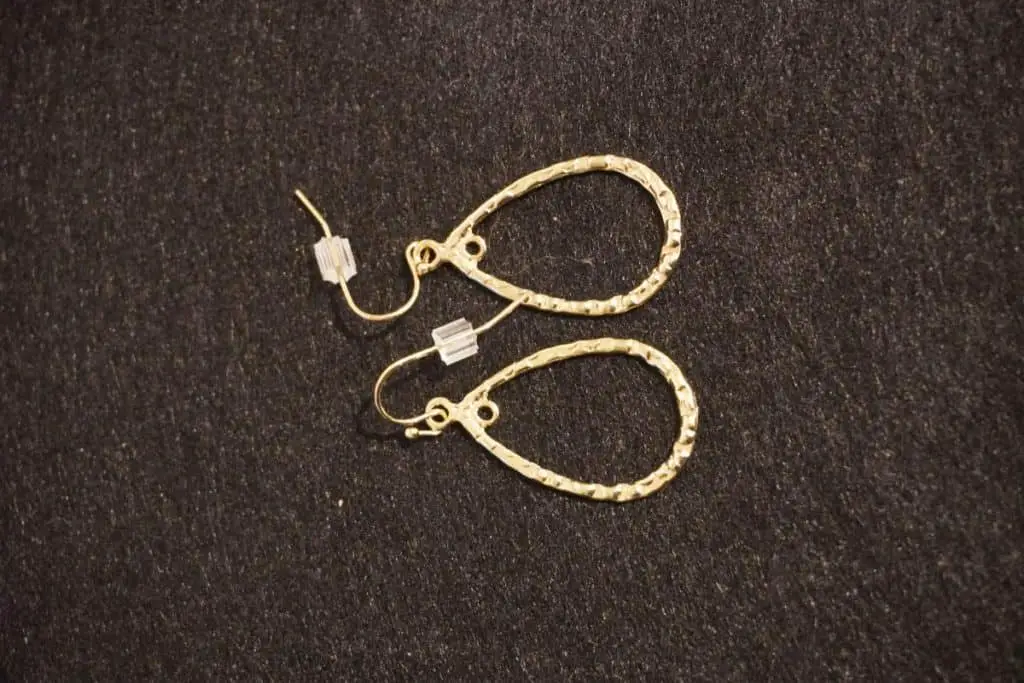
Now there is one decorative finding that I just adore and that is the chandelier. These can create the most gorgeous drop earrings if done right. They can also be used to make mothers charms for necklaces (or even earrings if you re feeling creative enough). Mother’s charms are like this one from Amazon, basically, it is a charm that holds all of the children’s birthstone colors.
There are a few different types of chandeliers you can find, some just have little holes that you can dangle beads or charms from the bottom, others have holes that allow you to dangle beads or charms from in many areas like the middle, it depends on what you are going for. Here is an example of a chandelier:
Where to purchase
Now that you know what findings are, the various types and styles of findings and how to use them you probably want to know where to buy them right? Not only that but which ones I recommend you use, ya know because I am the “expert”, not really though, I do not and will not claim to ever be an expert!
I get the vast majority of my findings for jewelry making from Amazon or Michaels if I need something last minute. Amazon offers 2-day shipping on almost everything if you have Prime and if not you can still get it within a week. If you do not have Amazon Prime I highly recommend you get it!
If you are not in a super rush to get your jewelry findings then I say get them from Amazon. You can check out my top recommended findings for jewelry making over in my recommended products page:
Best Findings for Jewelry Making – in this post I reviewed every finding I currently use and any that I foresee me using in the future.
If you are in a tizzy and want to get started on making some awesome pretties then head out to Michaels and look for the following brands:
- Darice
- BeadLanding
- Beadalon
- Artistic Wire
I have used and ONLY use these brands, they are great quality and will not cost you an arm and a leg. IF you do decide to shop in-store, you have the advantage of using coupons! Yay for saving monies!! If you want to learn more about how to save and stack coupons check out this video I posted a few months ago.
You can also look for them at other craft stores and online, I just like to stick with what I know since I know it will be good quality. There is nothing worse than having a finding pop off a masterpiece after delivery, it is kind of like getting a peanut m & m without a peanut…not cool universe, not cool.
All of the local craft stores around me have closed besides Michaels and Hobby Lobby, which believe it or not I have only been in one once?!?! WIld right? I am not sure if they carry findings for jewelry making or not, nor do I know if they have my brands.
Other findings
While this is quite an extensive list of types of findings it is by no means a full list. There are several other types out on the market and to name them all is just unrealistic. The findings listed above are just the more popular ones. But if your still curious and want to know a little more here are a few more:
- Bead aligners
- Bead frames
- Buttons
- Cabochons
- Rivolis
- Blank bracelets, necklaces, and rings
- Embellishments
- Earrings
- Earring backs
- Tubes
- Cones
- Chain extenders
- Eyeglass holders
- Cup chain findings
- Pins (for broaches)
- Watch faces
Still not all of them but you can see that the types of jewelry findings list is huge! I love it, the possibilities are endless in jewelry making. With all the different ways to spice up your pieces, it makes it really difficult to create something boring!
Other uses for jewelry findings
Now you are probably thinking there is no way most of this stuff can be used for anything other than jewelry making. There indeed is though, and I am going to share them with you! Don’t you feel lucky?
Time to turn on your creativity cap!
Recycling anything is really fun and a neat way to help save the planet, so finding other ways to use old findings is not only fun but it’s resourceful. Of course, you could always melt down the metal and use it but that is not as fun as these methods!
By removing the loops or links and burring down rough edges in your chandeliers or charms you can create some really cool decorative findings for other jewelry OR you can glue a magnet to the back and create some fun magnets for your fridge!
Eye and Headpins can be used to secure clothing, if you need a safety pin but can’t find one a headpin or eye pin can be used and even decorated in place of one. Just grab some pliers and shape to your desired look and boom, you now have a pretty pin!
Got an old, ugly piece of clothing that could use a little love? Grab you come bead caps and spacer beads, some thread, and a needle and bedazzle that bad boy! You could even throw in some of those chandeliers you removed the loops from earlier for a really awesome and unique piece!
As far as the wire goes, the possibilities are insane! Thicker gauged wire can be used for so many things. Instead of using a head or eye pin grab some wire, throw some beads on it and create a broach to hold your clothing together.
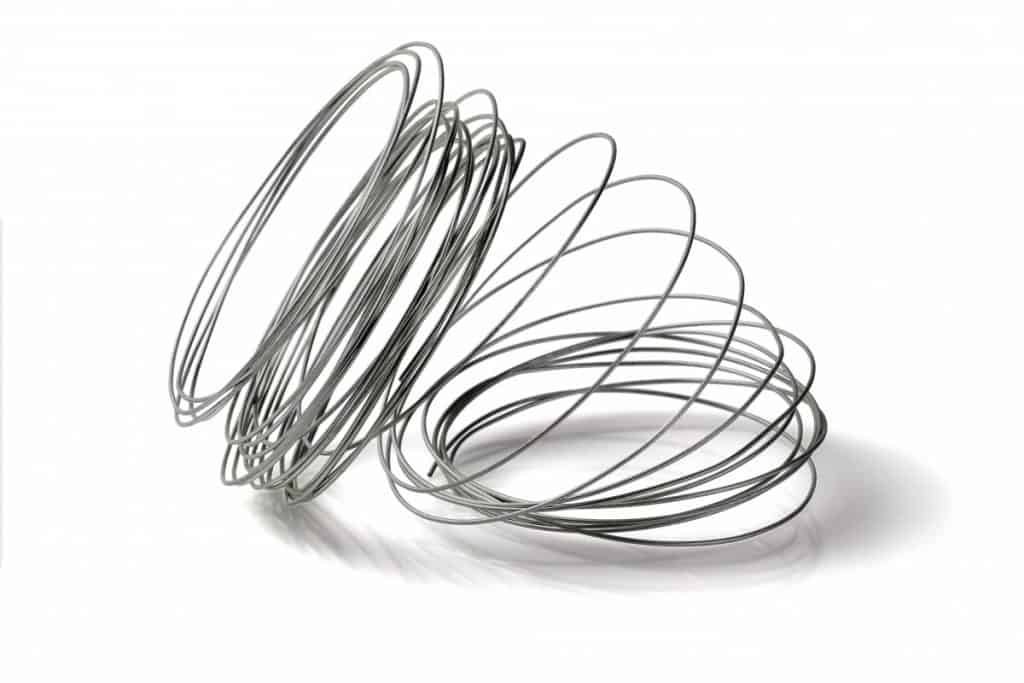
Add some flair to your purse by using a hole punch on the handles, grab some wire and beads and feed it through the holes. This is a fun one to use with memory wire or other more flexible gauges. Honestly, you could even skip the hole punching and just wrap it around the handles.
Need a paper clip? Grab some 18″ or thicker wire and bend into the shape of a paper clip, or get even more creative by bending it into a fun shape like a heart or star for a little extra touch of fun.
No keyring? No problemo, again, get some wire and wrap it around a mandrel or other round surface a couple of times for an easy to make replacement keyring.
Have you ever had the nose piece of your glasses break and not have the money (or want to spend the money) on a new pair? I have and it stinks! Thankfully with a little creativity, you can use some Aleene’s metal and jewelry glue and a spacer or any other finding that will fit your glasses over your nose to save you a few hundred bucks!
The findings
The findings on jewelry findings (haha, I felt compelled to say that) are that there is an immense amount of styles, shapes, sizes, and finishes available and they are a necessity when making jewelry. Now that you know all about jewelry findings uses and what types are out there you can get to work on creating some awesome masterpieces.
As always, create something fun and have fun doing it.
“Money can’t buy happiness but it can buy jewelry and that’s pretty close”
Be sure to check out some other nifty functional craft ideas through our other posts here on Craft-ILY as well as checking out some videos on DIY and How To’s over on YouTube. Look for “Crafting Unedited” to see!