In jewelry making you use so many different tools and you will want to find the most efficient and useful tools available. You will also want to find what tools can be used as multi-use tools to save some space and chances in you losing them. I am in a constant state (even with multi-use tools) of where did I put those pliers?!?
So what are the best tools out there for jewelry making?
Well that honestly depends on your end goal, so I will cover this in two parts:
- Best tools for a hobbyist jeweler (making jewelry for fun)
- Best tools for a real jeweler (making jewelry to sell)
I don’t want to give you too many options here so we will cover my number ones only.
Best Tools for a Hobbyist Jeweler (making jewelry for fun)
Making jewelry for fun is a great hobby! It can be very zen and relaxing. You can create pretties for yourself as well as family and friends!
Basic Jewelry Tool Kit
A general jewelry tool kit is great for beginners and is actually what I started with. It was the most cost effective product that contained everything I needed and more. My favorite kit is this one from Amazon made by one of my top brands for jewelry making tools and supplies, Bead Landing.
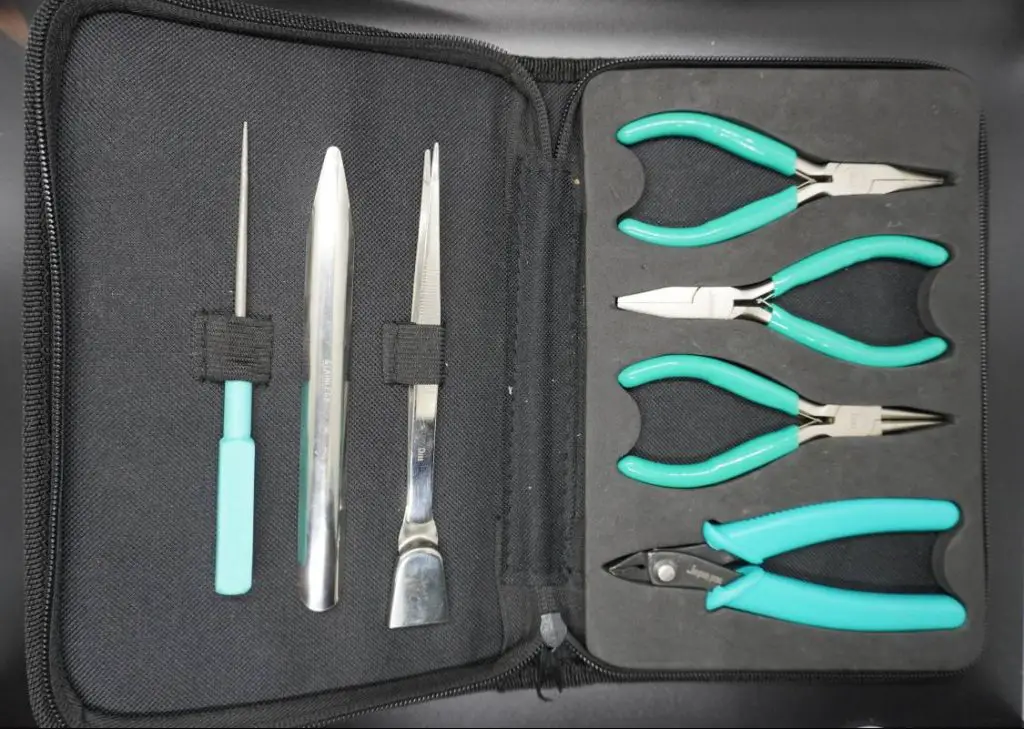
This kit has been very reliable in every aspect I have needed it to be and is really durable. I am not the most gentile when it comes to my tools so everything in this set has been through some wear and tear in the last three years I have owned it.
The kit comes with:
- Flat nose pliers
- Long nose pliers
- Round nose pliers
- Flush cutter
- Bead reamer
- Tweezers and bead scoop
- Storage case
The storage case was a bonus that I honestly wasn’t super excited about until I realized that it was a total necessity. I lose my dang pliers CONSTANTLY. So when I say you need the case, you really do need the storage case (unless that is you are not a true crafter and your workspace is always super tidy). This kit will only run you roughly $20 and for that price the case might as well be free.
Don’t worry though if the kit is not for you, I’ve added my favorites for outside of the kit as well. The kit was convenient and a great starting point for me.
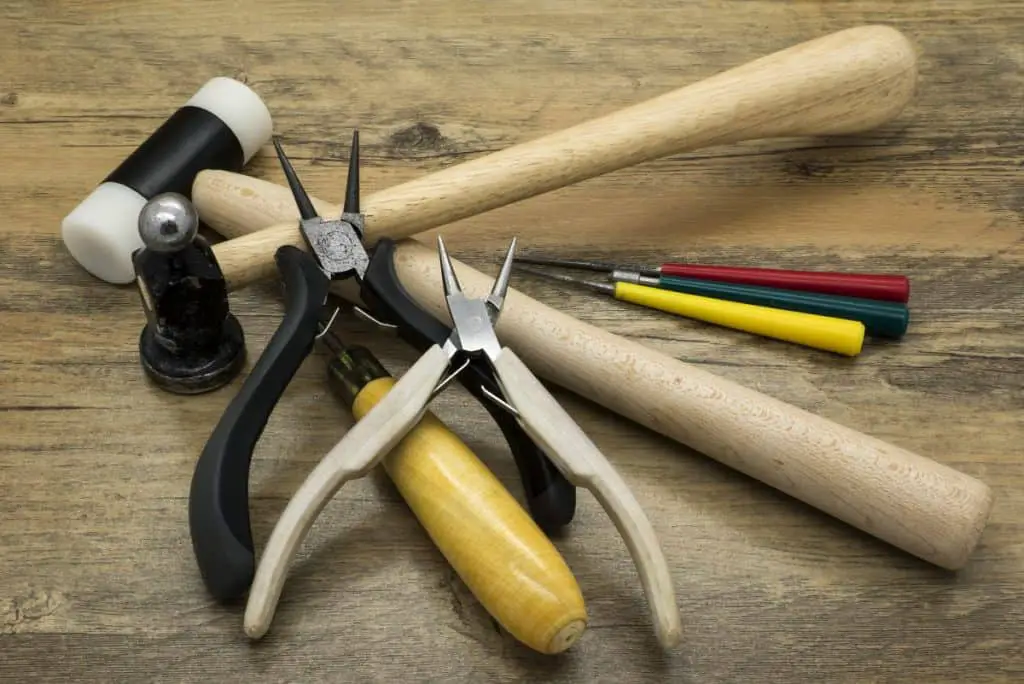
Pliers
There are a few types of pliers you’ll need and if you want some that are a bit better quality or have features that the kit above doesn’t have like softer grip or an all in one feature then you will definitely want spend a bit more money.
- Round nose pliers have a rounded tip and are used for bending and twisting or rolling wire. They can be used to create ends on earrings and hooks.
- Flat nose pliers have a flat tip and come in a couple different sizes. I only use the two sizes right now and that has worked well for me. They are used to bend and twist wire as well but more as an angle bend not a rounded bend.
- Nylon coated pliers replace the round nose and flat nosed pliers. The tips are coated in nylon which give you a great grip on any wire you are working with. They allow you to bend and twist any way you want.
- Combo pliers are amazing! This pair of pliers are a combo of round nose, flat nose and wire cutters all in one. These have been the most used tool in my arsenal. The pair I have are from a brand called “Design & Style” not a popular brand but they have held up well.
Filer
Filers are used to file down jagged edges in your wire or if your beads have rough edges, you can scrap then down using the filer to create a smooth surface. I haven’t really found a specific one that I like, mainly due to the fact that I have not needed one. I have been using my bead reamer that came in the kit mentioned above and that has sufficed for the time being, now if/when I decide to move into the real jeweler world (I do not see this in my near future, I love crafting way too much haha!) I will for sure need a fancy filer like the one a friend highly recommends.
If you find yourself in a tizzy and need to file down a rough edge (this will happen so it is good to have something on hand you can use) you can order this kit from Amazon. It comes highly recommended by many and has a variety of files for you to choose from.
Ring Mandrel
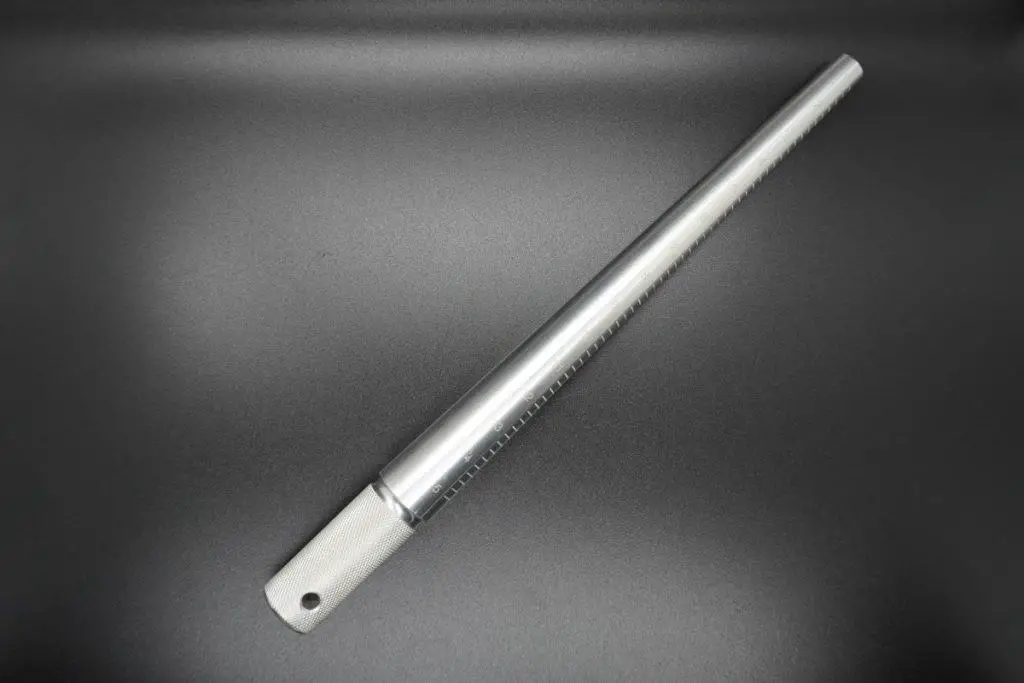
If you are super new in the jewelry making world you probably have no idea what a ring mandrel is, not going to lie, I had no idea until I spent hours searching for “metal ring rod”and believe me what I wanted to come out of that search was far from the results that came up! So please do yourself a favor and do not Google it.
My advice is get this one, it is the one I use and have used for all (except one when I first started and quickly realized I needed one) of my rings. I love it because it is of great quality and has a really good grip for the wire you are using to prevent it from sliding all over the place.
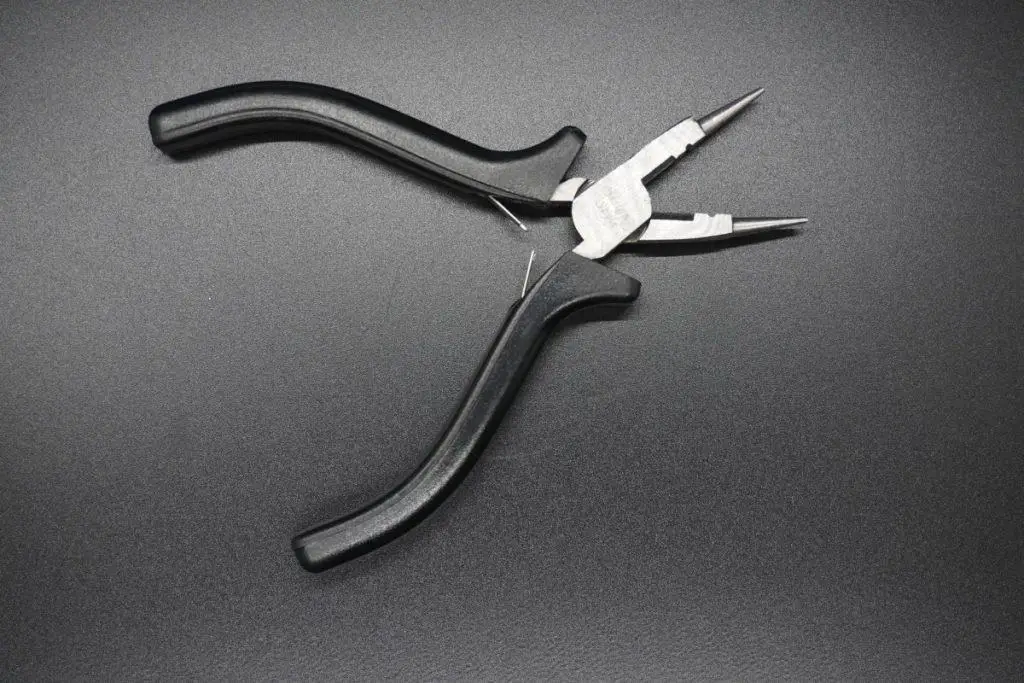
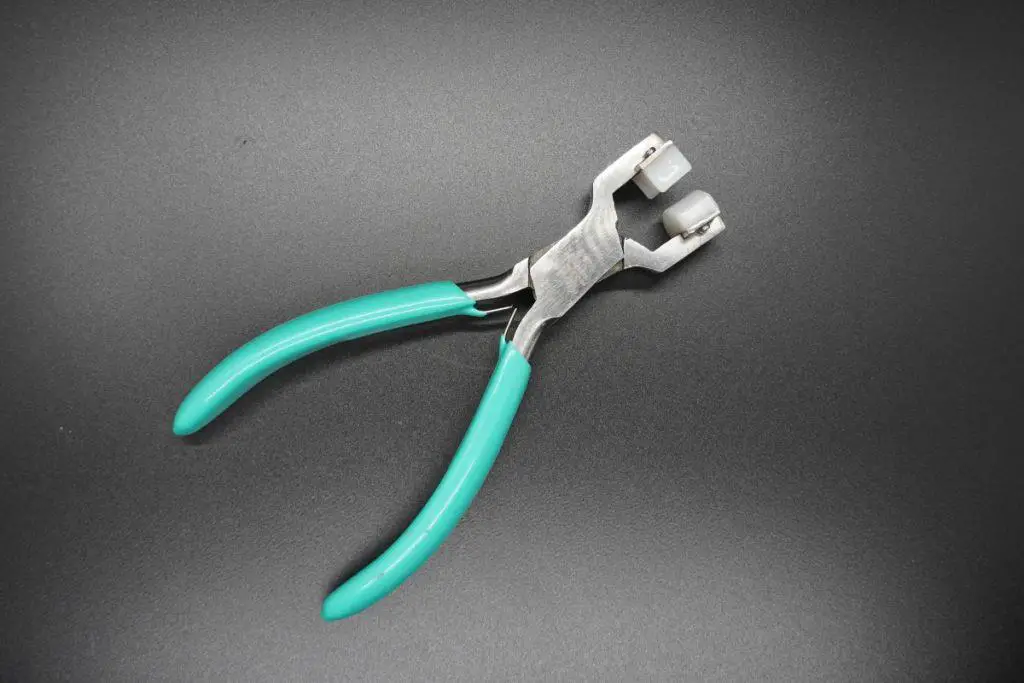
Wire Bender
Wire Benders have been so insanely helpful in my ring and bracelet making. When I first started and attempted to make wire wrapped bracelets and rings my fingers were so incredibly sore and I could not figure out why. Then one day as I was wrapping a ring around my mandrel I realized why.
After the pain of that and realizing what was causing it I immediately ventured out for a solution. In my search I came across wire benders, I did some research and came across this pair on Amazon, being inexpensive, coated with nylon and have a comfortable grip they are my top pick. They make bending and shaping even the thickest wire simple. Just place and squeeze and BOOM you have a well rounded (puns intended) product!
Tweezers
Yes you will need a pair or two of tweezers and no the pair you have in your bathroom vanity covered in eyebrow pluckings will not suffice. You need a pair specifically for jewelry, a good pair with a point and that are larger than your hairy bathroom tweezers.
The pair I recommend are again made by Bead Landing. They have a great point and have been really great and easy to use, which to me is super important. Another great thing is they are comfortable to hold, if you plan to work with beads then grabbing them is not always an option as some are just too tiny to pick up. These tweezers can grab them from the itty bitty hole and put them where you want them with ease. This specific pair also has a bead scooper, which can be super helpful when using the really little beads.

Wire Cutters
No matter what type of jewelry you are planning on making you will need a set of wire cutters, you will eventually get into wiring of some sorts and will need to cut it. Scissors will only work for so much and if you intend on using thicker gauge wire they will not work. A solid pair of wire cutters are under $10 for the majority of brands. My favorite are these from Bead Landing. They have a comfy grip and have held up to some thick gauges.
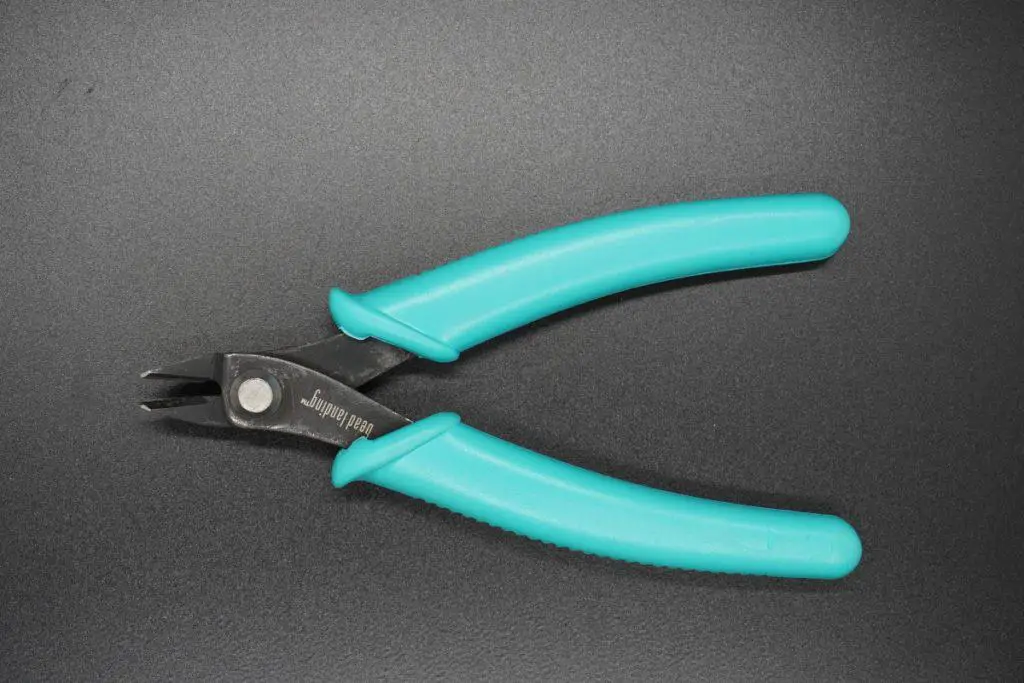
Wire cutters are an important tool to have in your workspace. You will use them for obvious reasons but not so obvious as well. One example is when you buy beads they typically come in a package that they are held together with wire cording, another is when you get chains for necklaces you will need to cut them to size.
Best Tools for a Real Jeweler (making jewelry to sell)
So the best tools for becoming a real jewelry maker goes hand in hand with hobbyist tools, so you will need all of those tools and more. As a real jeweler you will work with more precious metals and gems and possibly diamonds, it really just depends on how far you want to take it.
For me personally, I am a hobbyist. I love making things that are full of fun and uniqueness which means I use a lot of products and each item is different. Working with the material that I do is a simple process and allows me time for all my other crafts too!
Working with precious metals and gems calls for more time and patience than I want to put into it.The tools you will use for the real jeweler are also more expensive due to the fact that they are more complex and durable. All of the tools I recommended for a hobbyist jeweler can be used for this as well, none of what I recommend will ever be low quality or not durable (as mentioned above I am not a fragile chick, maybe fragile like a bomb but for sure not a flower, so I need durable tools!).
Since I do not own any of the following tools I did some digging and found the best (in my opinion) and most affordable options that I would purchase if I decided to dig deeper into jewelry making.
Flush Cutters
Flush cutters are very similar to wire cutters, however these cutters do not leave any loose ends (little ragged edges that can snag on skin or clothing) hence the name, flush cutters, they leave a smooth flushed finish. I am the type of person that when I find a brand I like and trust I tend to stick to it, for that reason I chose the Beadalon Flush Cutters.
The Beadalon flush cutters offer a comfortable ergonomic grip, strong blades and will not break your bank. Some flush cutters get up there in price, based on reviews these hold up really well for under $40.
The reason you want a pair of these is if you want a flat cut for making jump rings or things of that nature where the ends need to connect to close the product you are making.
Jeweler’s Saw
A jeweler’s saw is used to cut fine details in your work, it is far from a chopping block. In my opinion it looks like a cheese slicer, then again I can make anything into a food related item, I am always hungry! Back to the subject at hand here, the saw. The one I chose is one that is not from my favorite Beadalon brand, Beadalon is a great brand when it comes to beginners but, they are not products really intended for professional use (some are, a saw is not one of them).
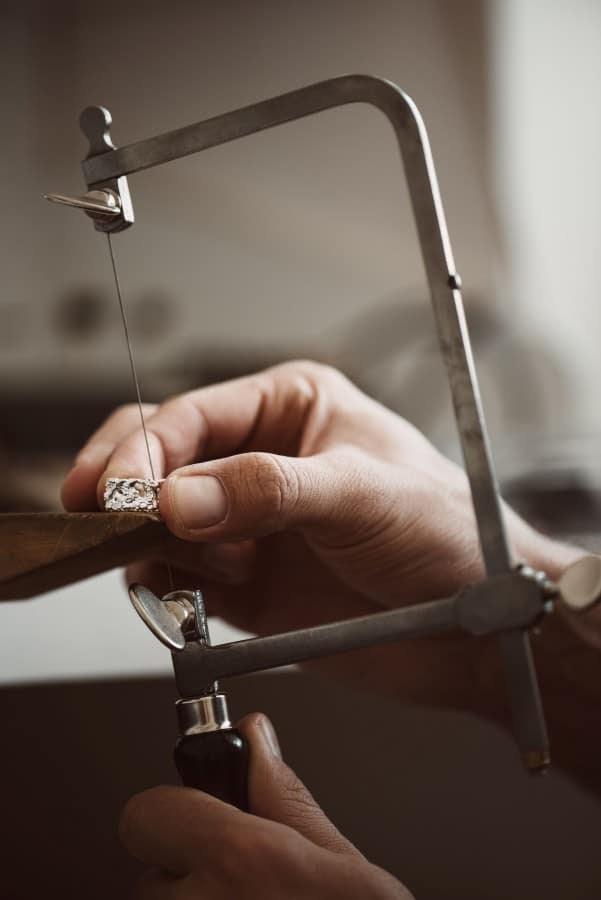
One wouldn’t think you would need a saw for jewelry making, I mean it isn’t like you are chopping wood or cutting up large chunks of metal or anything. You might however find yourself wanting to make tiny cuts and intricate details and this is where a jeweler’s saw comes into play.
I chose a German style one due to the reliability of the blades (my cricut blades are made from German carbide and are phenomenal) and the fact that it is adjustable, which means that it would be able to give you an easy and precise cut. The SE 3” Professional Adjustable Jeweler’s Saw Frame – 81970SF is affordable and seems really durable based on the reviews available.
Magnifying Glass or Goggles
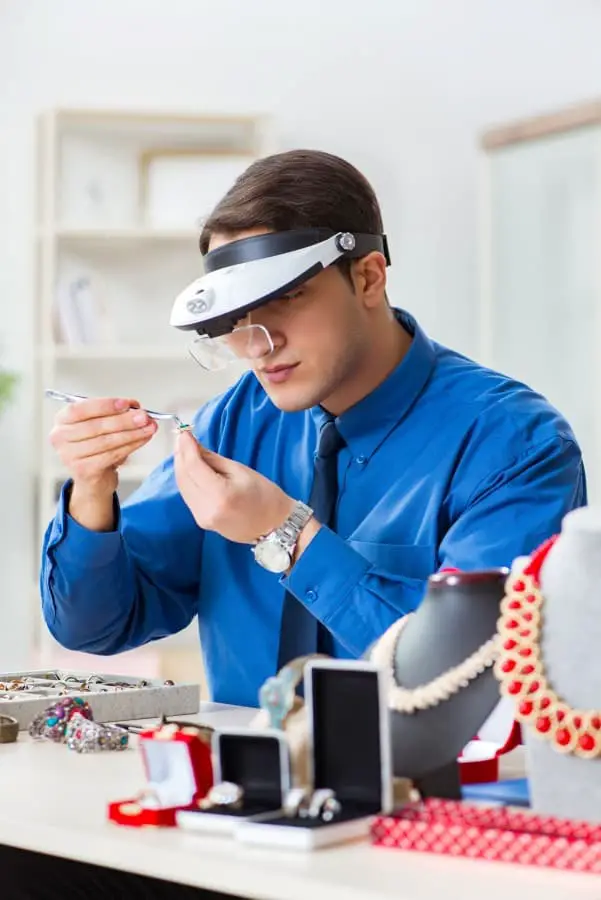
Working with jewelry can be tedious work, especially when you have a hard time seeing what you are working on. From gems to tiny beads there are always fine details that could be easily missed if you don’t pay close attention.
Since most of the time you will need both of your hands, I chose the YOCTOSUN Head Mount Magnifier with 2 Led Professional Jeweler’s Loupe Light Bracket and Headband are Interchangeable. This headlamp/magnifier is a combination of tools you can utilize for many things (even non jewelry related, just think how attractive you would look with these on in bed reading your favorite book).
Some of the amazing features that the Yoctosun Headmount offers are:
- 5 interchangeable lenses with 1.0X, 1.5X, 2.0X, 2.5X, 3.5X magnification, scratch-resistant acrylic reduces weight.
- Comfortable eyeglass frame with rubber nose-pads or switch to headband for more-secure fit.
- Headlight with 2 super-bright LED -powered by 3 AAA batteries (included), last for long hours.
- See your work pieces or text magnified up to 350% original size with high clarity.
- Perfect for jewelry work, watch repair, arts & crafts or as general reading aid.
I love the idea of this and just might have to get one for all of my crafting needs!
Additional Tools
- Hammers
- Anvils
- Soldering machine
- Torches
The list for “real jeweler” tools could potentially go on forever, depending on what types of jewelry you are creating. If you are solely planning to work with metals and beads then the list above is a great start, if you are planning to dive deeper and get into jewels and gems like diamonds, ruby, emeralds and more then you will need many more tools. Since I don’t have experience in working with these items I don’t think it would be fair to recommend products I don’t know much about.
Be sure to check out some other nifty functional craft ideas through our other posts here on Craft-ILY as well as checking out some videos on DIY and How To’s over on YouTube. Look for “Crafting Unedited” to see!