Having an interest in jewelry making isn’t a big deal that is if you are sticking to the simple stuff like braiding basic necklaces, bracelets and earrings. If you start to venture outside of the basics you will find yourself in a new world of jewelry, when I first started I had no idea how much there was to learn!
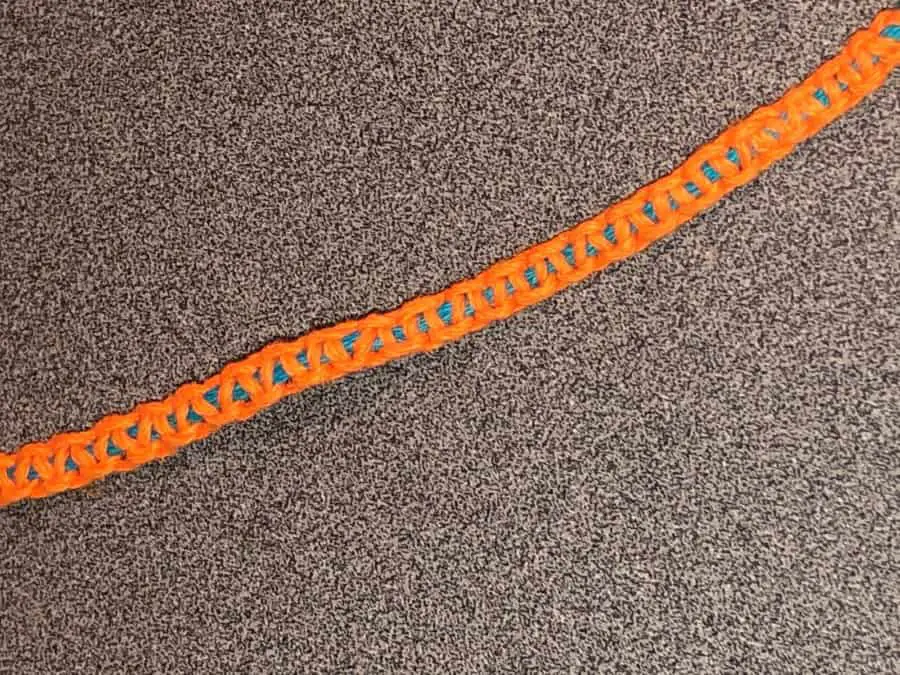
One of the most difficult things that you will have to learn is knotting, you will need this skill set in order to tie off your jewelry so that it doesn’t fray or come apart, or for decoration purposes. There are many different types of knots, too many to cover in a single post, so we are going to start with the basics for beginners. The knots we will be covering are:

By the end of this article you should be able to successfully tie a few of these knots, well at least one of them. So grab some string and practice as you read along.
Overhand
The most commonly known knot, is the Handover. The Overhand knot is the knot you tie your shoes with, start a bow and use for several other everyday tasks. Not only is it the most commonly used but it is also the easiest to accomplish! So there you have it you ALREADY know how to tie one of the knots on the list.
I shouldn’t have to but just in case, let’s recap how it’s done. You take two ends of string (or other material), cross them over one another and pull.
Square Knot
The Square Knot, also known as a Reef Knot, is a more fun and decorative knot. While it is a bit more tricky to grasp than the Overhand, once you have the hang of it, it becomes really easy to do.
First you tie two Overhand Knots as follows – right over left, then left over right. Imagine a top and bottom rope, first tie the bottom rope ends together with a Handover, then repeat in the other direction for the top making sure both ends of your rope exit together.
Fun Fact: Sailors use these kinds of knots to tie their sails and to hang stuff off the ships, hence the name Reef Knots.
Surgeon’s Knot
Every surgeon learns the Surgeon’s Knot very early in their careers, it is actually something that all nurses and anyone with any first-aid experience should learn. The Surgeon’s Knot is so secure it is used for many things but most importantly it is used to seal open wounds.
To tie a Surgeon’s Knot you will overlap the ends of two strings, form a loop and pass an end through it (using both ends), pass it through again, tighten by pulling both ends of the string, trim the ends and the end result should be tight and compact.
Pretzel Knot
Probably one of the funnest (and delicious sounding) knots ever. In the jewelry world you will hear it referred to as a Carrick Bend Knot. It is not super difficult to learn and can be used for securing or as decoration but let’s be honest, it will be used as decoration more than anything because it is so neat looking.
You will start with four “ends” or two strings and loop them to make 4 end strings. You will separate down the middle so that you have two, two string pieces. Then you take the left side and loop it around itself, leaving the ends overlapping the left side. Take your looped left side and place it OVER the right two strings.
Then while holding your strings in place pull the right strings upward gently. You will then take the right strings and basically weave them through the “pretzel” (over, under, over, under). Once you have exited your pretzel you can flatten out the strings and start to gently pull on both ends.
You might have to push some of the strings down or shift them as you pull so that you get the flattened pretzel shape and not some weird funky shape.
Pearl Knotting
A Pearl Knot is not just for pearls, though its name would throw you off and make you think otherwise. Pearl Knots can be used for a variety of things, it is a “protective knot” meaning that it protects the pearl or other beads from running against one another.
For this one you will want some additional tools, pearls or beads, tweezers and a beading needle or other needle. First you create a simple knot at the end of your string (the other end without the needle), then you can add a clamshell closure to the knot or leave it and decide that later. Then you will string a bead using the needle you attached and pull it through to the end of your string where you tied the knot.
You want to make sure that the bead or pearl is snug to the knot because once it is in place it is very difficult to undo. Once you have the bead or pearl in place you will make another simple knot but do not close it yet! Next insert your tweezers into the knot and grab your string closest to the bead, WHILE HOLDING THE STRING with your tweezers pull the knot closed. Slide another bead on and repeat. This secures your beads/pearls into place without the risk of damage.
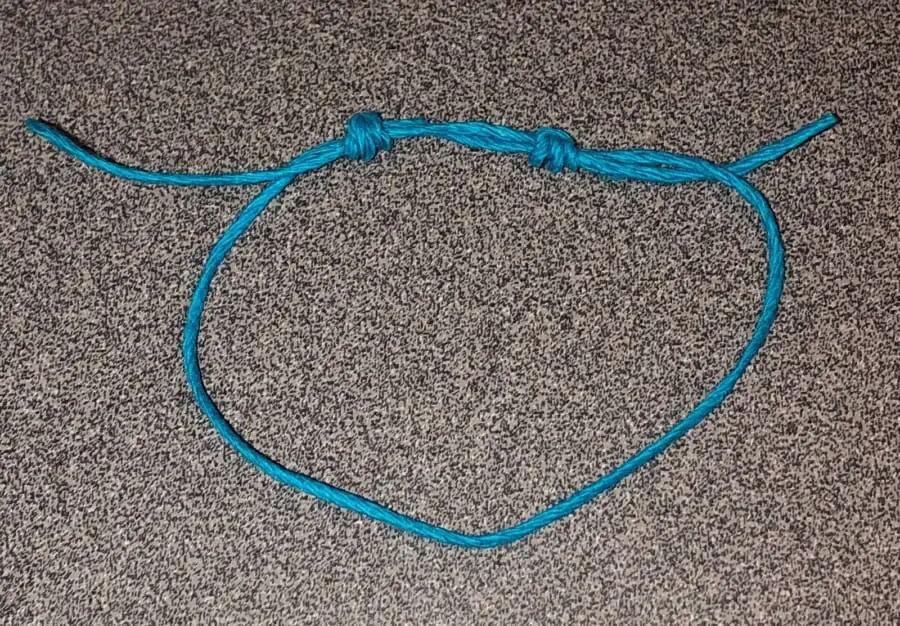
Sliding Knot
A classic, the Sliding Knot is one that I vividly remember being infatuated with in the 90s. You probably remember them on the brightly neon colored rope bracelets that had matching rings. If not you can hop on google and search for 90s bracelets to find them all over, they are pretty iconic.
You just need one string for this one, I prefer to use the Sliding Knot for my corded bracelets but we can practice with string, though you will want a thicker strand. First cross both ends so that the left end is in FRONT of the right, take the left strand and wrap it around the right strand, repeat the wrapping for three loops around the right strand.
Next move the end of the left strand to the first loop and thread it through the inside of the loops and tighten. To create the Slider Knot you will repeat the same process on the opposite side of the bracelet. When you trim the ends of your strands you will and to make sure you leave enough space just in case you need to tighten later.
Half-Hitch
The Half-Hitch Knot is just like the Overhand but it is more secure. A more common name for the Half-Hitch is Double Knot, sure you have heard that one! In order to make the Half-Hitch knot you will follow the same steps as the Overhand but repeat it for the more secure hold.
Start with one strand as the “support” and wrap the other strand around the support, then pass the end through the loop you just created and pull, then wrap the end around again making sure to exit the inside of the loop as you pass through it. Last pull the end to tighten the knot and that’s it.
Larks Head Knot
Larks Head Knots are also called Cow Hitch Knots, the knot is considered a “hitch” in the jewelry world because that is what it does, hitches onto cord or string to an object. Simple to conquer and has such a fun look to it, the Larks Head Knot is a solid one to favor on for jewelry making.
First you will want an object, something round works best like a washer or ring. Take a strand of cording or whatever material you want and create a loop, then pass the loop through the object with enough space for you to pull your cord ends through, you will want to make sure when you pull them through that you flatten your cording, otherwise you will have twists and it would look sloppy. That is all you do, a super simple and very secure knot.
Tying knots isn’t something new, knots have been around since well forever it seems like. If you are in the jewelry making business or crafting world in general you need some basic knot knowledge. As you grow in your crafting or jewelry making world you will acquire a lot more knotting skills but for now, these will get you through.
A Little Supply Sharing
Some of the supplies I use come from Amazon and I wanted to share with you what I use these essential knots on.
Leather cording – I use this for bracelets and sometimes necklaces, the knots you can use with this are the Overhand, Square, Pearl and Larks Head.
Connectors – used for the Larks Head Knot mostly
Beading String – used for all knots
90s Bracelets – in case you didn’t go searching for them!
Be sure to check out some other nifty functional craft ideas through our other posts here on Craft-ILY as well as checking out some videos on DIY and How To’s over on YouTube. Look for “Crafting Unedited” to see!
3 thoughts on “Jewelry Knots for Beginners”