Cricut Infusible Ink is am amazing product and it is super easy to use. If you have not started to work with it yet you definitely should. There are several materials and blanks available for use with Cricut Infusible Ink and I want to share with you some of the “not official” compatible blanks too.
By the end of this article you will be able to confidently shop for blanks and materials you need for using Cricut Infusible Ink. In crafting there is a lot of trial and error, I have already done this part for you saving you time and money. Who doesn’t love saving? I know I do! Let’s start with a little detail on what exactly Cricut Infusible Ink is.
What is Infusible Ink?
Cricut Infusible Ink is an ink product that is very similar to sublimation. You can read more in depth on everything Cricut Infusible Ink in my post ” Cricut Infusible Ink Guide“. In short it is an ink that is transferred into a polyester or polyester blend product when pressed at high heat (over 350, ideally around 385-400 degrees). You can create bright and vibrant images using Cricut Infusible Ink.
Infusible Ink does have some drawback though, I do mention them in my previously mentioned post. The biggest being that unlike sublimation you can’t get multicolored designs without layering them. Granted Infusible Ink does make this a tad easier than vinyl (if you follow the process I do, which is cut your biggest layer/color first and have the sticky backing big enough to have your entire design on then cut each layer separately and piece them together on the big sheet and then press). The other big drawback is you still have to weed the negatives.
Aside from some small drawback which I could totally live with, Cricut Infusible Ink is great, especially for those who aren’t ready or into sublimation.
What do I need?
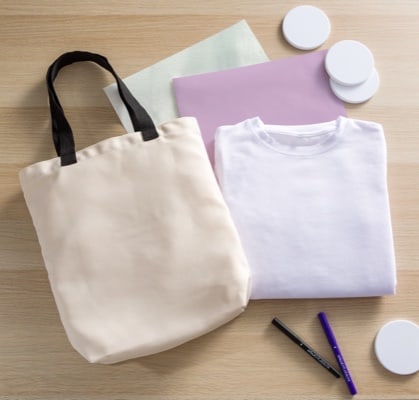
So now you know what Cricut Infusible Ink is and kind of how it works, now you are ready to find out what all is needed to use Infusible Ink. I will give you a hint: It is more than just a blank and the sheets.
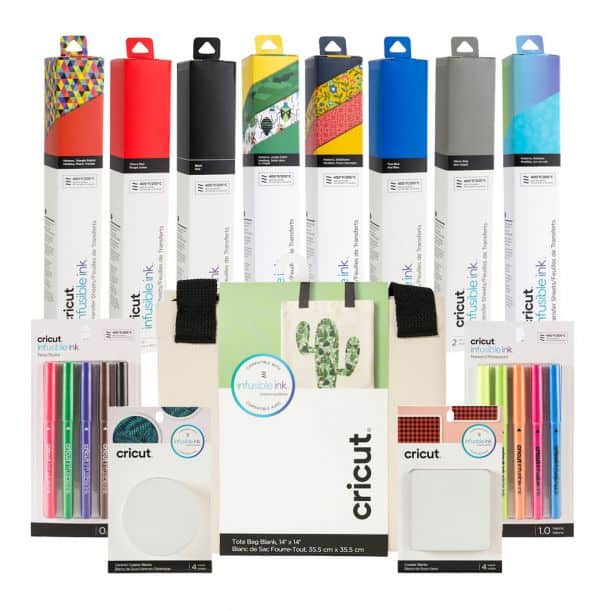
- Cricut Infusible Ink Sheets, Markers or Pens
- Butcher paper (yes, each package comes with ONE sheet of butcher paper per color, it is not enough, just trust me)
- Heat resistant tape
- Lint roller
- Design
- Cricut Infusible Ink compatible blank or sublimation ready blank
Compatible Blanks
Now we can get into the main point of this guide, which is going to be all about how to use Cricut Infusible Ink on compatible materials. I am going to cover my top five blanks and give you exact details on how to use Cricut Infusible Ink on them.
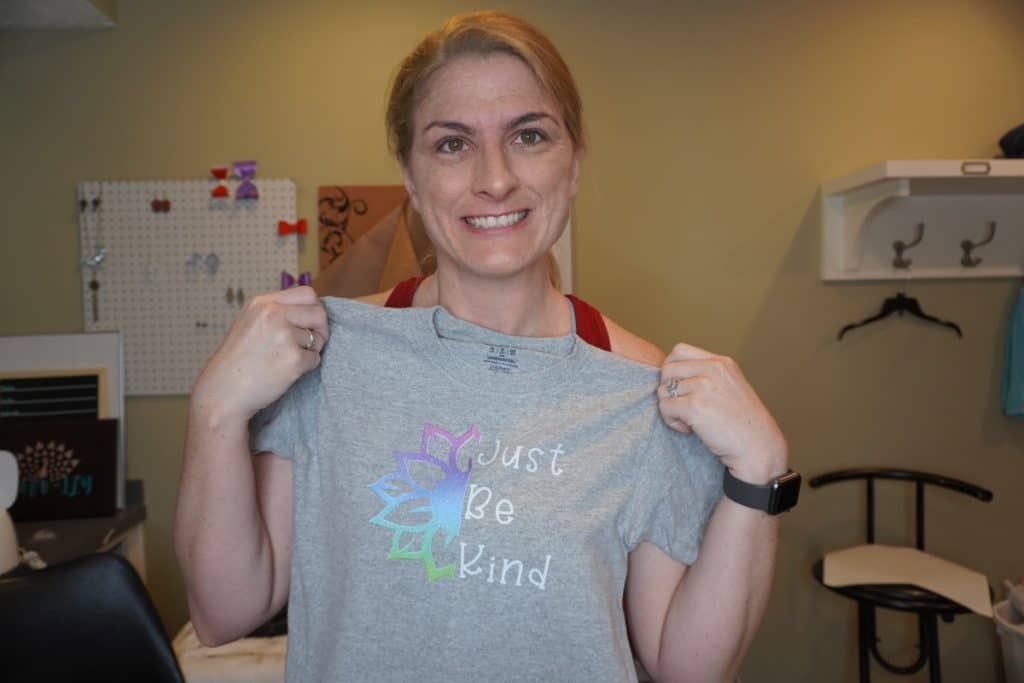
Shirts
Shirts are by far my absolute FAVORITE thing to make. If I could afford to just make awesome and fun shirts all day everyday I absolutely would! They are the easiest to make and everyone loves a good graphic tee.
The process for using Infusible Ink sheets on shirts is as follows:
You will need a minimum of 65% polyester shirt, the higher the polyester count the better. I use these ones from Cricut.com but I also use these Jerzees 21M from Amazon or Jiffy Shirts (depending on how fast I need them). You will also need everything else I mentioned in the supplies list.
Process
- Heat press to 385 degrees
- Create design while press heats and cut it DO NOT FORGET TO MIRROR IT!
- Take the shirt and use the link roller on the area you will be applying the transfer to
- Place a sheet of butcher paper inside the shirt
- Prepress your shirt
- Weed your design
- Place it face down on your shirt (remove your shirt from the press)
- Tape the top and bottom of your design using the heat resistant tape
- Carefully move your shirt with taped design over to the press plate or wherever you will be pressing. If it is a smaller image than your press plate I do not recommend Infusible Ink unless you are very confident in your pressing skills.
- ADD A LAYER OF BUTCHER PAPER ON TOP OF YOUR DESIGN
- Set the timer to 60 seconds and press evenly. You do not have to apply a ton of pressure, medium is fine, this will help avoid lines around your image. ***NOTE*** using a Cricut Easy Press will work if the design is smaller than the plate, if you have to press one side and then the other you will risk scorching, ghosting and uneven colors.
- Once the timer goes off swiftly and carefully remove the press from the shirt. Try to avoid moving the transfer sheet as much as possible, this is why I had you tape it, to help it stay in place.
- After the heat is removed you can remove the butcher paper and toss it (it is a one time use) and remove the mask from your Infusible Ink transfer sheet.
- Then you can remove the inside sheet once the shirt is cooled
- All done!
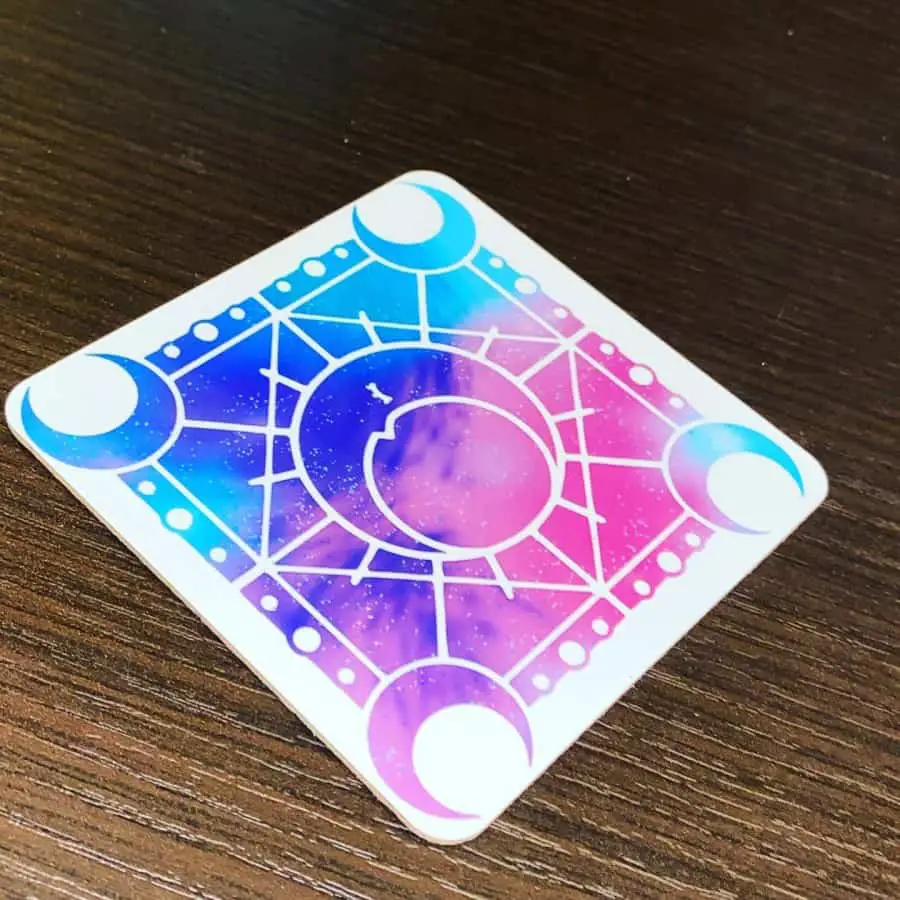
Coasters
Next up is another favorite of mine, coasters! Who doesn’t love a snarky or cute coaster to put their beverage on? You will need a Cricut Infusible Ink coaster (or any sublimation ready coaster – see FAQ below for more on that) and some rubbing alcohol and paper towel or alcohol wipes
Process
- Preheat your press to 400 degrees
- Create design while press heats and cut it DO NOT FORGET TO MIRROR IT!
- Use the lint roller to remove any fuzzies then wipe the surface with the alcohol and let dry
- Weed your design
- Place the design where you want it, if it is a full wrap then make sure all edges are covered.
- Place a sheet of butcher paper on your pressing surface to prevent any ink from accidentally getting on it from the edges, place the coaster on the butcher paper and cover the coaster with a second sheet of butcher paper.
- Set the timer for 60 seconds
- Once it is done lift the press and remove the coaster, I highly recommend using a heat glove!
- Set the coaster on a cool (but not plastic) surface and remove the mask
- Let stand for a few minutes
- All done!
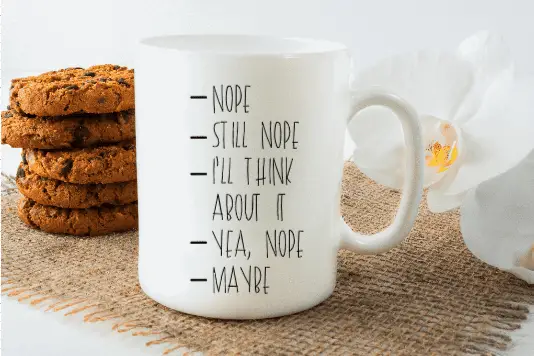
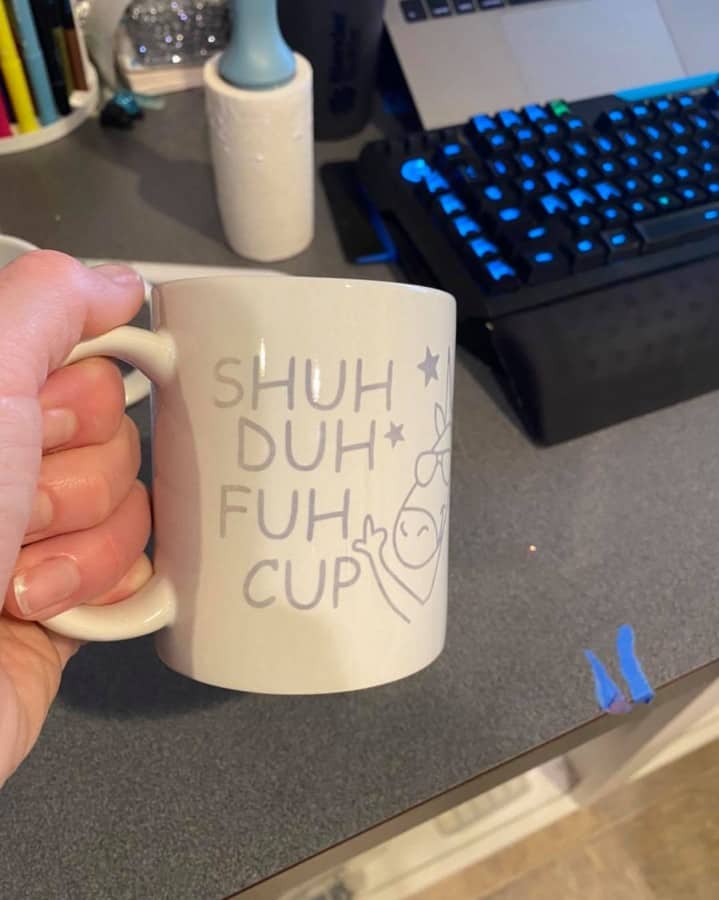
Mugs
Next up, mugs! Coffee mugs are super popular and one of my best sellers. There is nothing like a good cup of coffee in your favorite mug to make your day bright. You will need rubbing alcohol or alcohol pads, as well as a mug press like the one Cricut just launched (here is a quick link for you) and all the other supplies I mentioned.
Process
- Preheat your press to 400 degrees
- Create design while press heats and cut it DO NOT FORGET TO MIRROR IT! Cricut Design Space has tons of predesigned ready to make project that fit the 11oz and 15oz mugs perfectly!
- Use the lint roller to remove any fuzzies then wipe the surface with the alcohol and let dry
- Weed your design
- Wrap the design around the mug or put it into place where you want it, use the mask to stick it, then use the heat resistant tape to REALLY stick it. If I am doing a full wrap mug I will tape the entire thing including the top and bottom of my design.
- Wrap a sheet of butcher paper around the mug then place it in the press. If you use the Cricut mug press you can skip the paper if you want, I like to have it as a safety net, I don’t want to risk getting any ink on my press, ever.
- Set the timer to 60 seconds
- Once it is done remove the mug from the press, avoiding moving the design. CAREFUL IT IS HOT!!!
- Set the mug on a hard and not plastic surface
- Remove the design carefully
- Let stand for a minimum of 10 minutes
- All done!
Tumblers
Tumblers are great, they can be traveled with, hold hot or cold beverages for long periods of time and come in tons of shapes and sizes. They can be customized to be a representation of your personality or just your mood of that day if you’re like me and have five billion tumblers.
Process
The process for tumblers is almost identical to mugs!
- Preheat your press to 400 degrees
- Create design while press heats and cut it DO NOT FORGET TO MIRROR IT!
- Use the lint roller to remove any fuzzies then wipe the surface with the alcohol and let dry
- Weed your design
- Wrap the design around the mug or put it into place where you want it, use the mask to stick it, then use the heat resistant tape to REALLY stick it. If I am doing a full wrap tumbler I will tape the entire thing including the top and bottom of my design I also will make the actual design a big bigger to wrap around the tumbler bottom so that there isn’t a weird line.
- Wrap a sheet of butcher paper around the tumbler then place it in the press. I use a Zeny 8 in 1 Heat press, it came with a mug press that fits half of a 20 oz tumbler in at a time. I mark the half way point with heat resistant tape and pay close attention to where the edge of my press hits. If you use the Cricut mug press then you can only do certain sizes and literally just flip the tumbler over.
- Set the timer to 60 seconds
- Once it is done remove the tumbler from the press, avoiding moving the design. CAREFUL IT IS HOT!!!
- Set the tumbler on a hard and not plastic surface
- Remove the design carefully
- Let stand for a minimum of 10 minutes
- All done!
Totes
If you have read any of my previous posts on blanks then you know I think totes are totes cool. Nowadays plastic grocery bags are really frowned upon, like if you are still using only plastic bags you are killing our planet. To use Infusible Ink on a tote you will need the same supplies as you did for shirts as well as a pressing pillow or towel.
Process
The process for totes is similar to shirts:
- Heat press to 385 degrees
- Create design while press heats and cut it DO NOT FORGET TO MIRROR IT!
- Take the tote and use the link roller on the area you will be applying the transfer to
- Place a sheet of butcher paper inside the tote under where you will be applying the image
- Place a pressing pillow or towel inside the tote
- Prepress your tote
- Weed your design
- Place it face down on your tote (remove your tote from the press)
- Tape the top and bottom of your design using the heat resistant tape
- Carefully move your tote with taped design over to the press plate or wherever you will be pressing. If it is a smaller image than your press plate I do not recommend Infusible Ink unless you are very confident in your pressing skills.
- ADD A LAYER OF BUTCHER PAPER ON TOP OF YOUR DESIGN
- Set the timer to 60 seconds and press evenly. Firm pressure is required when using a pressing pillow. ***NOTE*** using a Cricut Easy Press will work if the design is smaller than the plate, if you have to press one side and then the other you will risk scorching, ghosting and uneven colors.
- Once the timer goes off swiftly and carefully remove the press from the tote. Try to avoid moving the transfer sheet as much as possible, this is why I had you tape it, to help it stay in place.
- After the heat is removed you can remove the butcher paper and toss it (it is a one time use) and remove the mask from your Infusible Ink transfer sheet.
- Then you can remove the inside sheet once the tote is cooled
- All done!
FAQ:
Q: Can I use other blanks that are not Cricut branded?
A: Absolutely! Check out this post on that!
Q: Can I press my Infusible Ink Design more than once?
A: Yes and no, if you do, you are risking ghosting. I have mastered how to press more than once but as a newbie I would recommend trying it on a test product first.
Q: Can I use Infusible Ink on Cotton?
A: Yes! But also no, you see in order for the ink to transfer onto the material it must have some sort of polyester in it. My work around on this is glitter HTV. You can read on that here.
Q:Why do I need a towel or pressing pillow?
A: For totes ad other bags they have thick seams, this is with onesies sometimes too. If you don’t lift the surface from these seams you will have fading of the image around the edges.
Helpful Video Tutorials
I have created many tutorials on Cricut Infusible Ink over on my YouTube channel @craftingunedited. Here is a list of a few you might find useful:
- Infusible Ink Compatible Material Guide (Video version)
- Infusible Ink on a Cotton Shirt
- Cricut Infusible Ink Tutorial – How to Cut
- Infusible Ink Tutorial – How to Press
Be sure to check out some other nifty functional craft ideas through our other posts here on Craft-ILY as well as checking out some videos on DIY and How To’s over on YouTube. Look for “Crafting Unedited” or just click the name in blue to see!
can i use infuseable ink on AIDA Cloth for cross stitch/Embroidery
You might be able to if it has a polyester or canvas type material to it. Never hurts to try!
Which model of Cricut works best for indelible ink on fabrics?
Hi, if you are referring to the Infusible Ink then any of the Cricut cutters will work great! I prefer my Maker over all others, just a personal preference 🙂 Thank you for supporting and reading!
Can you use infusible ink on a volleyball
Yes! Its like sublimation ink just in a sheet rather than a print