Cupcakes, cookie cakes and cake cakes, they are the number one priority for basically every celebration. If you are not a savvy baker or cake decorator you might struggle with making them yourself. You will find yourself running out to your local bakery (I support this if you do, if you are going to shop you should try to shop local) or getting a generic cake from Costco or the grocery store to buy one.
I am going to show you how to create an amazing one of a kind cake topper using your Cricut machine, that will make your guests think you paid big bucks for this stunning cake in front of them.
Cake toppers are such an easy way to make a simple cake stand out and seem like it could win a baking contest. All you need is a Cricut machine, some cardstock or kraftboard, glue and dowel rods or tooth picks. These simple and inexpensive (minus the Cricut) will have you looking like a cake boss.
Let’s get started on the cake topper that is going to make your celebration the talk of the town!
Design
The first step in creating anything is having a design. With Cricut Design Space this can be as simple or as complex as you want it to be. The simple version would be to create a cake topper that is in the “ready to make” projects section of Design Space or just by typing in “cake topper” into the search bar and choosing one of those.
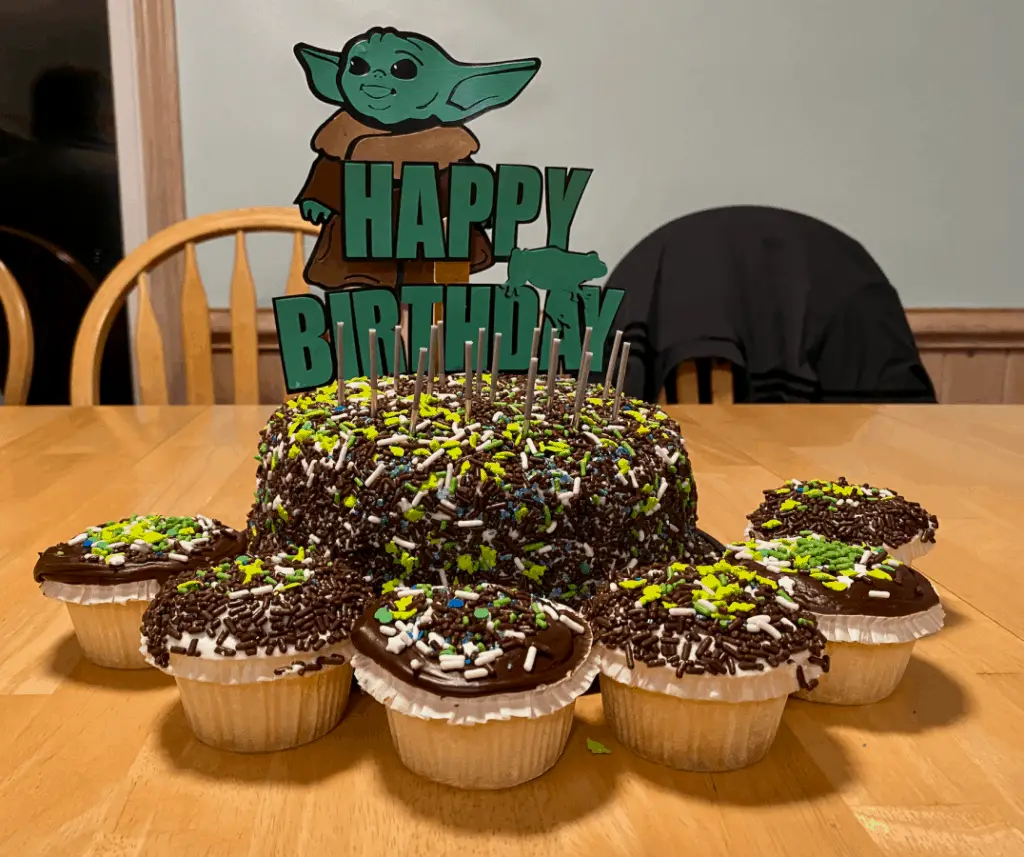
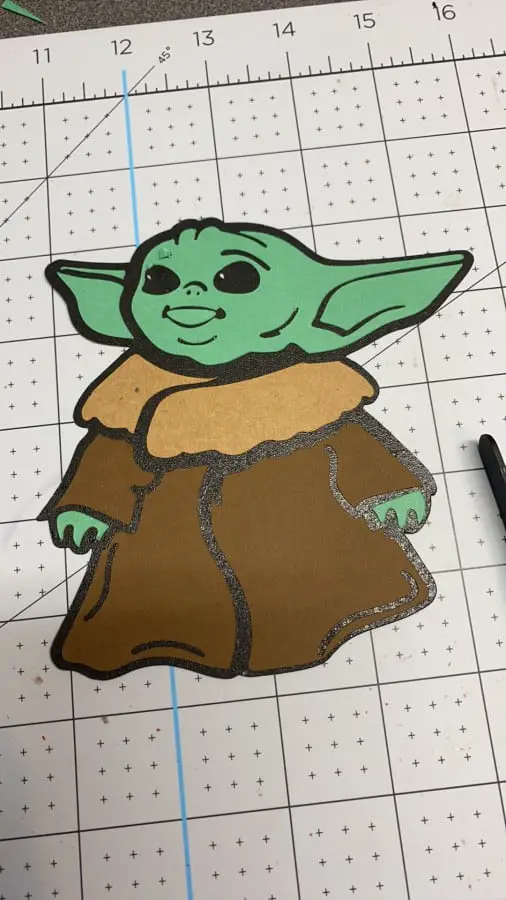
If you want something totally unique and a bit more complex you will have to make your own design. You can do that right in Cricut Design Space, you do not need any crazy software to create an SVG or design. For my example project I am going to be designing a Baby Yoda or Grogu as we have just recently learned, cake topper for my kiddos birthday coming up.
I couldn’t find a topper I liked nor an image that was already done so I got to searching on Google for a picture or ClipArt of the adorable lil baby Yoda. I found a few I liked so I dropped them into the pngtosvgfree.com converter and uploaded to Cricut Design Space. If you need a quick tutorial on how to do this you can view that here on my YouTube channel.
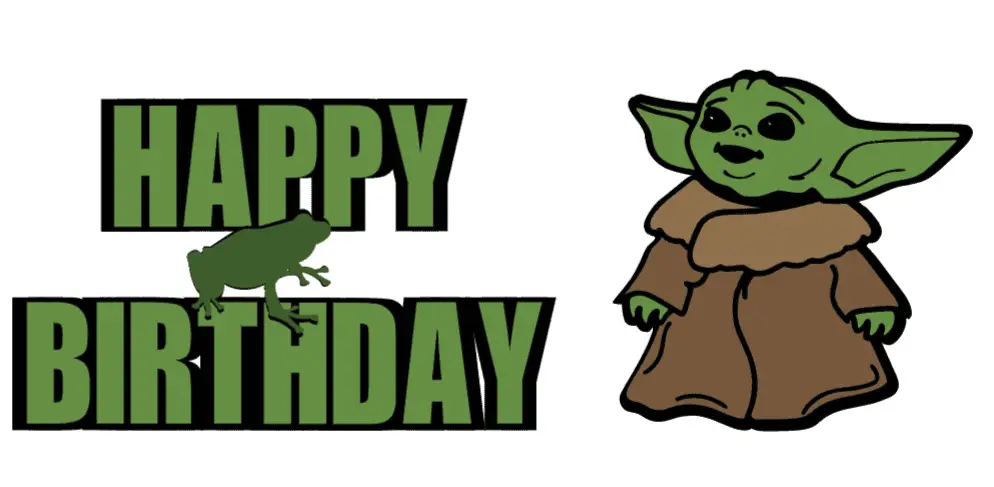
When creating your design you want to make sure that if you are doing a banner type topper that all the letters connect so you can place them together in the final step.
Cut
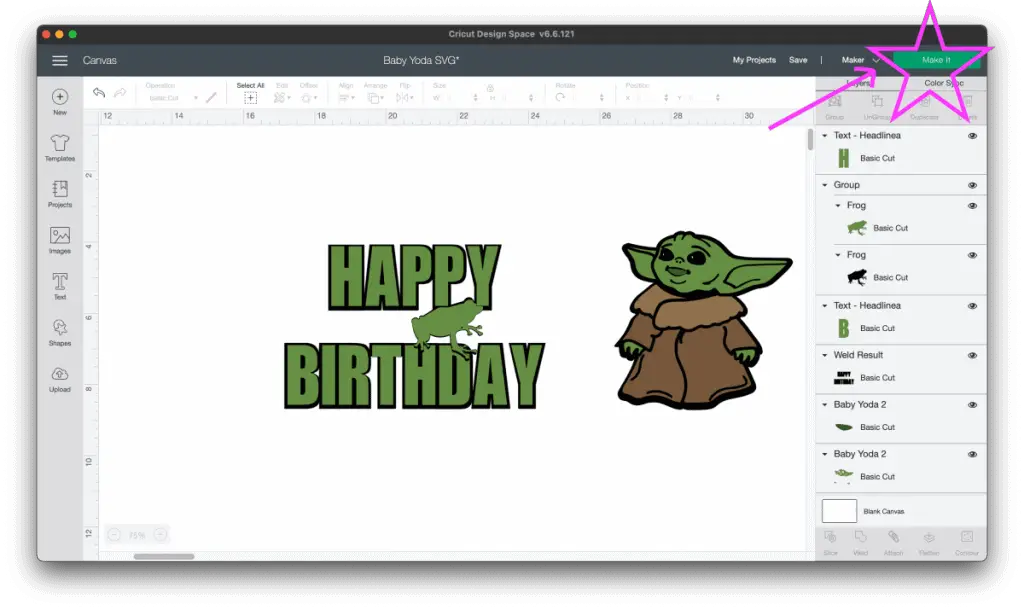
Once you have your cake topper designed you are ready to cut. When you are ready you will go to the bottom right corner of Design Space and select “make it”. This will direct you to another screen where you will then go over your mat layout and it will automatically sort the mats by color for you.
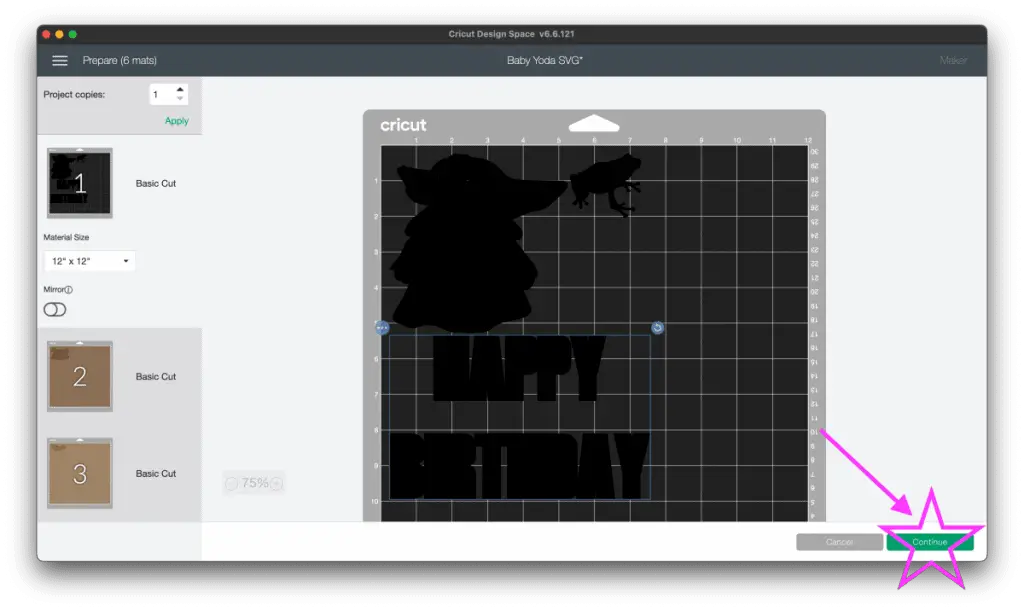
If you want to save some time and are confident in your measuring and placement skills you can group all of your colors of the same material onto one mat. Just be sure you are mixing different thicknesses of cardstock on the same mats, this will cause those to not be cut through or to be over cut and risk cutting your mat. Yep, I have done both.
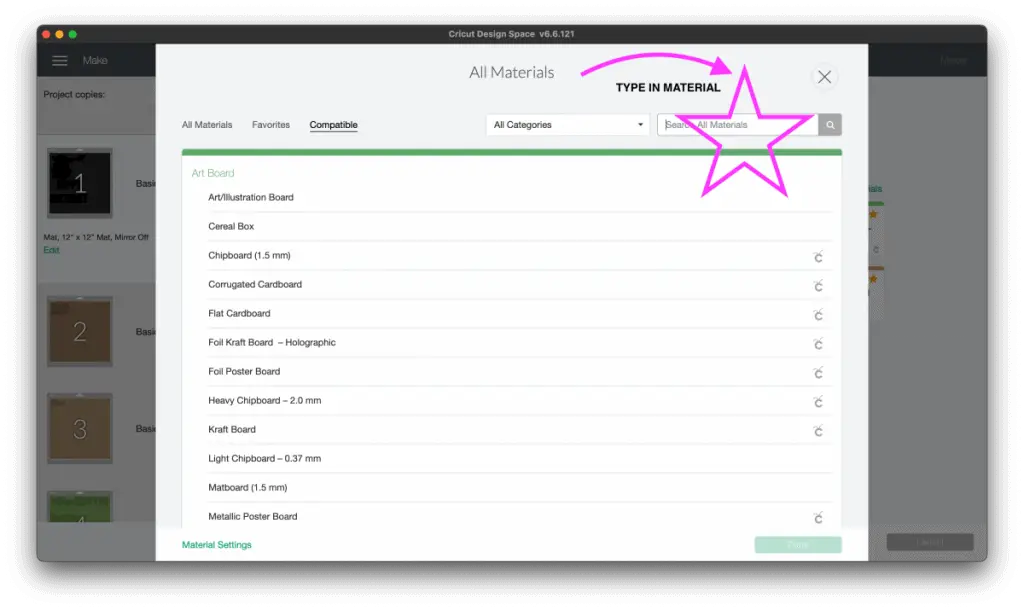
Once you have set your mats up and arranged the way you like you can then select the material for your first mat. IF you have different materials like glitter or Kraftboard that you are using as some of your layers make sure you reset the material settings for those mats.
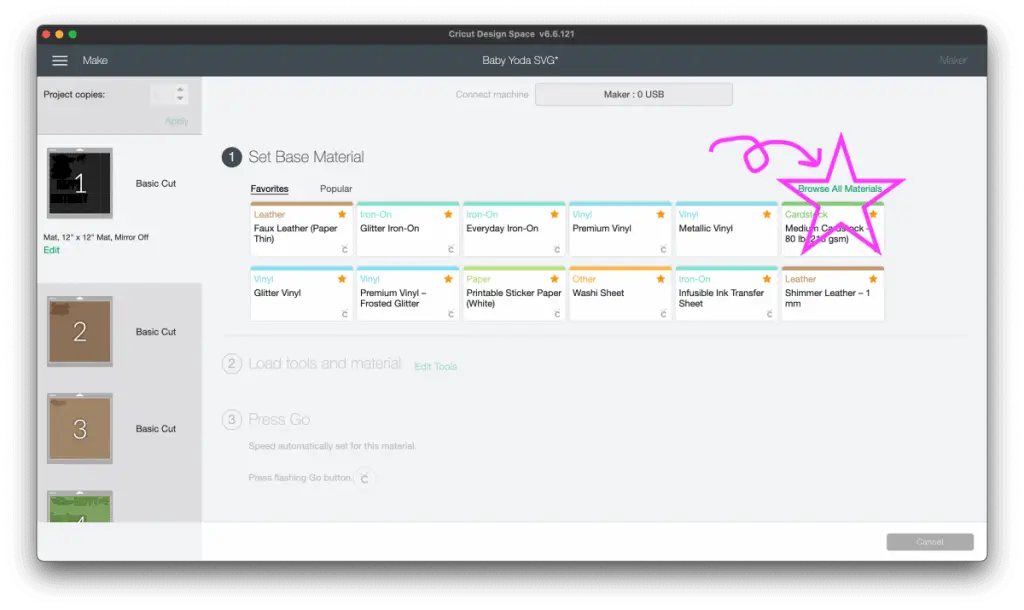
After your Cricut has cut through the first mat, check your materials and select appropriately and continue the process for each mat. When you have all the pieces of your cake topper cut you are ready to put them together.
Put Together
After you’ve cut your ready to start putting your cake topper together. I highly recommend setting the pieces together before you start gluing to make sure you like it as a whole. Sometimes I will get through an entire project, put it together completely and hate it, if I had done this I would have been able to modify the one or two small things that I didn’t like.
After you have put your cake topper together as a draft you are ready to separate it and really put it together. When you take it apart, lay the pieces in reverse order that you take them apart, laying them out like this makes for a much smoother put togethering (is that a word?). Layer by layer using whatever glue you prefer stick all your pieces together. DO NOT FORGET to leave space for your dowel rods or toothpicks!
As you are putting your cake topper together leave a pace in the middle layer (if you have enough layers) to place a dowel rod or toothpick on each end. You can place them behind your topper if you forget or don’t have many layer to conceal them. So no panicking if you get to gluing and in the moment forget.
Place
Once your cake toper is all put together you are ready to add it to your cake! You may think this is the easiest part, but it involves strategy depending on the type of topper you created. If it is a banner (one that hangs or sits above the cake) you will want to make sure you have both ends placed evenly. If it is a stand in topper (one that just sits or lays on the cake) you will want to make sure that it is flat but not squished into the frosting.
The other tricky part about placing the topper is that cake frosting is oily to say the lightest. You are using paper and if it is a solid color, you want to avoid getting any frosting on the topper or having the cake topper sit on the cake for too long. What I tell anyone I create a cake topper for is this:
“Please wait until you are ready to display the cake or have pictures taken to apply the topper, frosting will discolor this creation”
If it is like the one I am creating for myself, obviously I don’t have to make this note.
If you are making a stand in topper, here is a super helpful tip:
Create a silhouette of your design, but instead of using cardstock as you materials use wax or butcher paper (yes, your Cricut can cut these, foil too!), then take that silhouette and glue it to the bottom of your topper. This will help create a barrier between the frosting and your beautiful or awesome cake topper!
Display
Now it’s time to set your creation and Instagram worthy cake topper for the world to see! Take lots of pictures, gloat about it even and enjoy it. Even if this process got a little frustrating or stressful, remind yourself in the end that it is worth seeing those amazing smiles on the faces of the person celebrating a special moment.
If you need a better visual of creating a cake topper jump over to Crafting Unedited on YouTube to see my tutorial on “How to Make a Cake Topper with Cricut“
Crafting is so rewarding, enjoy these moments and cheer that you create each and every day. As always, happy crafting my crazy crafting friends!
Be sure to check out some other nifty functional craft ideas through our other posts here on Craft-ILY as well as checking out some videos on DIY and How To’s over on YouTube. Look for “Crafting Unedited” or just click the name in blue to see!