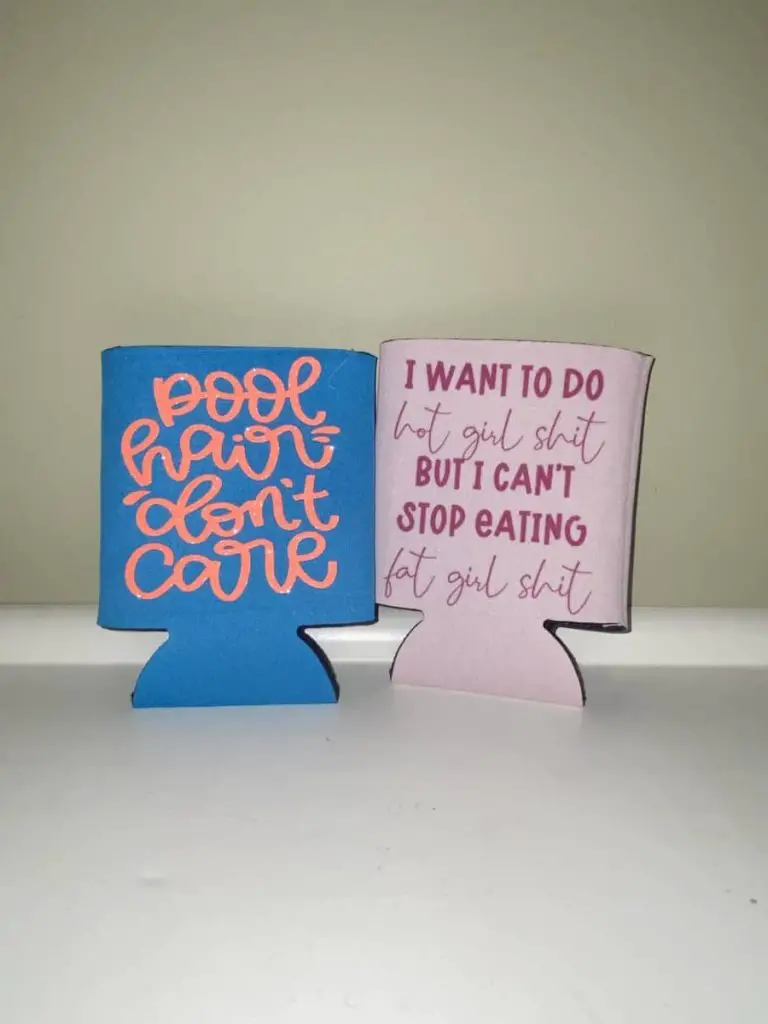
Now that you have really started exploring into different types of blanks and substrates you are ready to learn how to use it all! There are so many different things you can use vinyl, HTV and infusible ink on. T-shirts, shadow boxes, canvases, wood, bags, and…can Coozies!

Can Coozies make a really great gift, the blanks are really inexpensive and they are perfect for literally every occasion. Bridal shower? Get you some skinny Coozies for those White Claws! Housewarming? Duh, Coozies of all sizes, bottleC too! Baby shower? Yep, that momma and daddy to be are going to want some cold beverages! Birthday party? You betcha! They are not just for alcohol, my kiddos love using them for pop and Bubbly drinks. Did you know they make popscicle coozies too?
Plus, you can sell them and make a BIG profit, They will run you about $.50- $.60 each sometimes less. I charge $3 for each or a set for $5. Definitely worth the time to make them, which once you have it down takes all of about 5-7 mins. It is actually a lot easier then most people think. Some are intimidated by them, because well, they are plastic (neoprene) and it is pretty easy to melt them. If you leave them too long they melt, if you press too hard they flatten and lose their insulation (which is the whole point).
Today, I am going to teach you exactly how to make these awesome can coozies without melting them. This will be done in 5 easy steps! You will be a pro in no time.
The first thing you will need is supplies! These are all the supplies that I use when I make coozies, I get most of them from Amazon and JPI Blanks.
- Coozies – I order mine from JPIblanks.com when they have a sale, this is when you can get the most bang for your buck and when you can make a big profit from selling them.
- You can use many different materials on can coozies, sublimation, infusible ink and HTV. Most are neoprene and they take to sublimation and Infusible Ink really well. I will explain the process for all of these. I am using sublimation for mine!
- Butcher paper
- Teflon sheet
- Heat resistant tape
- The image you want to put on the coozie
- Heat press
- Depending on which version you do you may need a Cricut machine as well.
Once you have the materials and supplies you need you are ready to get started.
Step 1
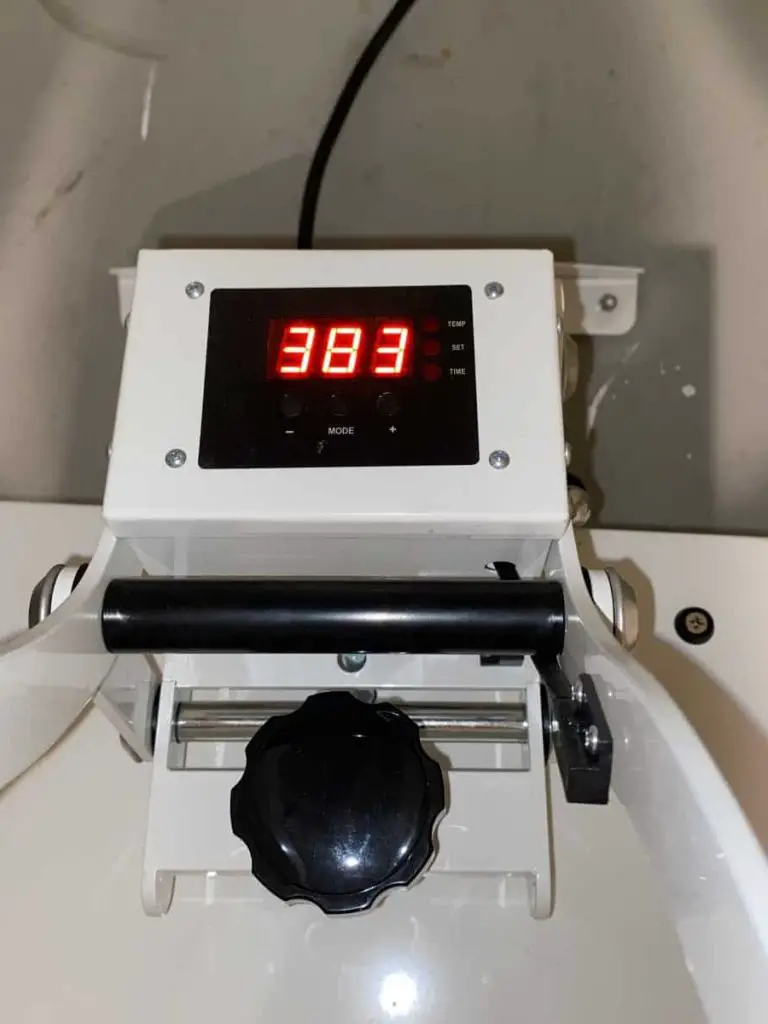
You will want to preheat your press to 385 degrees and set it for 50 seconds. If you set it higher or for a longer period you risk melting the coozie and taking away the insulation.
You will also want to make sure you have a piece of Teflon or butcher paper cut down small enough to fit inside of the coozie. This will prevent the coozie from melting together. I have done that and it stinks, there is no undoing the melt.

Step 2
Once you have your press warmed up and your teflon or butcher paper cut to size you are ready to start creating. The next step is to create an image or design. You will want to make sure you size it appropriately, you don’t want it to be too big and it overlap or get too close to the seams unless you are doing a full wrap. That is an adventure I have not attempted yet, but I will soon and tell you all about it.
The sizes I normally use are 3.5” wide by 4ish” high for the regular coozies and 2.5” by 3ish” high for the skinny coozies. Most of the time these sizes are spot on, however, it does not hurt to do a quick measurement of the coozie. You never know when the manufacturer may change the specs. Typically you want to stay 1cm or so away from hr seams to prevent any fading or uneven transfer if your are using sublimation or Infusible Ink. If you are using HTV it might make the adhesive not stick as well, or it will stick well in one area but not all over.
Once you have the size you can create your design and print or cut it using your Cricut machine. The funnest part about these coozies is that the possibilities are endless, you can use so many different materials and designs on them its crazy.
If you are doing sublimation or infusible ink you will want to make sure your press is accurate as far as temp goes. Maybe get a one of those thermometer guns to check it.

Step 3
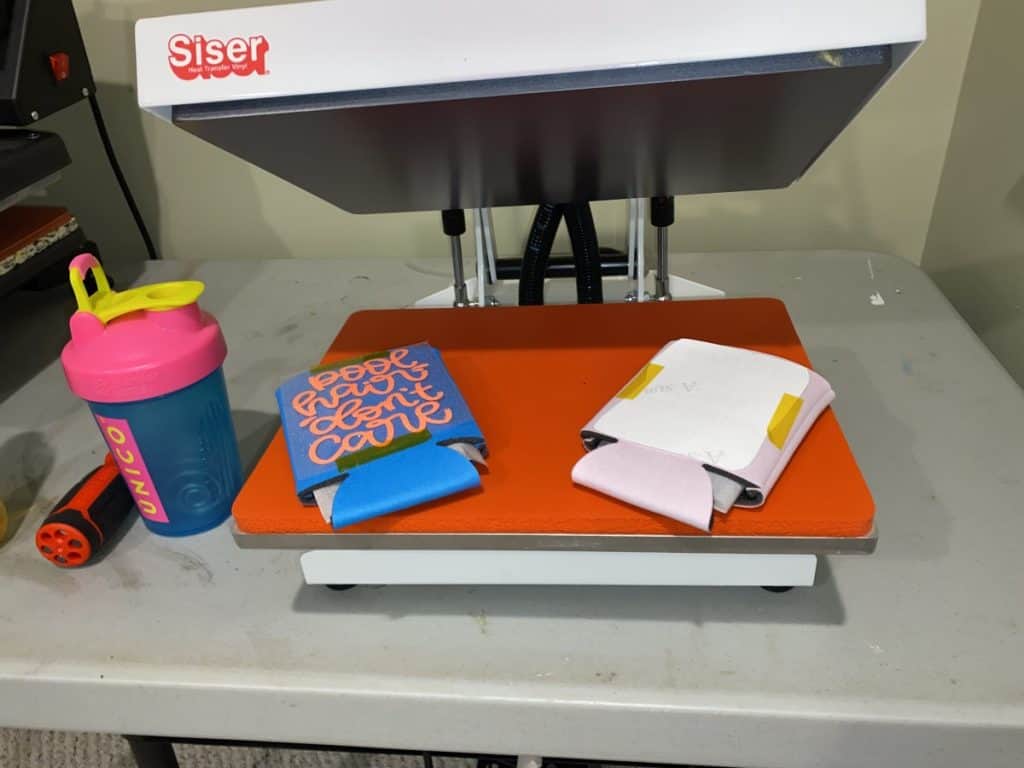
Now that you have your design cut or printed you are ready to get to pressing. You will want to place a piece of butcher paper on the bottom of where you will be pressing. This will protect your surface in the event that you do accidentally melt it. Yep, you guessed it, I did that too, timer went off and I thought I pulled it out but I didn’t, I continued designing and completely forgot about it until I smelled the melting neoprene plastic (it was awful!) Thankfully, I had butcher paper under and over my coozie so I only ruined the coozie and had to vacate my craft room and most of my basement for a couple of days due to the stink being so bad.

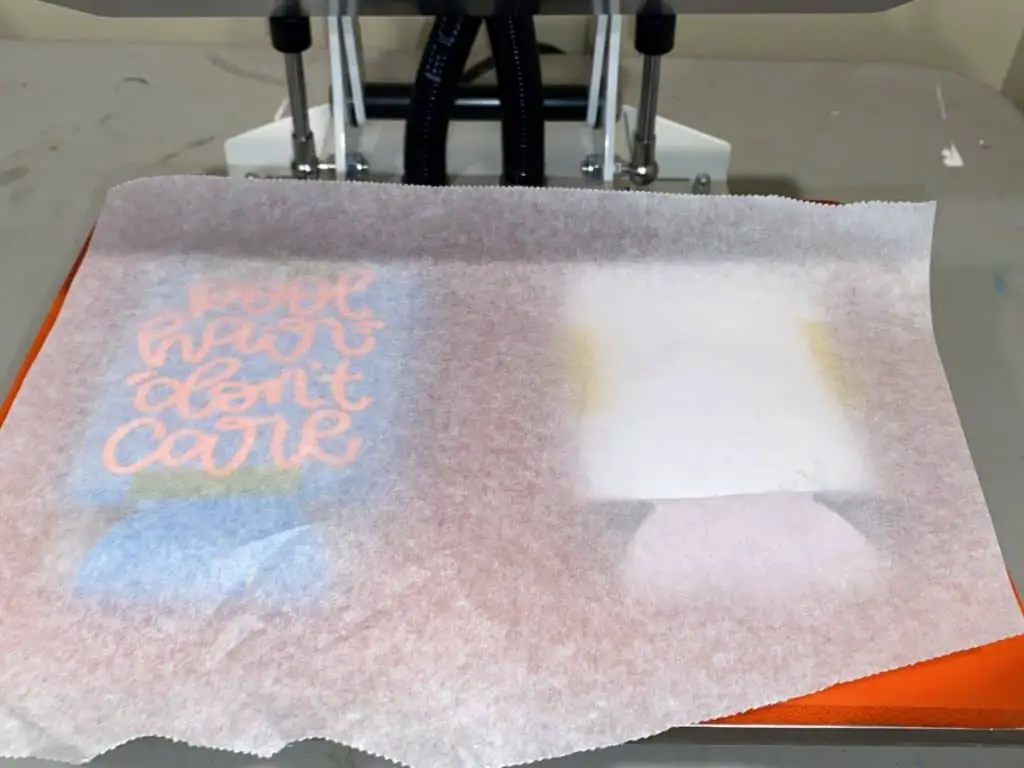
Then you will want to place the small cut teflon or butcher sheet in the center of the coozie, this will keep it from melting to itself. We don’t want that either. You will need one more piece of butcher paper to cover your image.
If you are using HTV you do not need the butcher paper, just a teflon sheet to protect your press. If you are doing sublimation or infusible ink you want the butcher paper to protect your press from ink transferring.
Before you place the butcher paper on top of your image you will need to place your image! Place it however you want but again be sure you miss the edges so you avoid any faded transfer. You will use the heat resistant tape to secure it into place so that it doesn’t move around and cause ghosting.
Step 4
Now you are ready to press! Place your press over the coozie, remeber to place the butcher sheet between the coozie and the plate and press with medium pressure, not too much but just enough to not flatten the coozie! Hold for 60 seconds and quickly remove the press from the coozie. Immediately remove the butcher paper and the image transfer. Then remove the coozie from the heated surface.
Step 5
Pop a fresh cold beverage in and enjoy! I love making these, my favorite is to make them for trips and family events. This keeps everyones drinks cold but also avoids mix ups. Be sure to make yourself some fun ones, don’t let everyone else have all the cold drinks, you deserve one too! Whether it be an adult beverage or just some sweet tea, it’ll be better in your favorite coozie!
Need a video tutorial on this? Never fear! Of course, I did that too! Watch it (and lots of others here)
Here are a few more resourceful tutorials for you to read up on:
How to Press 100% Polyester – for those winter night blankets or summertime shirts!
Bleached Shirt Tutorial – learn how to bleach a shirt to create a really fun tee!
How to Convert Any Image to an SVG – learn how to make any image an SVG for free
How To Clean an Image in Design Space – Take those spotty and blurry blobs and create a masterpiece!
Be sure to check out some other nifty functional craft ideas through our other posts here on Craft-ILY as well as checking out some videos on DIY and How To’s over on YouTube. Look for “Crafting Unedited” or just click the name in blue to see!
As always, have fun and enjoy this crazy crafting adventure!
