Once you have gotten deep into the Cricut crafting world (well maybe not even that deep, if were being honest) you will soon discover that you need/want some SVG’s and images for projects that are not in Design Space.
You can convert ANY image into an SVG, this means any artwork, image or even picture you want can be transformed into a file that you can transfer onto a shirt, hoodie, hat, coozie or anything else you can think of. Today I am going to walk you through exactly how to do that for FREE.

Unless you are a graphic artist or are savvy with artwork and converting images then you have two options, to buy SVG’s or make your own. Buying them is definitely an option if you like other creators work, but creating your own is even better.
There are two ways you can convert the images, one is in Cricut Design Space and the other is through a free website called pngtosvgfree.com. I will explain both processes for you.
Let’s start with how to do it in Cricut Design Space
Design Space is an amazing tool, if you know what you are doing it can be an even greater tool. There are so many amazing designs already available to you at no cost or if you have Cricut Access you have access to so much more! However, sometimes, well majority of the time you or someone you know or a customer is going to want something really personal or unique.
There are so many options at your finger tips, creating a unique image is super easy too. You can take an image from the internet (PLEASE DO NOT USE ANYTHING YOU GET FROM THE INTERNET AS A PRODUCT TO SELL IT IS ILLEGAL AND YOU MIGHT GET SUED) and you can turn it into something even better than the original.
I have done this on occasion for friends and families or myself, never to sell. So here is how you do it.
Pick out an image you like, either via google or a personal photo, drawing or even notes will work for this. Personal note or cards are so sentimental, especially if they are from a lost loved one. Once you have found the image you want go ahead and save it to your computer and name it something you will remember. I have a separate file for all of these types of images.
After you have saved your image open up Design Space and select “new project”.
In the new project go over to the “upload” tab on the left (see below).
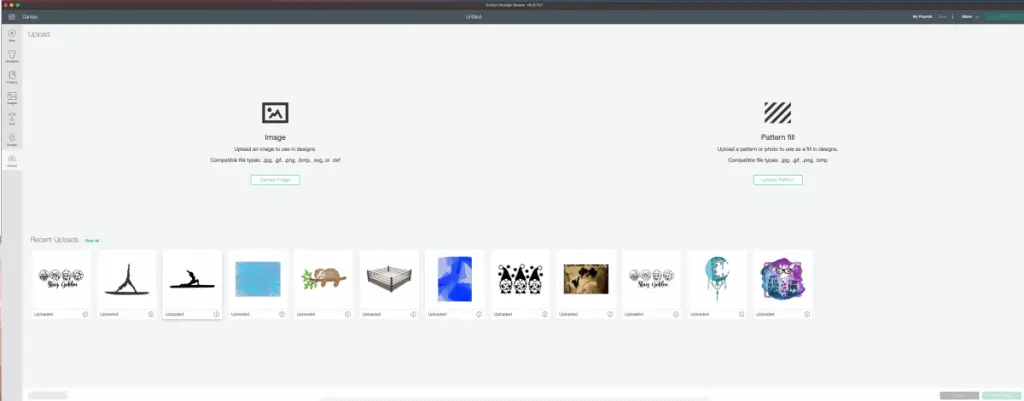
Next you will be taken to a new screen and it will give you two options “Image” and “pattern”. Also seen in image above.
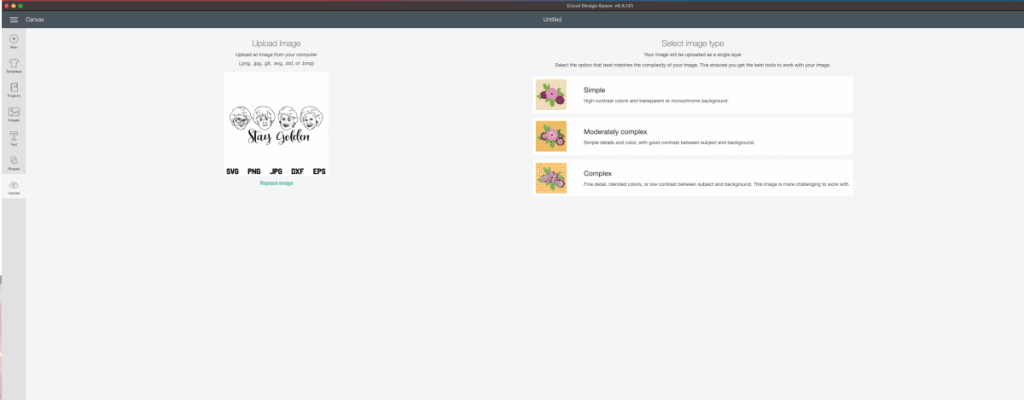
Select “image”, this will take you to the next screen where you will select your photo. Select your photo and select upload.
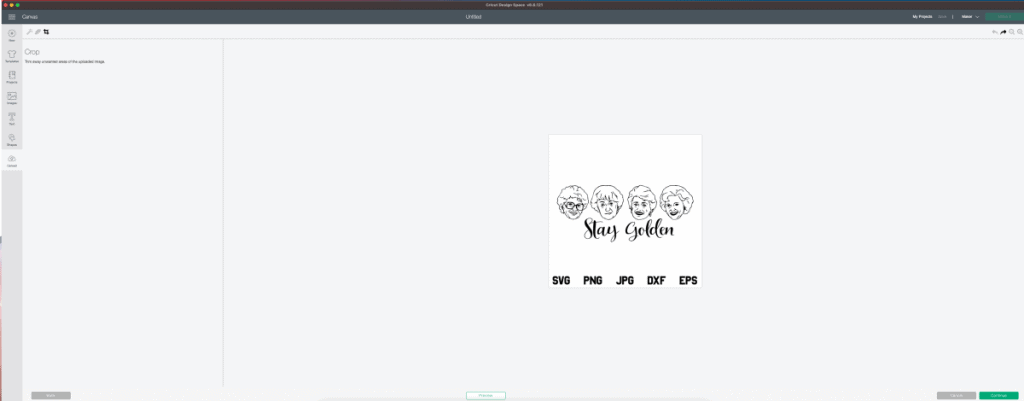
From there you will be taken to another screen that you will see your image on the right and a couple options on the left of the screen.
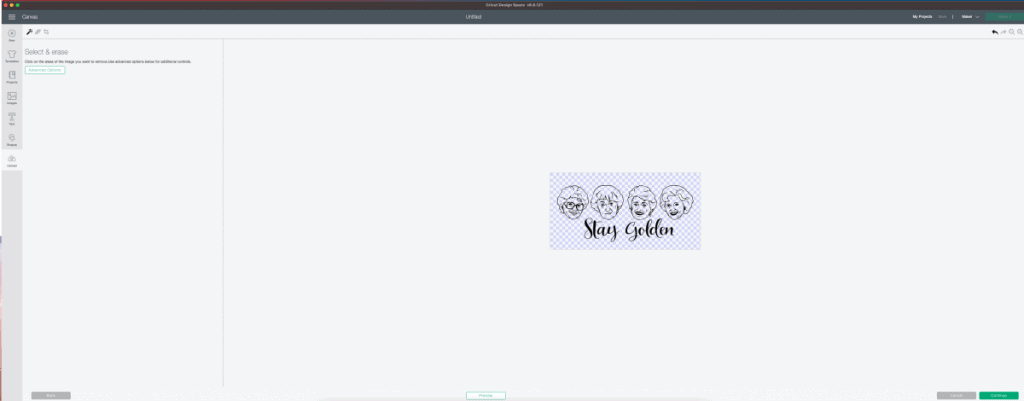
At the top of the left side of the screen you will see a want with some stars (it is tiny), click on that. This is the tool you use to remove the negative background from your image. Some refer to it as the white space. If you don’t remove these you will have an image that when you go to print or cut looks like this:
You will see at the bottom of the screen a “preview” button navigate back and forth on that to see what your image will look like and where you need to clean it up. It does pop up all black though, this is the only bad thing about doing it through Design Space, you are limited to a solid cutout or a print then cut if you want color. Not a super negative but if you want to layer something with several colors you will want to go to the other process.
You will have to play around a bit for this next step to see what looks best. Again in the top left of the screen you will see the option for “advanced” select that and select 100 in the drop down.
Once you have the image processed to your liking you can go down to the bottom right corner and select “upload” Do not select “make it” in the top right corner, this will not save your image and it will immediately take you to the make it screen.
From there all you have to do is select the image from your image library and get creative, add some wording, a name or a quote, have fun with it.
Now for PNGTOSVGFREE.com
The beginning steps in this process are the same, I will reiterate them exactly for you so you don’t have to go back and forth. Pick out an image you like, either via google or a personal photo, drawing or even notes will work for this. Personal note or cards are so sentimental, especially if they are from a lost loved one. Once you have found the image you want go ahead and save it to your computer and name it something you will remember. I have a separate file for all of these types of images.
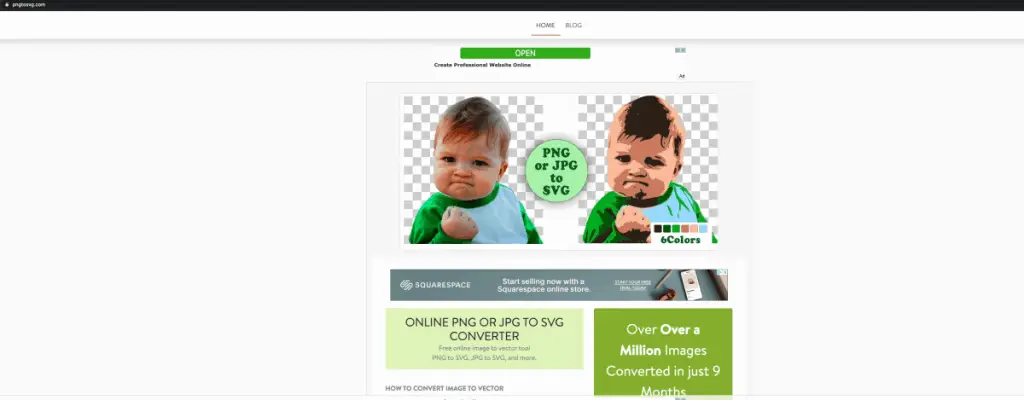
Next you will go topngtosvgfree.com (I promise it is not a scam site)
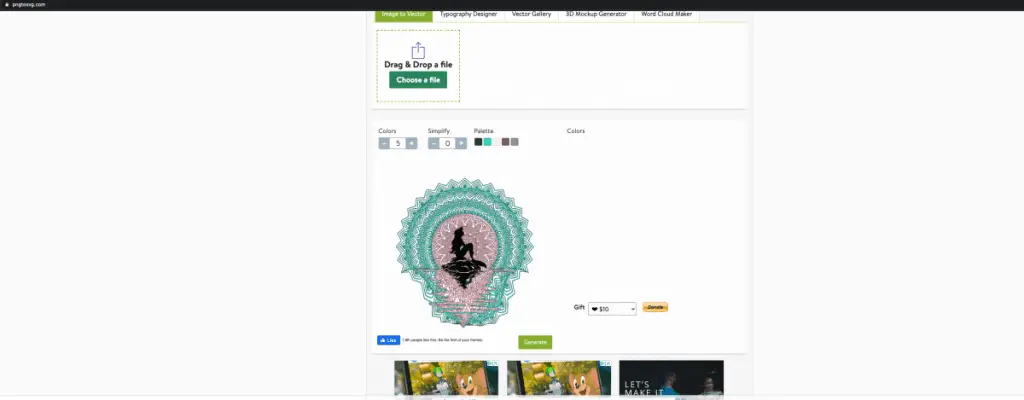
When you get there you should see this:
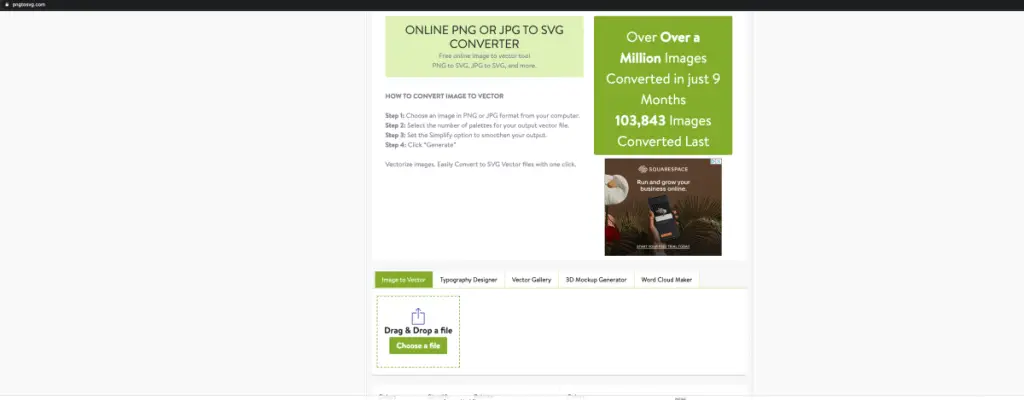
Scroll down to where you see “upload” then upload your image:
Once your image has loaded you will select the right number of colors that should be there and where they should be by using the little pen. If there is a color, like a white background that you don’t want just select the number of colors and drop one color. This was a bit confusing for me so I just left all the colors and deleted the one I didn’t want in Design Space afterwards.
Next you will select “generate” and this will start the process of creating an SVG for you.
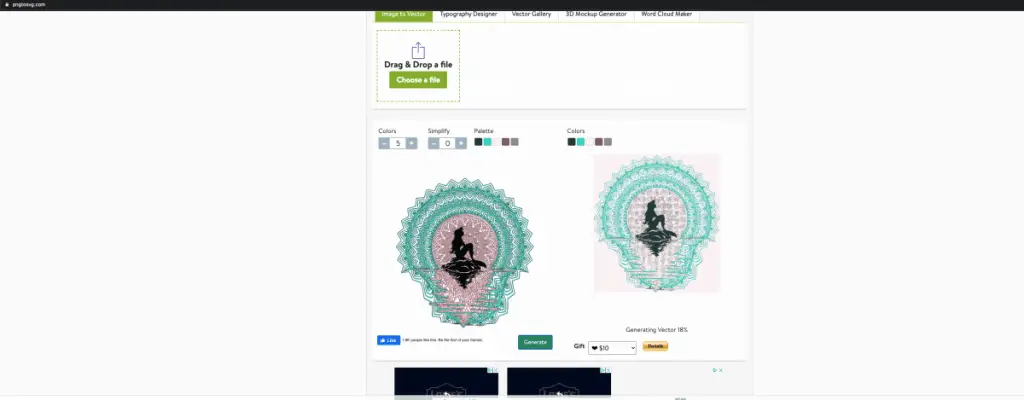
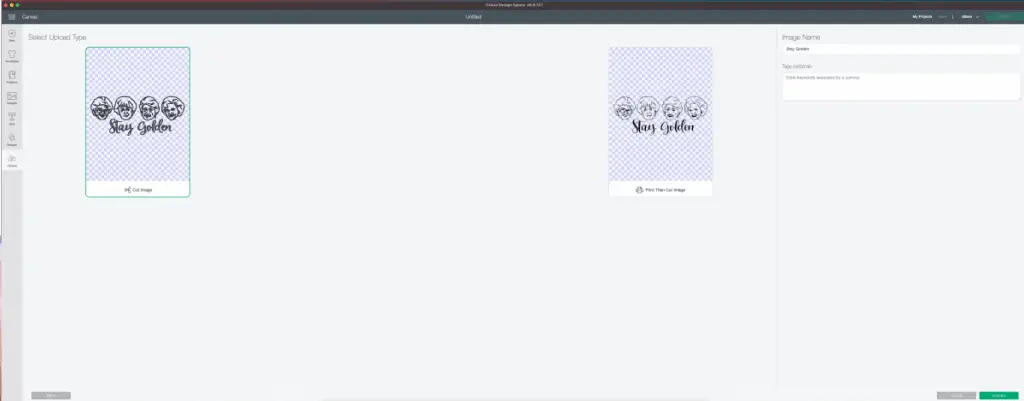
Now that you have your image converted to an SVG you are ready to download it and save it to your computer, again giving it a name you will remember. From here you will need to open up Design Space and upload it. When you upload it in an SVG format you do not get taken through the editing screens, you get taken to this:
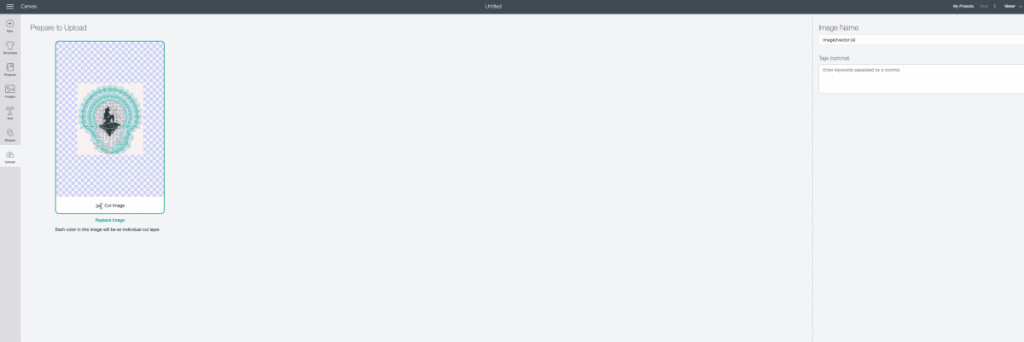
Name your file in Design Space (you can leave it as whatever you saved it as if you want) and select “upload” in the bottom right corner. Then you will see it added to your image library and it is ready to use! Once you have it added to your project you can modify the layers however you want.
That’s it, how easy right? Now remember if you take an image off Google DO NOT SELL IT or anything you make with it! Copyright is nothing to play around with.
Making your own images is a really awesome and amazing thing in my opinion. It opens up so many new and fun ideas. So get creating and have fun!
If you’d like a more visual tutorial check out my video:
Be sure to check out some other nifty functional craft ideas through our other posts here on Craft-ILY as well as checking out some videos on DIY and How To’s over on YouTube. Look for “Crafting Unedited” or just click the name in blue to see!