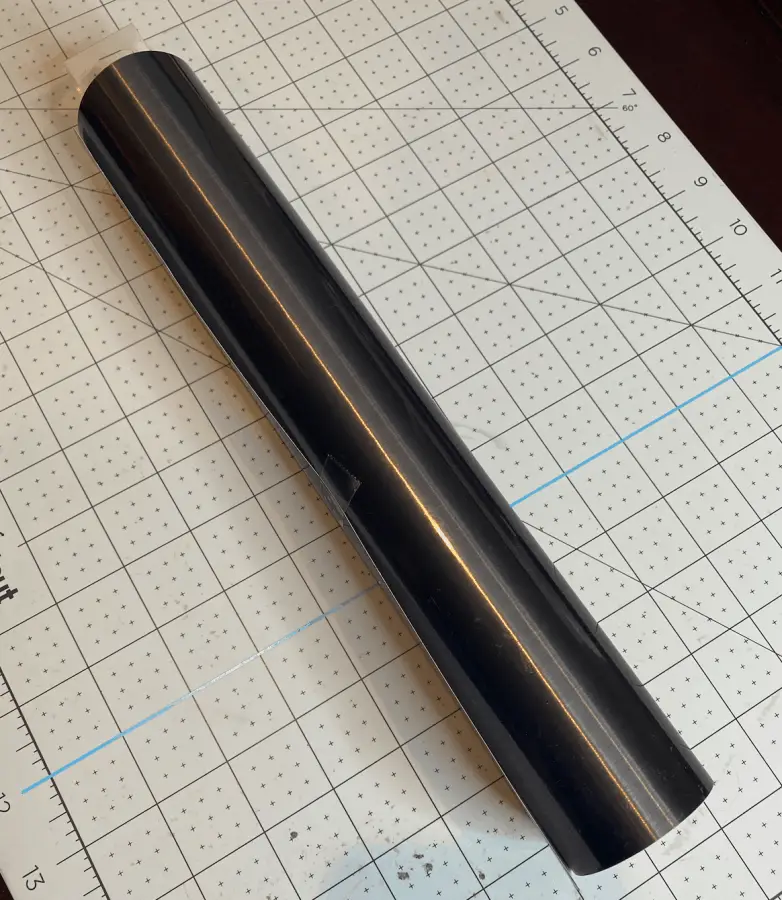
Cutting vinyl and materials is one of the first things you learn as a Cricut crafter. Most of the materials you will cut are pretty simple, you load your image, put your material onto your mat, select your Material and press go. Some however, are by far are more difficult and I want to share with you my experience and tips on cutting one of the most difficult and annoying materials of all…foil adhesive vinyl.
Why
Why is foil vinyl so difficult to cut? Well the easiest answer is because of the thickness of the vinyl. The more complex answer is the layering of the vinyl itself. You see when foil adhesive is made it is made up of multiple layers of vinyl and other materials. Glitter vinyl is made up of layers as well, glitter and polyester materials. The more layers there are in the materials, the more layers there will be to cut.
How to Cut
Now for the exciting and needed part. Foil adhesive vinyl is one of the most difficult materials to cut, you just learned why that is. I have had my fair share of headaches, long nights and mass amounts of wasted vinyl sheets. More than I can count, so much waste. If you have found my article before experiencing the hellacious process of cutting this vinyl, be blessed my friend, be blessed. If you have experienced it I am so sorry it took me this long to write this for you!
Step One
The very first step is going to be a little of machine maintenance, you need to make sure your blade and machine are in good standing before you cut anything that is thick like the foil adhesive vinyl. The machine just needs to be calibrated. You can do this by going over to the little drop down or pull out menu on the left hand side of your screen in Design Space and select calibration then follow the steps for each setting. Then you will need to either sharpen or replace your blade. To sharpen it you will just need a ball of aluminum foil. Take your blade and poke a few holes into the foil while pressing the pin on the housing down or just remove the blade from the housing and then pole the holes.
Step Two
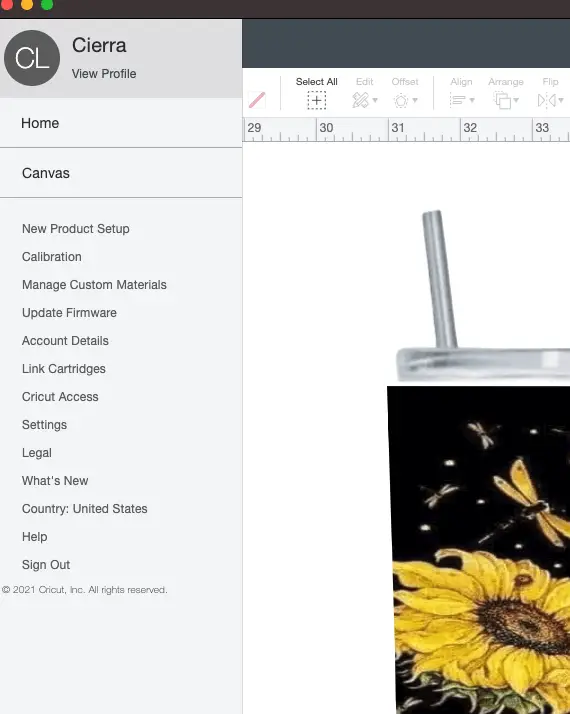
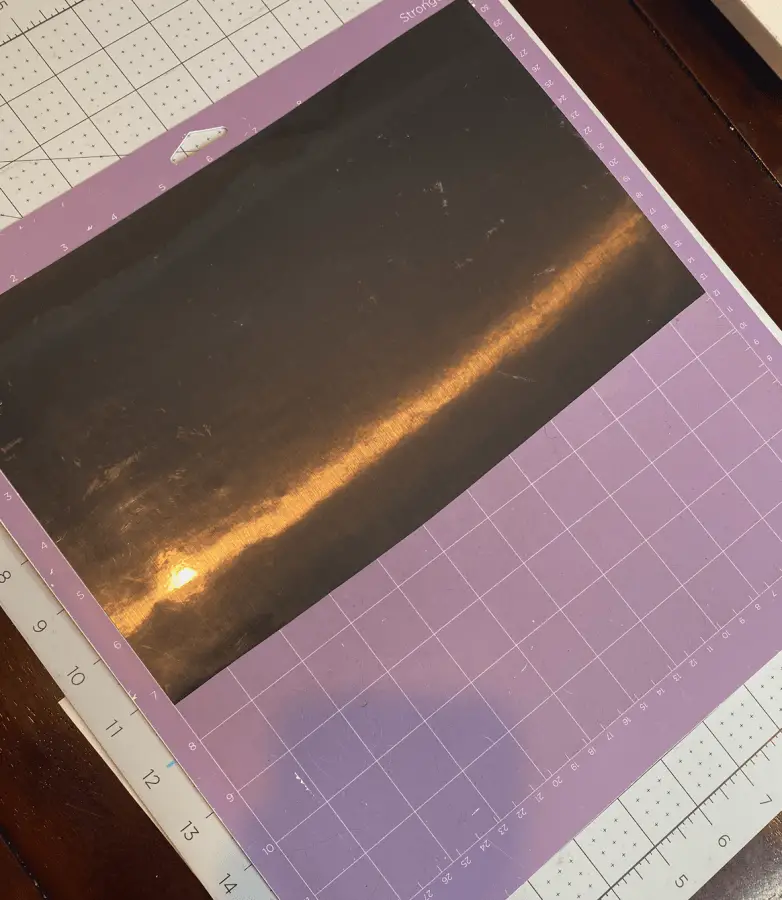
Set up your vinyl on your mat as you normally would with the shiny side up. Then Load your Cricut machine as you normally would. When you select material select “foil adhesive vinyl” and where it asks about the pressure setting select “more” from the drop down menu. Then go to cut, you do not need to mirror your image.
After is has finished cutting DO NOT UNLOAD your mat. This is KEY, this is the Hail Mary and Saving grace! Instead of unloading your mat click the “go” or arrows on your machine again. This will have your machine cut twice without creating a second area or outline!
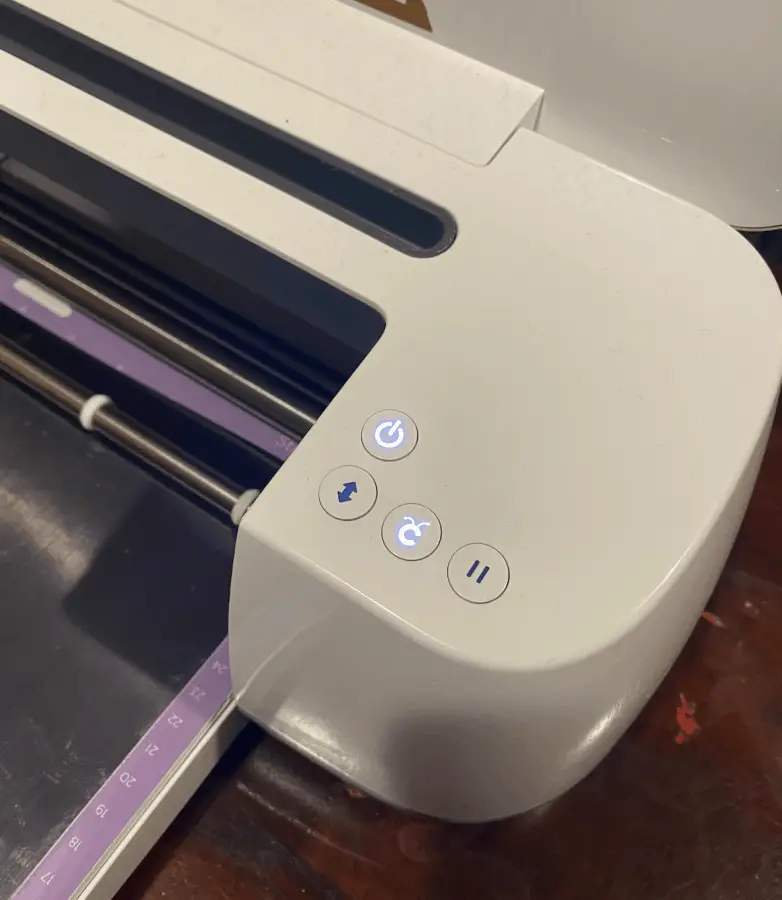
AGAIN, DO NOT REMOVE YOUR MAT FROM THE MACHINE!! Before you do, go to step three!
Step Three
You want to check to see if two cuts was enough before you unload your mat, so take your weeding tool or tweezers and attempt to pull a piece up while it is still loaded. If it comes up easy it is ready, if it is still not pulling up right, then press the go button again.
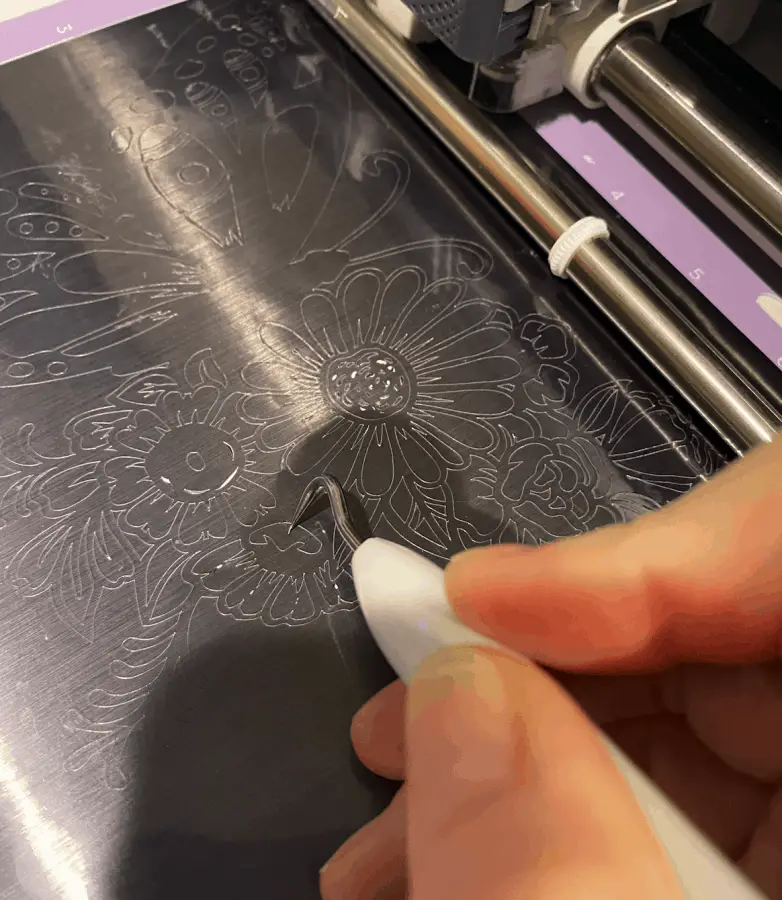
Step Four
Now that you have gotten the cutting done go ahead and unload the mat, if you feel like it isn’t going to be ready then go ahead and pass it again, but you should be good. Unload the mat and you can start weeding the vinyl. Keep the sheet on the mat when you weed it though, this makes it easier because it basically give you a third hand to hold it down.
Isn’t this genius? Like the best thing ever? I definitely thought it was when I FINALLY figured it out! I was ready to call it quits on using this beautiful and fun material. I was also super determined to find a way to cut it because I could not handle the fact that they would make something that’s “compatible” with the machine and it not work. It drove me nuts!
Once I learned this trick (after many hours of wasted time and materials) I fell in love with using foil adhesive vinyl. It is so pretty and sticks so well. The colors that are available are gorgeous and match with every color!
Here are few extra articles and videos that can help you with different materials that could be finicky and annoying to cut.
How to Change the Blade on a Cricut Machine – this article explains how to change the blades in your machines, this can be super helpful for step one of this tutorial.
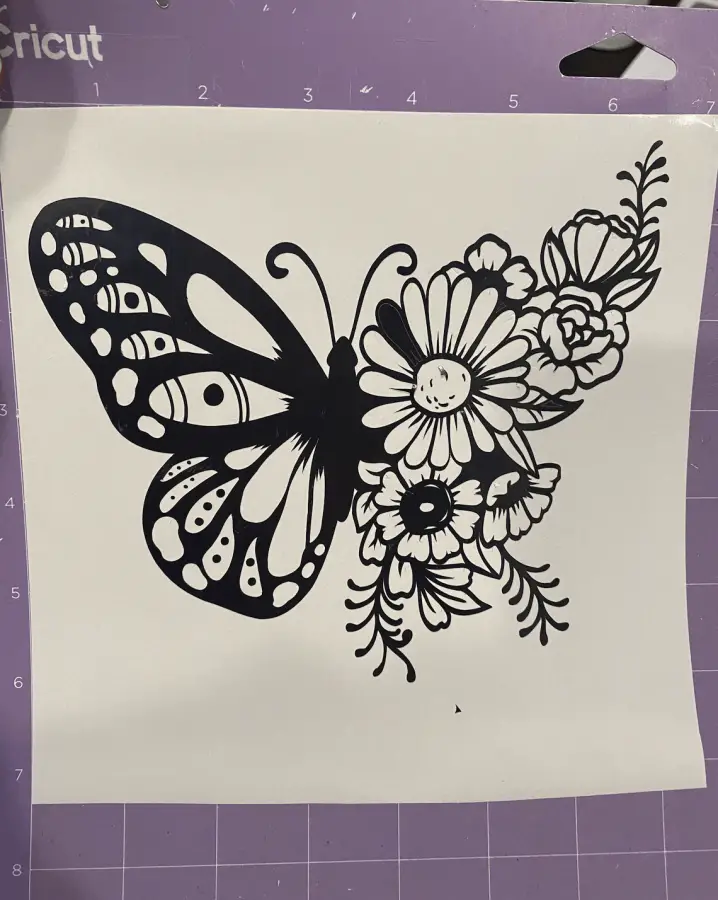
Cricut Paper Flower Tutorial – One of my favorite projects I have done was a paper flower and used the foil adhesive vinyl on top of it. I made it in a pinch so I didn’t any pictures of it but I sure wish I had! Maybe this gives me an excuse to make another.
Best Sites for Cricut Designs and SVG’s – this post has all of my favorite sites to get free and paid designs from some really phenomenal creators. I seriously wish I had some of their artistic talents!
How To Clean an Image in Design Space – No Spots! – this one goes hand in hand with the post above, it shows you how to clean up those free images.
Now for some SUPER helpful videos!
First up I made one specifically to match this tutorial, for those of us that are more visual learners. How to Cut Cricut Adhesive Foil – Without the Headache I tried to make it as easy to follow as I could.
As you develop your crafting and Cricuting (yep I made a word) skills you will start to get more comfortable with trying new things, every single time I conquer one material I have to find something new (it is a very expensive hobby lol). I absolutely love playing with new materials and trying out new tools.
Be sure to check out some other nifty functional craft ideas through our other posts here on Craft-ILY as well as checking out some videos on DIY and How To’s over on YouTube. Look for “Crafting Unedited” or just click the name in blue to see!
Amazing tip thank you you saved me loads of time!!
Glad to help!
I tried a project using foil when I first started using the Maker and it was a complete disaster! Never tried it again. Thank you for giving me the courage to tackle this beautiful material again.
And as you provided me with a trick, maybe I can give you one back. You mentioned that you had recessed lighting that didn’t provide very good lighting for your craft area. May I make a suggestion? They have LONG bulb socket extenders that would be screwed into the existing socket in your recessed light area. That extends it out so that you could use a brighter bulb, however, I found a fantastic light that I bought for our dark garage and I will not go back. It lightens up every nook and corner of the garage. I bought the Beyond Bright ones, but I noticed that now there are others popping up that are not as expensive. I don’t know if they are as bright as the Beyond Bright but they will definitely be brighter than what you have now.
Again, thank you so much for the tip! Happy crafting!
Thank you for the idea! I have since switched rooms with better lighting 🙂 Thank you for the kind words as well!
Thank You so much… I was cutting a VERY simple design and it was not working well. I finally on the 3rd try, saw your article. It was a life saver. I learned a few things. I calibrated my machine and the then the extra tips, did the trick.
So glad I was able to help! Remember with crafting patience is key my dear! Happy crafting!
So I just got a cricut and decided that foil adhesive would be perfect for my first project. I did the cut. Then I had questions. And I found this. And I did the extra cuts. And so my first potentially very doomed project came out awesome!! You are a happy saver. Thank you for turning a potential deeply frustrating and depressing problem into a success!!
So glad you didn’t give up! Patience plays a huge part in the crafting world. It makes my heart happy that I saved another project 🙂
Thank you for a great tutorial! You saved me so much frustration and money I’m sure!
Please advise how you get you foil adhesive stickers onto final surface. What transfer film do you use.. mine never seems to pull Up all the foil to be transferred.
Help!
Hi! I use the Cricut Strong grip transfer tape for those, they are a pain!
This article saved me so much adhesive foil! I have a cricut maker and used the adhesive foil – matte setting. It was like using HTV the way it just came off in one piece! You’re a blessing and I appreciate you so much!!
SO happy to help!!Thank you for reading 🙂