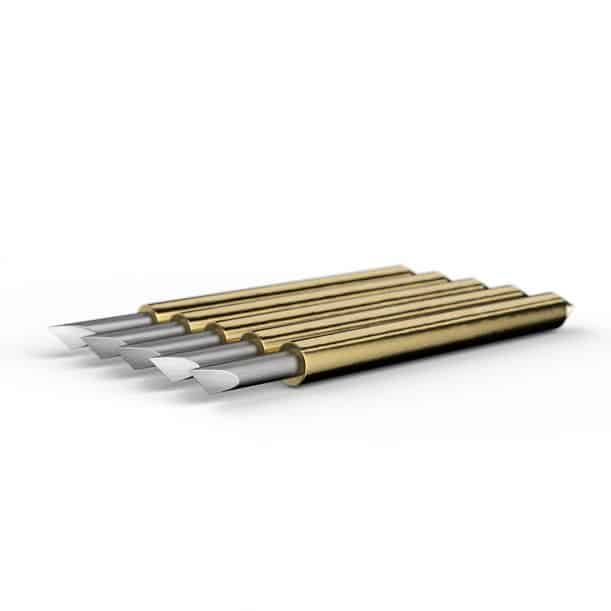
Now that you have had your Cricut cutting machine for a while it might be time to change the blade. This is a very important part of maintaining the Cricut machines. I am going to explain to you why it is so important to change your blades, when to change them and how to change them.
When you first get your machine no one will tell you this day will come. You won’t be prepared unless you have read this article before you get started or shortly after getting started and the need will catch you at the worst moment. These blade last a while if you don’t use them everyday like I do and if you follow the guidelines to the correct blades for each material.
A great example is I have heard of many crafters using the fine point blade for thicker materials like leather and thicker cardstock. Just because the blade CAN cut through something does not mean it SHOULD. This is another subject I will cover soon, on which blades do you use for what material. Stay tuned for that one.
Please note – I am referring to ONLY Cricut blades, NOT off branded blades, I do not recommend using off brand blades, as they can cause several issues with your machine and void he warranty on your machine.
Let’s dive right in with why you should change your blade.
Why Change the Blade?
There are many reasons as to why you should change the blade on your Cricut cutting machines. Let’s cover a few of the top reasons.
Breakage – The original fine point blade that comes with your machine is made of German Carbide Steel, and incredibly strong and durable metal. For such a tiny blade they withstand a ton of beating (well at least mine do, I use my Cricut Maker several times daily). That doesn’t make them indestructible, they can and will break. If you are using the fine point blade for a material that is too thick or hard you run the risk of breaking it. Thankfully Design Space has almost fool proofed this one, if you start a cut and have the wrong blade in the machine will sense it and tell Design Space to alert you.
You can not override this, Design Space will force you to select a different blade or a different material setting.
Dullness – Over time your blades will become dull and lose their sharpness. There is a good hack to sharpening it but this only works for so long. Eventually you will see your paper projects tear more or your vinyl projects no cut all the way. Here is how you sharpen your blade.
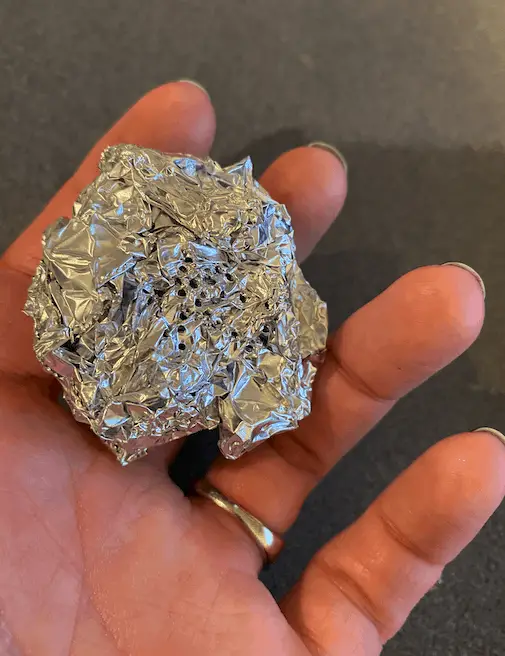
Get a piece of aluminum foil and crumble it into a ball, make sure it is tight. Then just remove your blade from the machine then pop it out of the housing unit (see below for how you remove the blade). Once you have the blade out just poke a few holes in the foil ball and place the blade back in. I do not personally recommend doing this often, you can sharpen it too much and it could potentially thin out your blade and you will have bigger issues.
Time – As with all things time is a factor on how long it will last and keep “like new” status. Based on my personal experience I have gone through a new blade every 3-4 months. If you are not an everyday crafter you can probably get 6-8 months out of one blade.
Now that you know why the blades need changed, let’s cover when you should change the blade.
When to Change a Cricut Blade
So how do you know when it is time to change the blade in your Cricut machine? You will be able to tell based on how it is cutting your materials. Here are a few materials that will show you that the blade needs changed and what happens to the material.
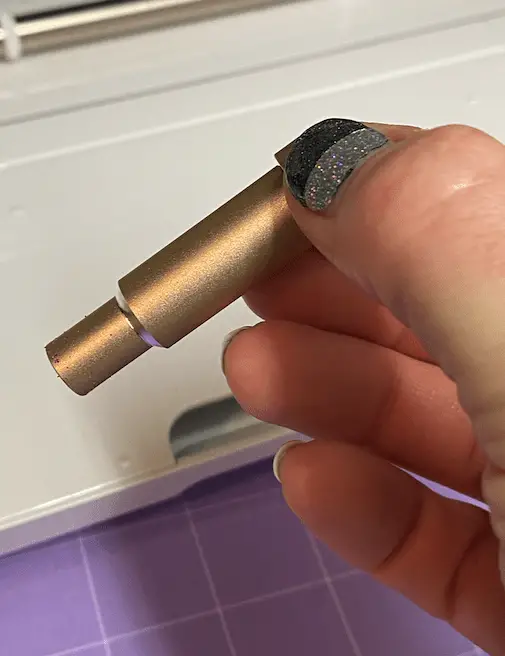
Cardstock – Cardstock can be pretty tricky to tell because there are so many variants of cardstock and settings you play with to finagle your way into a perfect cut. The way to tell if the blade needs changed when cutting cardstock is, when cutting a straight line the blade will start to pull the cardstock up or even start to cluster around the housing. See below for an example:
Vinyl (all types) – Vinyl will tell you real quick if you need to change the blade. What it does is the blade will just stop cutting in portions of your project. So it will cut part but not all of your image. You can attempt to sharpen the blade and see if it resolves if not then change the blade.
All other materials – the easiest way a Cricut will tell you it is time for a blade change is when it starts not cutting materials in a smooth and flawless manner. Anytime a Cricut cutter isn’t cutting right there is a problem, either user error or machine error (from my experience it has been mostly user error).
What I have always said is that if you aren’t sure if it is that the blade needs changed or not that is causing the issues reach out to Cricut directly, either through chat or by phone. They are very easy to work with and if you have Cricut Access then you get to skip the que!
Now let’s get to the how to change the blade on a Cricut.
How to Change the Blade on A Cricut
Changing the blade is a really easy task. Once you have done it once you will never forget it. I never really understood why changing blades wasn’t covered in the book that came with my machines, but then again I don’t recall ever reading them…
To change the blade you will want to first make sure you have purchased new blades, you can (and should) only order them directly from Cricut. There are fake blades out there, just be cautious, it is not worth saving a buck or two over. Here is a link to take you to the blades on Cricut.com, so you don’t have to search.
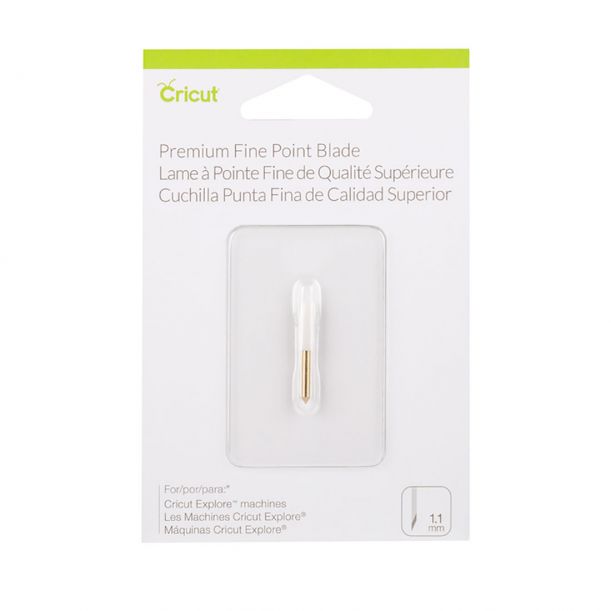
Once you have the new blades open them up and remove one from the packaging, then open up your Cricut machine, this is the same process for all machines. While your Cricut is open pull “clamp B” open like below, it should just pop open just like the other side to add a pen or marker in. I did notice the Cricut Maker has a bit of a strong clasp than the Explore Air 2 and Joy did so if it is a little difficult or seems stuck just keep trying.
After you have clamp B open go ahead and remove the housing unit. From there you will see a push pin type piece on the tip of the housing, press it, this will pop the blade out some so you can pull it out of the housing. Then take your new blade, it will have a rubber cap to protect you and the blade, remove that and place it on the old blade and safely dispose of it. Take your new blade and slide it into the housing unit where you just removed the old one from and once you get to a certain point the magnet inside will pull it into place.
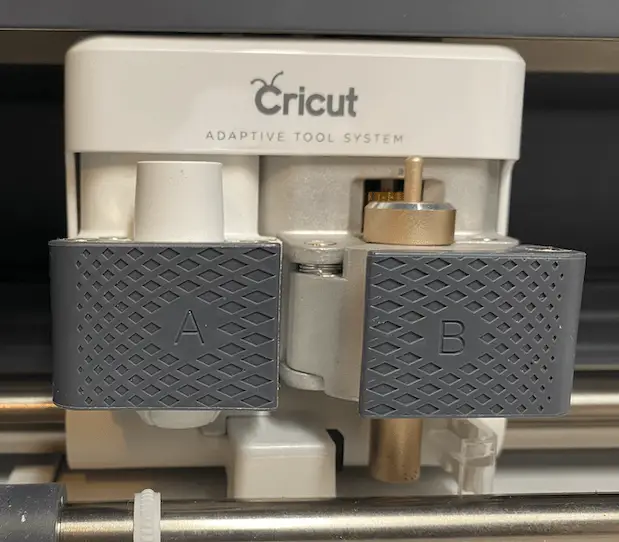
Housing Unit Closed 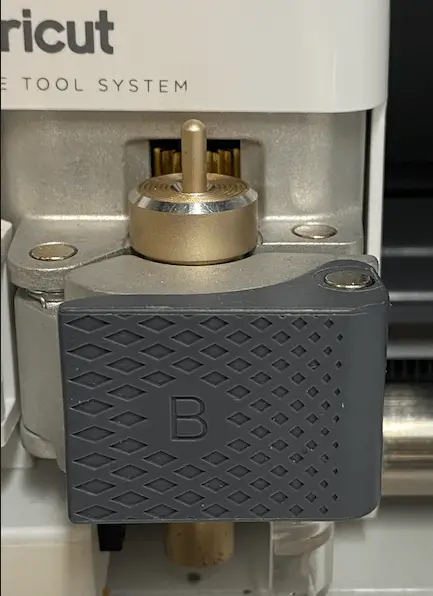
Housing Unit B 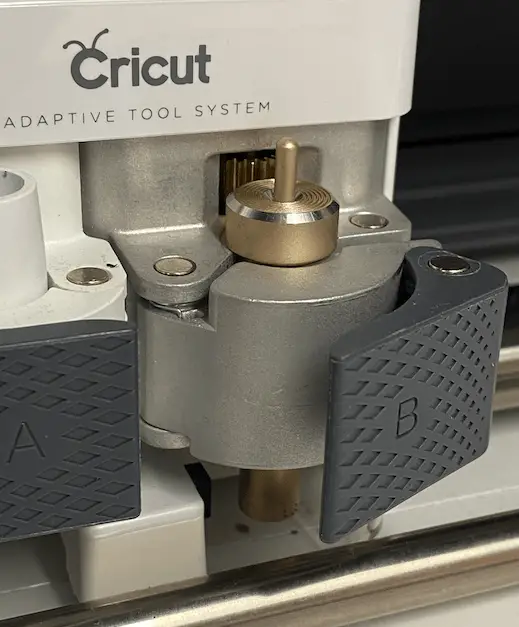
Open Clasp 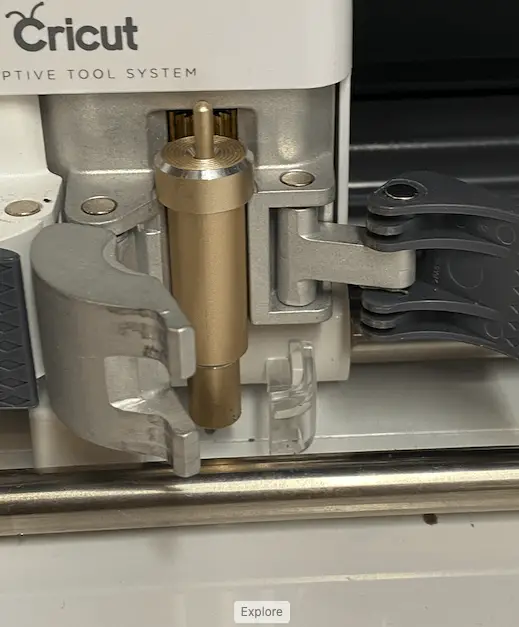
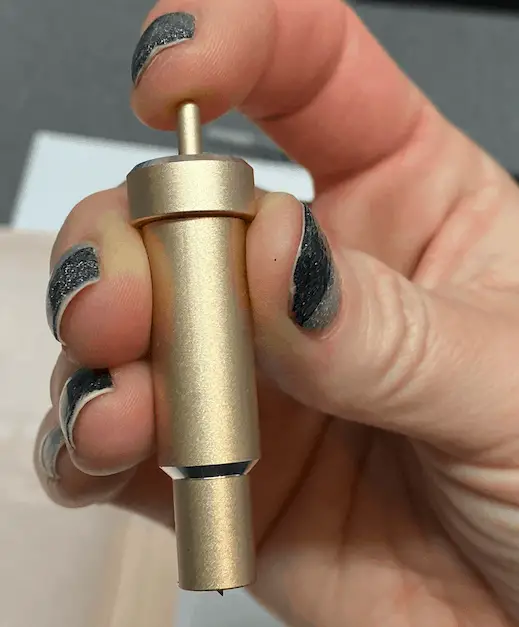
tip pushes in 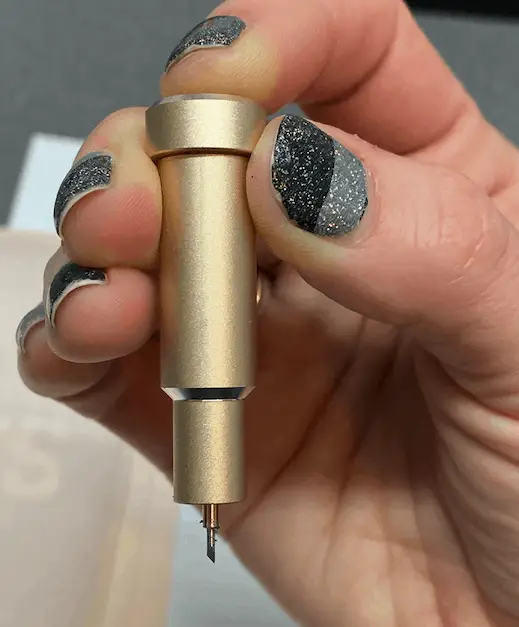
pushing in the tip pushes out the blade to grab 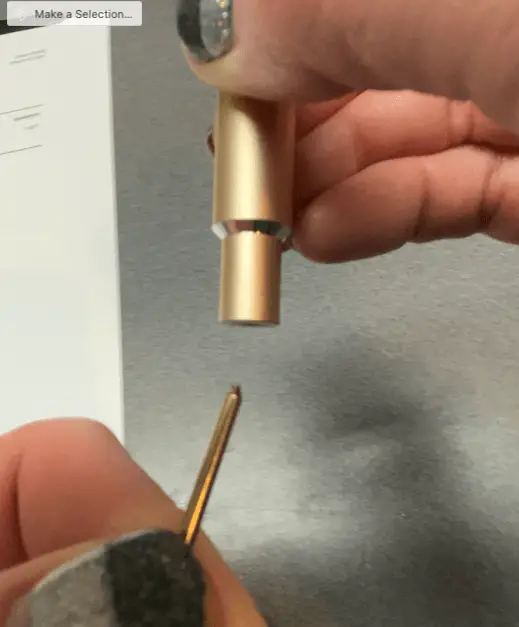
pull old blade out 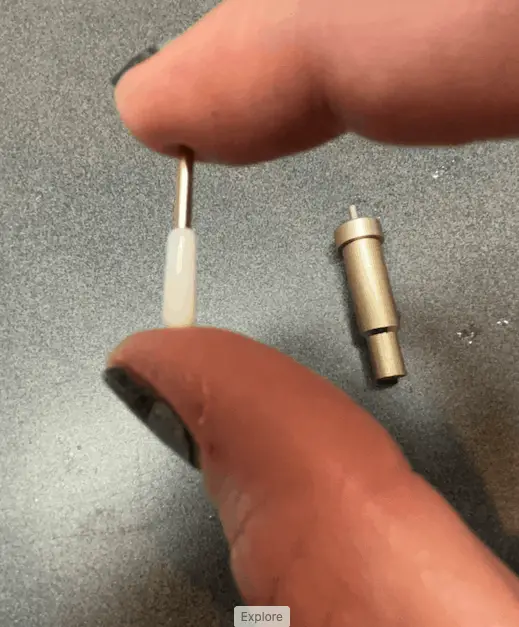
new blade 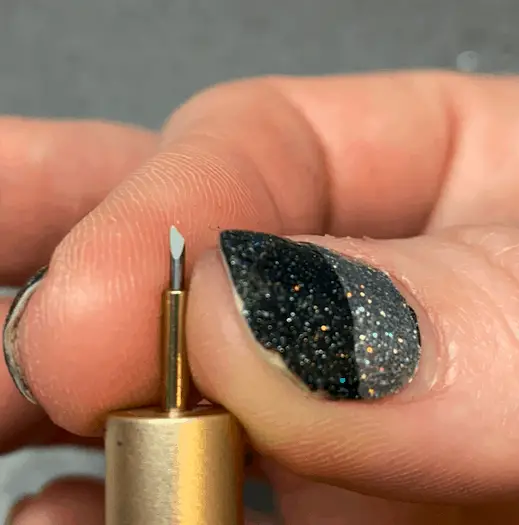
drop new blade in
Once you have the new blade into the housing you can place it back into clamp B, close it up (see below for an image on how to close it). You are not done yet, whenever you replace your blade you always want to run a machine calibration, this will break the new blade in and keep your machine up to date. Check out this tutorial on my YouTube channel @craftingunedited –> How to Calibrate Cricut Machines
We have covered why, when and how to change the blade in a Cricut machine. You should be a pro at it by the time you finish your first blade changing. Let me know if you have issues changing it or if you have any questions. Simply drop a comment in the comments section below or shoot me an email at support@craft-ily.com.
As always, happy crafting!
Be sure to check out some other nifty functional craft ideas through our other posts here on Craft-ILY as well as checking out some videos on DIY and How To’s over on YouTube. Look for “Crafting Unedited” or just click the name in blue to see!
