Faux leather is used for many things, but in the crafting world it is used for so much more. Bows, bookmarks, lanyards, and earrings! Faux leather earrings are fantastic because they are so lightweight and durable. Making them with your Cricut Maker is such a breeze (once you get the hang of it and know the settings).
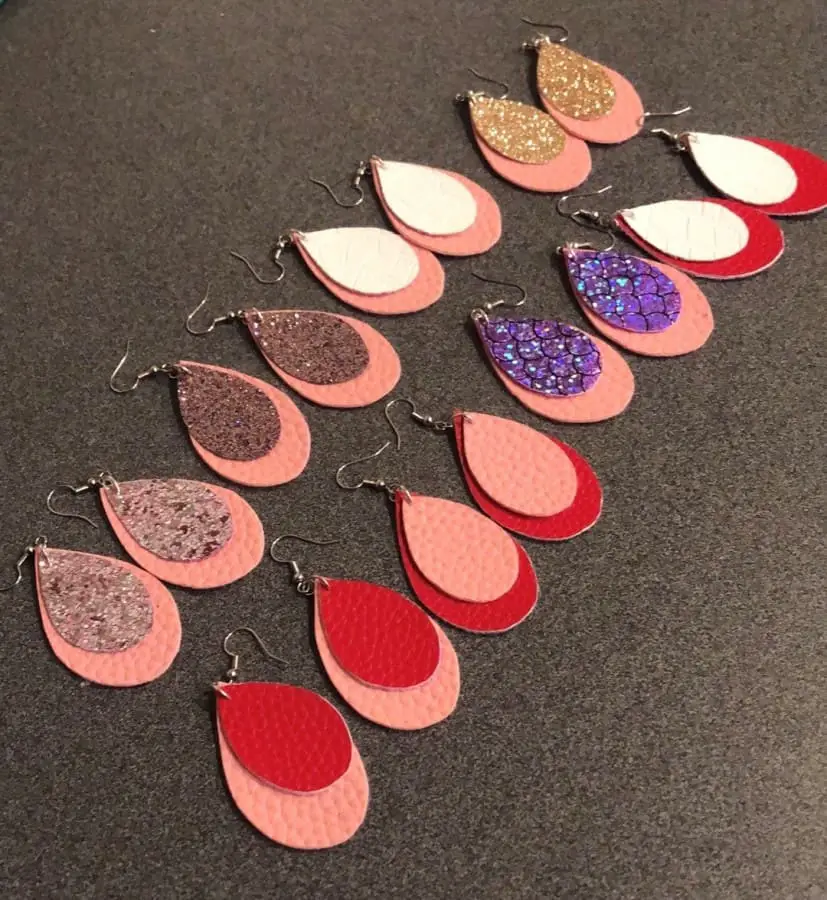
This post will guide you through all of the steps to create one of a kind faux leather earrings in minutes using your Cricut Maker. You will also learn my favorite tips and the best supplies for these fabulous faux leather earrings.
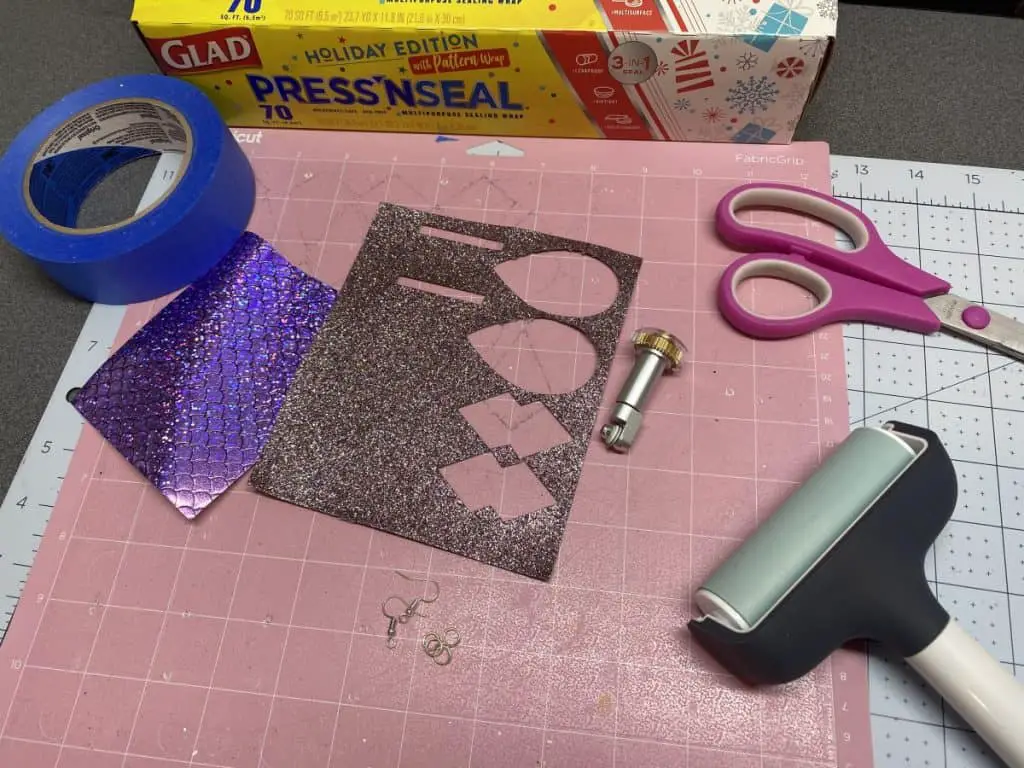
Supplies
Before you jump into creating these amazing faux leather earrings you will want to make sure you have all the supplies needed. I have included links to each of my favorites so that they are super easy for you to find, and so that you get the best bang for your buck.
- Cricut Maker
- Fabric Grip Mat (Pink one)
- Rotatory Blade
- Fine Point Blade
- Faux Leather Sheets (highly recommend this kits as it includes everything you need)
- Glad Press N Seal (you will thank me for this)
- Scissors
- Tape
- Findings (hooks and closures)
- Cricut Brayer Tool
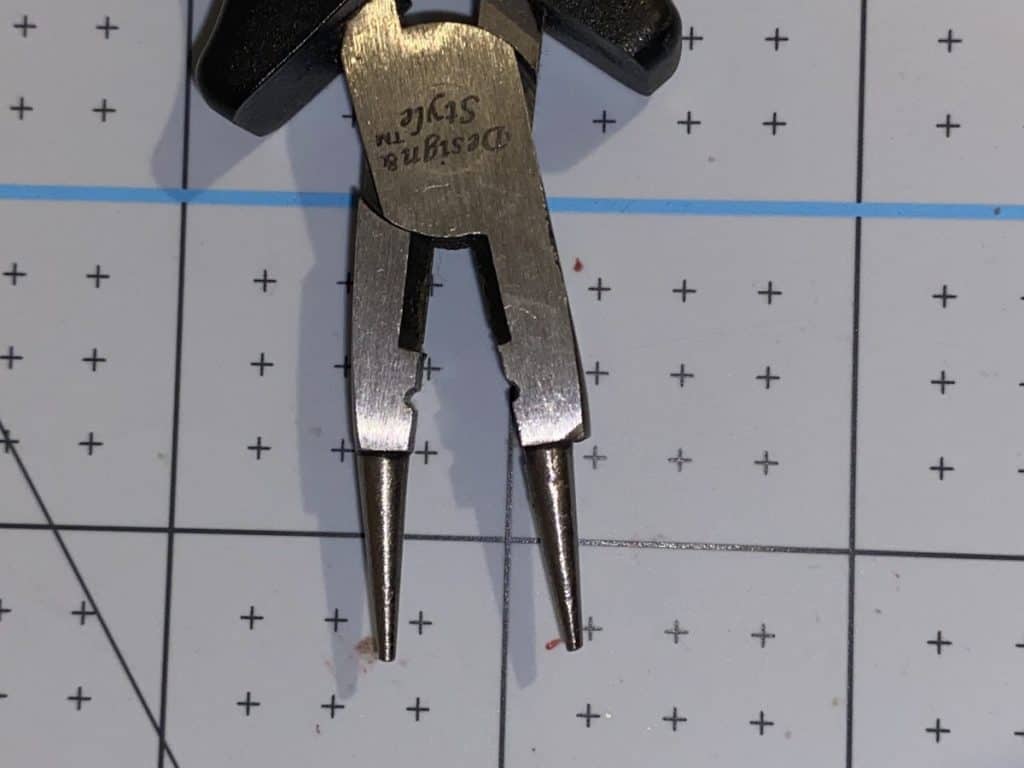
- Jewelry Pliers
Steps
Getting Started
Now you have all your supplies you are ready to begin making! You will want to find some SVG files for the earrings you want to make, they come in so many shapes and sizes, you could really get lost looking for one to start. To save you the stress of searching I have created one for you in Design Space. Don’t worry if you don’t have Design Space you can use this free one from Designbundles.net (bookmark this site, you WANT to go back).
Once you have your design you can load it into Design Space and play around with it to make sure you get the sizing you want. For beginners I recommend no more than two inches in either direction. Bigger means easier to work with.
Tip – I mirror my designs unless they are a simple shape or something then you can leave it as is. More on why I do this in a minute. Once you have your design set the way you want it you are ready to press “make it” and get your material selected.
Selecting Materials
Now here is where it can get a little fuzzy. Some faux leathers cut completely different than others and it drives us crafters insane. So with that being said these are the settings that I have found work best with the faux leather material I have and use.
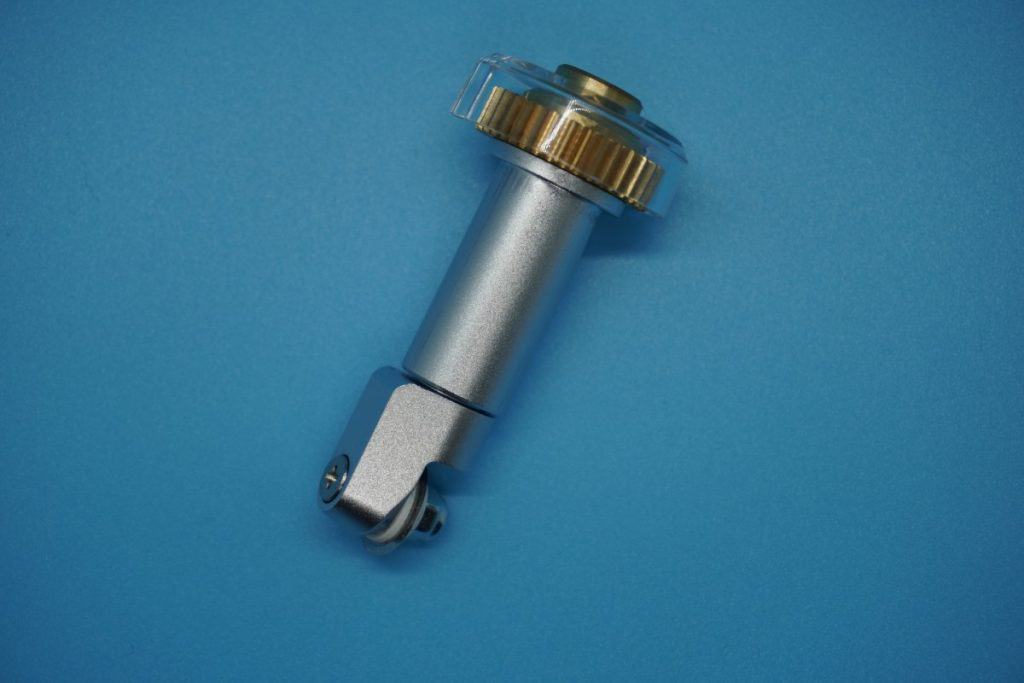
If your design is simple and does not have any complex turns then the fine point blade is ideal. If you have a more complex design then find a setting that utilizes the rotary blade such as the leather or bonded fabric (you may need to edit the tools as it might automatically select the fine or deep point blade). Sometimes a trial and error is needed.
Prepping Your Mat
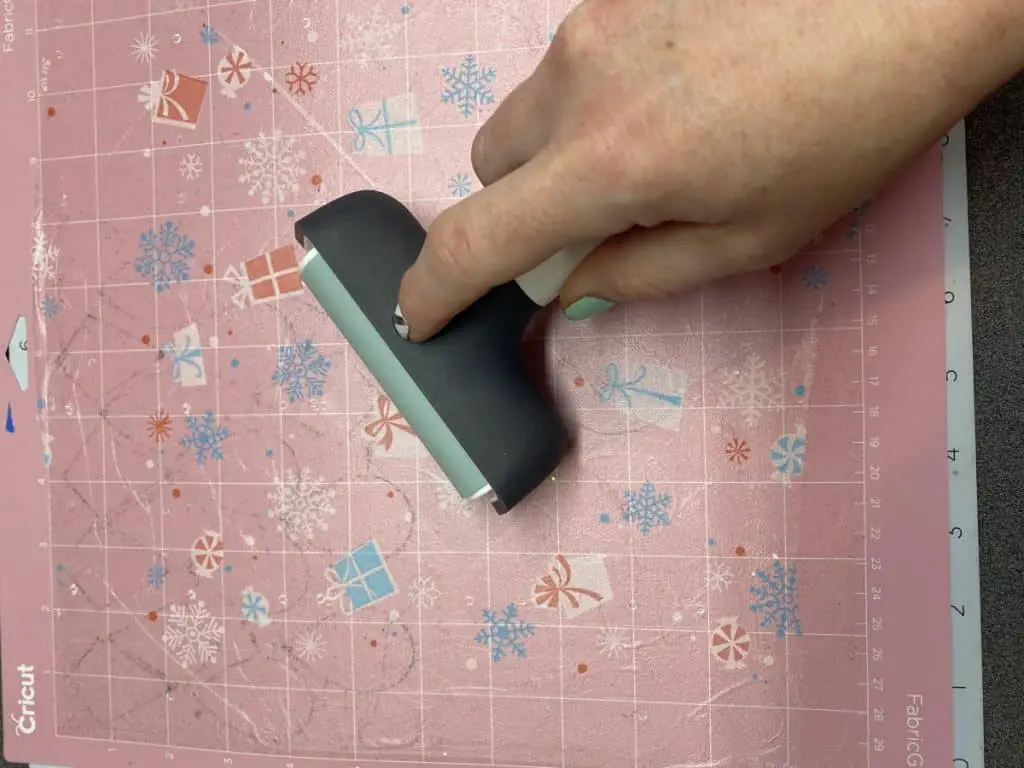
As mentioned before you want to use the pink fabric grip mat, you CAN use the purple strong grip one but I recommend against it, as it can get messy (as in ruin your faux leather). So you will get your mat out, wipe it clean with a scraping tool and apply some Glad Press N Seal with the sticky side up (this is super hard to figure out, which is why I try to find the patterned kind). Then you will use the Cricut Brayer tool to flatten it out, go slowly as it will stick to the brayer a little.
Placing the Faux Leather
Once you have the Press N Seal set and you have selected your material, you can place your faux leather cotton backing side UP, or textured side DOWN. I promise this will make a HUGE difference when cutting, especially with the glitter ones. Lay it as flat as you can with your hand, then run the Cricut Brayer over it to really get it on there and to remove any air pockets or wrinkles that may have snuck in.
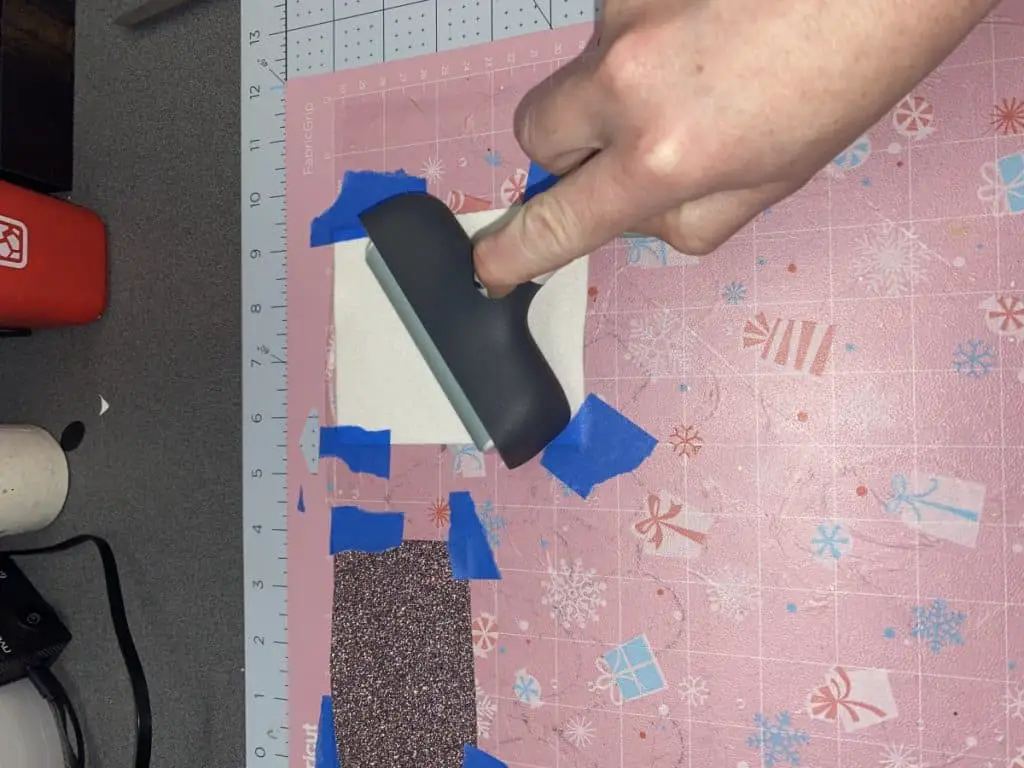
After you have placed your faux leather on the mat and have it situated the right way you are ready to load the mat into you Cricut Maker. If you are using a thicker faux leather you will want to move the star wheels all the way over to the right so that they don’t indent your material.
Tip – I also like to tape my material down just as a back up, you do not need to but if you are like me and OCD about things then go for it. I use painters tape so that it doesn’t damage the material.
Cutting
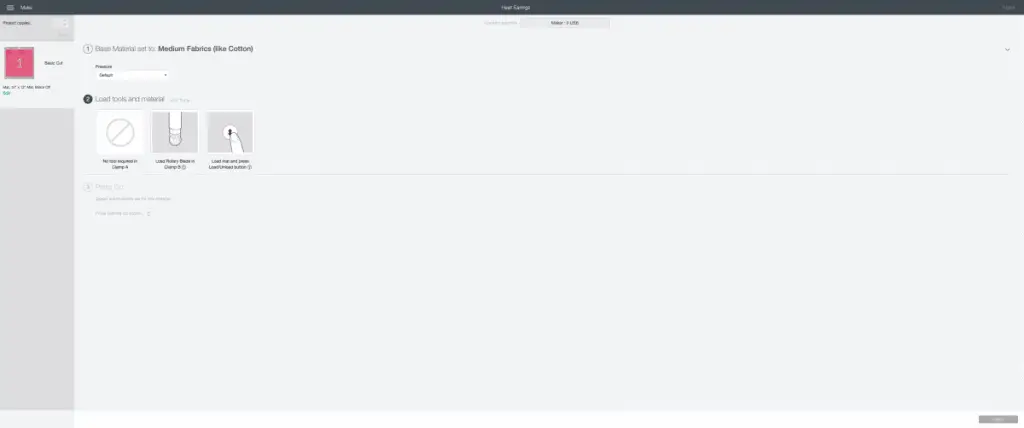
Now that your material is placed you are ready to cut. Make sure you have the right setting set for your material, here are a couple ones that I use:
- Faux leather (paper thin) – this uses the fine point blade
- Bonded fabric
- Cotton
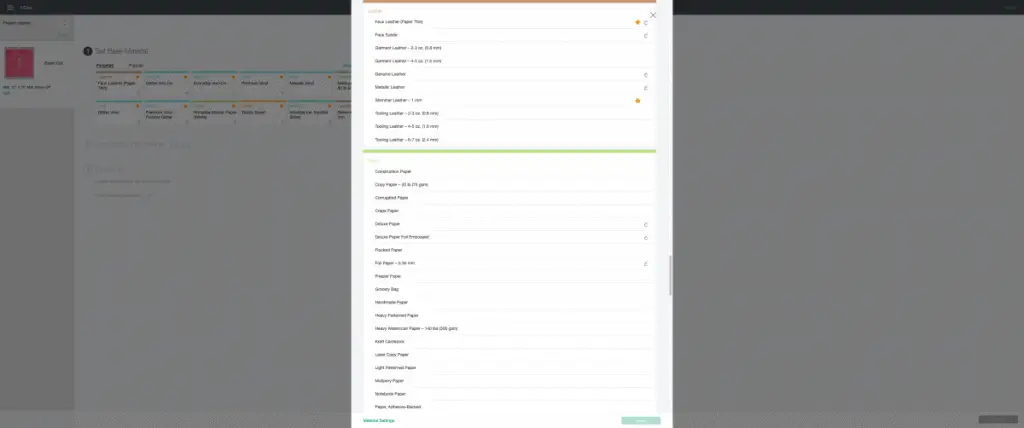
When you have the material selected you can go ahead and load your mat and press the go button. Let the Cricut Maker do it’s thing. While you wait you can start on attaching the findings for your earrings. I like to use the hook style earrings, you can use what you like.
You will need two jump rings (image below) for each earring unless you want a side facing earring. Most hook earrings are set to side facing, so rather than bending them and possibly damaging the hook, just add two jump rings to make it face your desired direction.
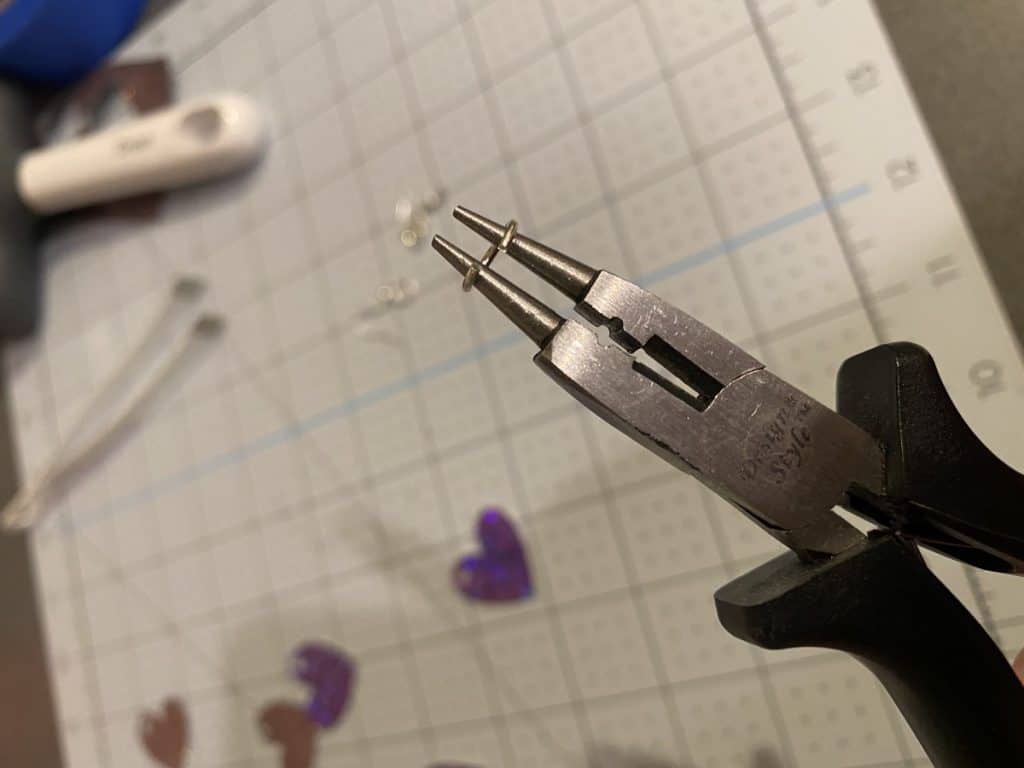
While the Cricut Maker does the cutting connect your two jump rings to your fish hooks, that way when they are all done you can just hook the earring on and be done.
Time to Finish
You have cut your material and are ready for the final step! This is the easy part, well it has all been easy up to this part right?!
Take your freshly cut earrings and pull them from the mat, gently and set them down. If you did layers, pile the layers together as they should be when worn. Now take the jump ring and open up, put one layer in facing the rounded side of the hook, then if you did another layer add the second to that and so on in the same direction. Then close it up using your jewelry pliers. Here is a link to a kit that includes everything you need to create these earrings, leather, pliers and all the findings!
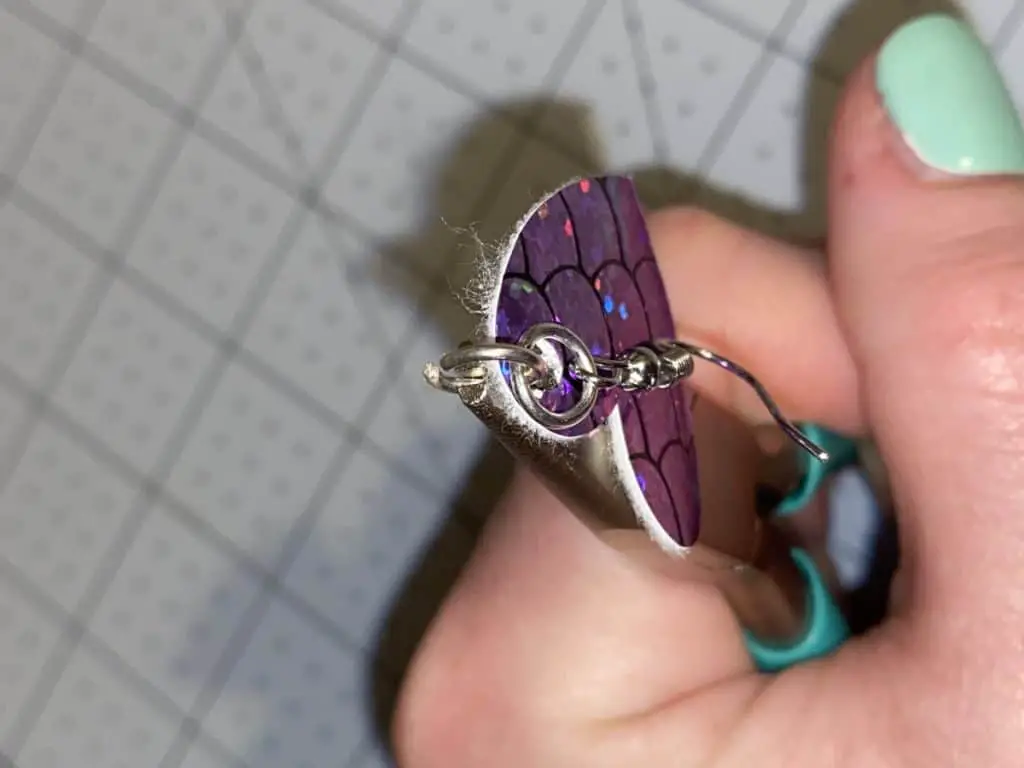
Repeat this process for all of your earrings, when you have completed them all they are ready to wear and be flaunted! I told you they were super easy and fun to make.
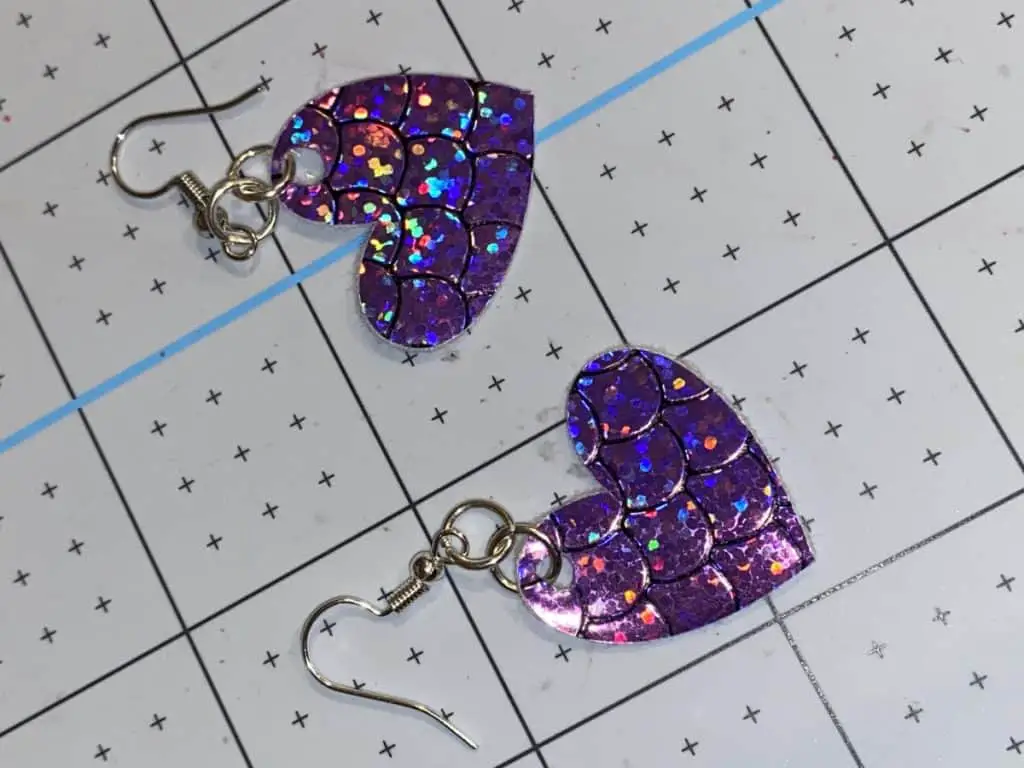
Tip – If you or the recipient of the earrings are notorious for loosing fish hook styles the grab some of these little plastic backs to prevent them from sliding off.
You now have a beautiful pair (or several pairs) of earrings, that were made by you and with so much love! Get out there and flaunt them.
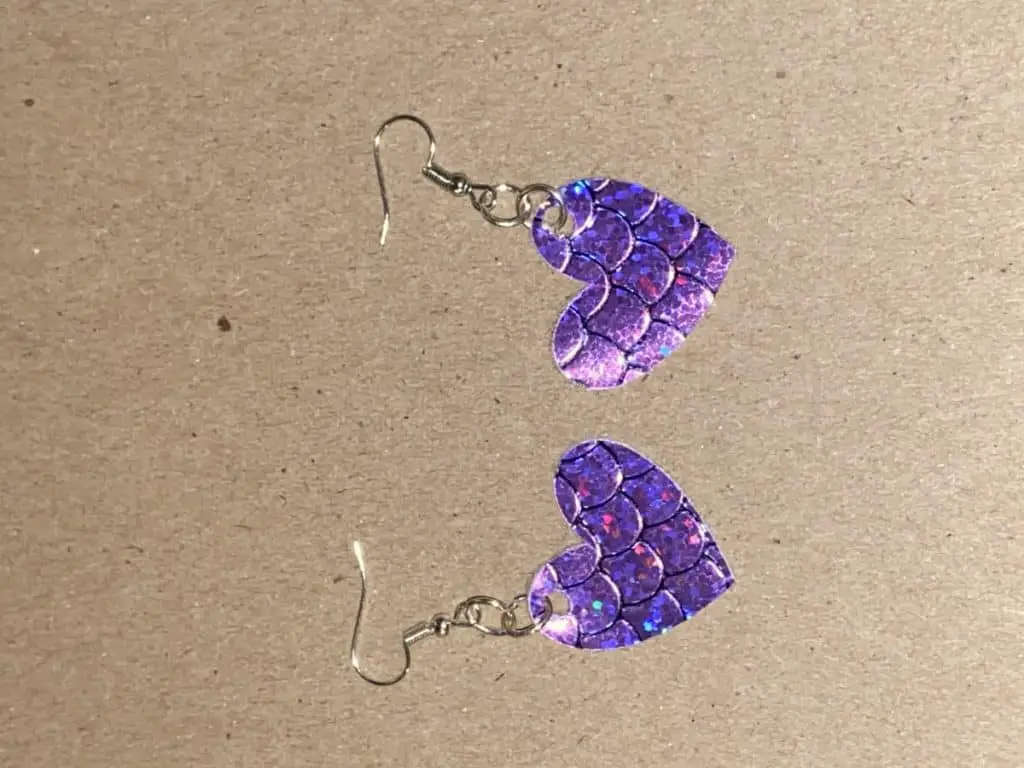
So many crafters are intimidated to make things such as earrings and such, don’t be afraid, try it and if you fail have a giggle and some candy and try again. Never let your fear throw you off your game, typically what you are afraid of is what you are best at.
Be sure to check out some other nifty functional craft ideas through our other posts here on Craft-ILY as well as checking out some videos on DIY and How To’s over on YouTube. Look for “Crafting Unedited” or just click the name in blue to see!

