Did you know that you can draw freehand using Cricut Infusible Ink markers to create a one of a kind piece of artwork that can be infused into a shirt, tote bag or other material? You can, and it is the coolest thing since scented markers were invented.
Cricut Infusible Ink is amazing, if you haven’t tried it yet you need to. Something really amazing they developed that I haven’t seen from any other craft creators is the Freehand Markers and Pens. Cricut’s Infusible Ink is similar to sublimation, except it is not printed in a design. Infusible Ink comes in sheets of color or patterns and in the form of markers and pens, sublimation requires special paper, ink and a printer designated for sublimation printing only.
You can read more on what exactly Cricut Infusible Ink is and how to use it here.
What’s the Difference?
If you are familiar with Cricut Infusible Ink then you maybe wondering what the difference between Infusible Ink markers and Infusible Ink freehand markers. Just because they are both markers doesn’t make them the same, you wouldn’t say a paint marker is like a regular marker would you?
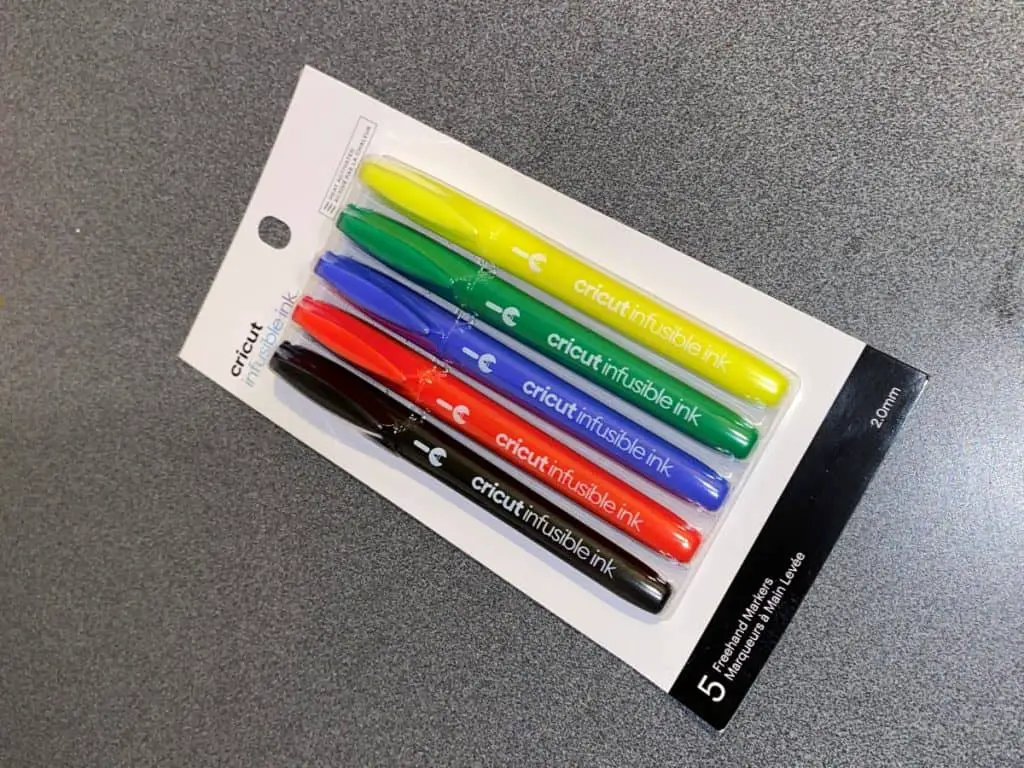
Infusible Ink Markers
Infusible Ink markers are for the Cricut machine to draw with, they are available (sold separately) in a .4mm and 1.0mm tip. Typically the .4mm tip is used for outlining an image or writing text and the 1.0mm is more for drawing out an image or font that you want to fill in. Either way they are very versatile and you can use them free hand but I recommend against it.
There are two reasons for this, one is because the oils and grease from your hands can transfer onto them and if you swap between the machine and freehand the oils can get onto the pen housing which in turn can cause issues with the housing holding pens in the future.
The other is because the pressure use on the paper is more than the pressure the Cricut will use. This can mess up the tip of the marker and cause fraying and other issues when you go to use it next time.
Free Hand Infusible Ink Markers
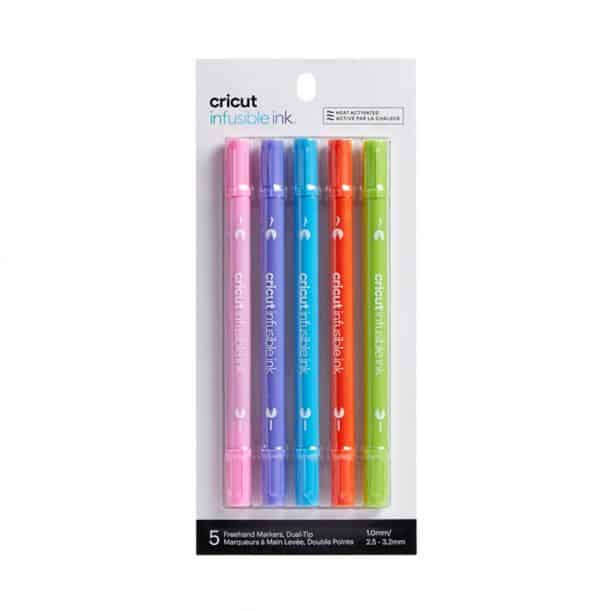
Free Hand Infusible Ink markers are labeled “free hand” they are much wider in grip than the regular Infusible Ink markers do so they are easier and more comfortable to handle. They also have a stronger tip to them for the various pressures you will apply while drawing and coloring.
The Infusible Ink free hand markers are available in three options. 1.0 tip, .4 tip and dual tip. They are also available in many colors, my favorite is the tropical set!
Now that you know all about WHAT the Infusible Ink free hand markers are and ther differences between them and regular Infusible Ink markers you are ready to learn how to use them and just how EASY it is to create the most unique one of a kind projects ever.
How to Use Infusible Ink Free Hand Markers
Ok, so you have your markers handy and are ready to get creating! Some of the supplies you need are:
- Infusible Ink Free Hand Markers
- Copy paper
- Cardstock paper
- Butcher paper
- Polyester blend base (shirt, mask, socks, bag, etc.)
- Heat Press
- Heat resistant tape
- Either your imagination or an image to trace
Prep
Just like any other Cricut project you will want to prepare your supplies and work area. With Infusible Ink products you will want to take a few extra steps to get the best possible image for your project.
- Make sure your surface is dry and free of any oily residue. Get a little rubbing alcohol and give it a good wipe down. Just as the Infusible Ink transfer sheets can get streaky, ghosting and marbling the Markers can too. It will ruin not only your image but the marker as well.
- Wear gloves or make sure your hands are free of oils, lotions and other things that can be absorbed into the image and markers as well.
- Have some tape handy, this will keep your paper in place and avoid any “coloring outside the lines” by accident.
- Place the piece of cardstock under the copy paper, this will avoid it bleeding onto the surface you are working on.
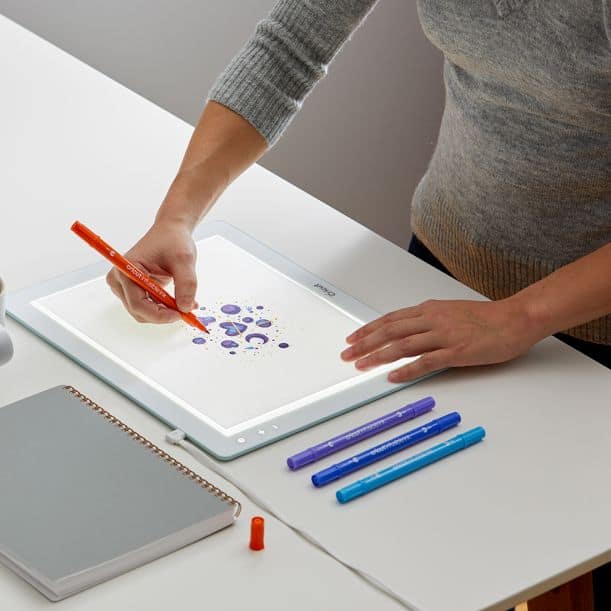
Start Drawing!
Now you are ready to start drawing and creating your one of a kind image. You can also have your kids join in on this. I gave my son the markers and details about how they worked, let him use my space to work in and said have fun! He loves drawing and art so I figured this would be a great way to keep him occupied. Just make sure you let them know not to color on anything else, they are NOT washable!
A few tips as you draw:
- As you are drawing you will notice that they do bleed, the paper will start to look like its wet, this is ok.
- Try not to stress over it and just have fun!
- If you miss a spot you can always go back through and touch up.
- Don’t go over the same space too many times, just like regular markers it can end up making the paper too wet and you will have a tear in the page.
- When you believe you are done, let it dry completely before you press it onto your blank. This way you can see clearly just what your colors look like or if any spots look lighter than others and if you missed any spots.
Time to Press
Once your drawing is complete and you have let it dry you are ready to press it on to your blank. Remember you want to make sure your blank is at minimum 65% polyester blend or that you are using my glitter HTV hack.
Watch the video on my glitter HTV hack here!
Heat your press to 385 degrees, prep your blank by using a lint roller and if its not fabric like a coaster or cup use an alcohol wipe or towel with alcohol on it to clean the surface (and still run the lint roller over it). This will ensure a debris free surface.
Once you have a clean surface and your press is heated you are ready to press. Grab your drawing and place it on the surface, then using the heat resistant tape secure it into place. Make sure it is on there night and tight to avoid any ghosting from it moving.
Place your blank with the drawing attached under your press and cover with a sheet of butcher paper. DO NOT SKIP THE BUTCHER PAPER!! This is put in place to prevent the inks from bleeding onto your press plate and to absorb the gases that form when the ink is activated.
If you are pressing a shirt or bag, place a sheet of cardstock in between the layers of material to avoid it bleeding through to the back side of the material.
Once you have the butcher paper in place and your cardstock if needed in place go ahead and press, you will want to press for about 20 seconds. After the timer is done, swiftly and gently pull the press off the material and walk away. The material needs to be completely cooled before you move any part of it (this includes the butcher sheet) leave it for about 5 mins.
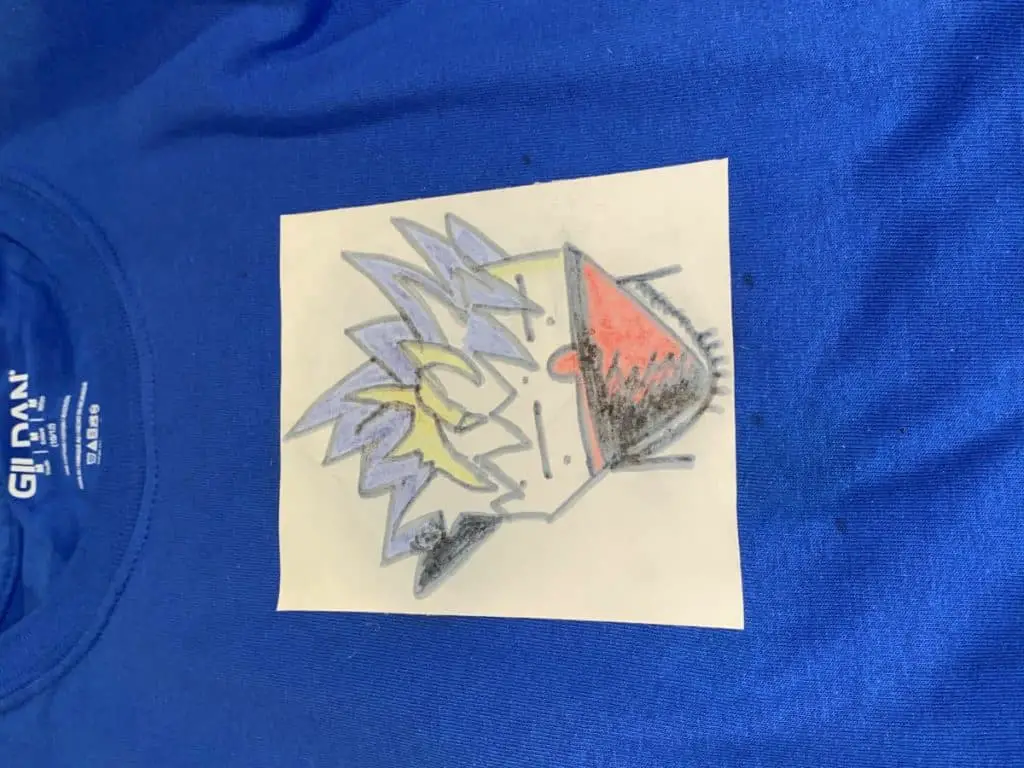
When the project is totally dry remove the butcher sheet and toss it, pull off the tape and the copy paper (save if you like the idea of having a second use but in a lighter form) and pull your material off the press.
From there you should have a one of a kind project that no one else can recreate! It is 100% you (unless you traced it lol!) ready to be shown off to the world!
If you would like to see a video on these instructions watch it here:
Be sure to check out some other nifty functional craft ideas through our other posts here on Craft-ILY as well as checking out some videos on DIY and How To’s over on YouTube. Look for “Crafting Unedited” or just click the name in blue to see!