When you get started in the garment decorating world you are going to notice there are two major things that you can do. Sublimation and Vinyl are two similar but very different techniques. I want to share with you the major differences and similarities between the two to help you understand and possibly decide which would be best for your projects.
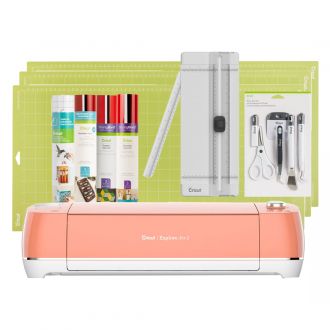
The biggest difference between the two is the process. Sublimation uses specialized printers and ink that forms into a gas that then dyes into the substrate you are using. Vinyl is a material that you cut using a cutter machine like a Cricut or Silhouette to create designs in either single or multiple layered formats, then you use a heat press to activate the adhesive onto the substrate you are using.
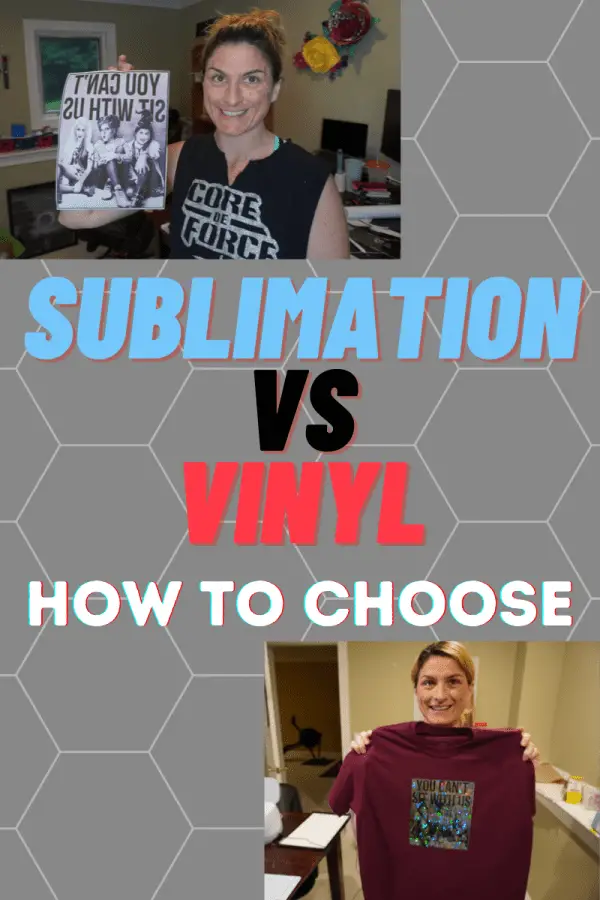
There are several other differences between the two, a few that can be the deciding factor for your projects.
Sublimation
Process
The process of sublimation is pretty easy once you get your sublimation printer set up and the settings right. For sublimation you will need a substrate with a polyester coating or blend (if creating on a fabric), some butcher paper, and a heat press.
You will start by printing your image (mirrored) using sublimation ink and your sublimation printer, then you will trim the edges and place it on your substrate wherever you want. I use heat resistant tape to hold the transfer into place, cover the print with butcher paper, and then using your heat press at 385 degrees with medium pressure, you will press it for 60 seconds.
Once you are done with the press you will lift the press and remove the print from the substrate. After you have removed it let the newly pressed product cool off and sit for a few hours and you will be ready to wear it or send it off to its final home.
Cost
The cost of sublimation is quite a bit up front, depending on the printer you go with it can run you anywhere between $500 and $2,000 or more to get started. Once you are all set up it will only cost you about $.25 per image printed. Of course you will also have the cost of the substrate you are using but the cost of the print is fairly inexpensive.
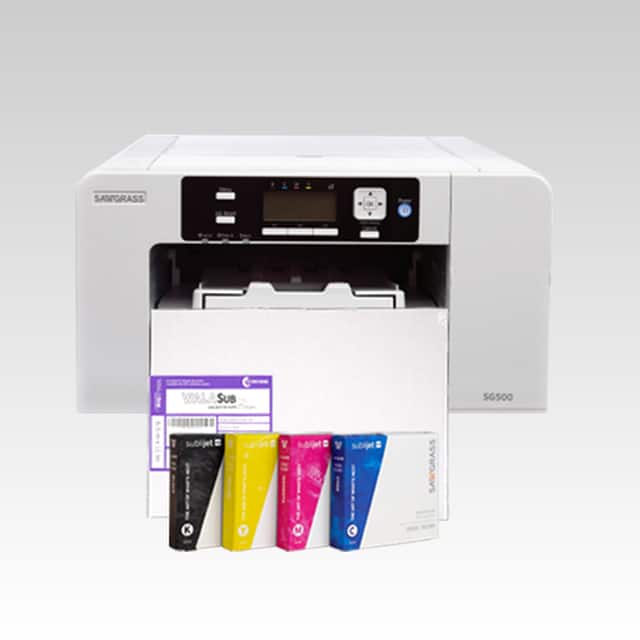
Sublimation Priner 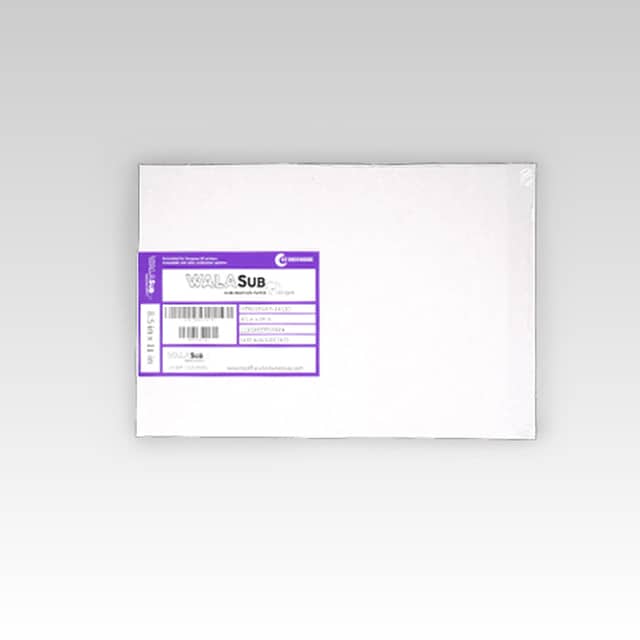
Sublimation Paper 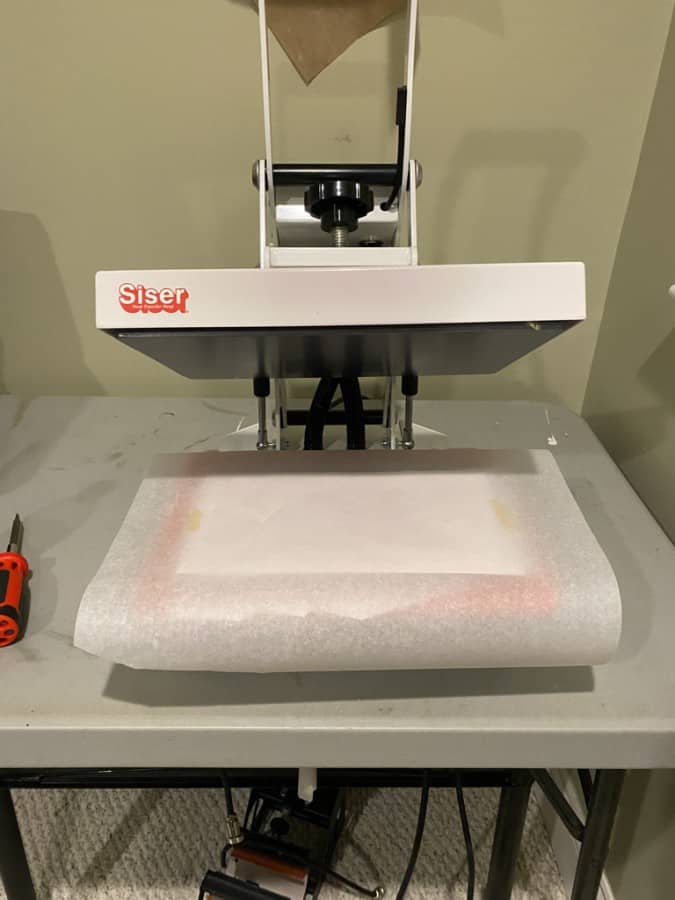
Heat Press
You will also have the cost of a heat press to keep in mind. If you want to press other materials like cups and hats you will need different attachments to go with that heat press. These heat presses can range immensely, I am talking anywhere from five hundred to thousands of dollars. The more attachments you add the more cost is added.
Benefits
There are many benefits to sublimation. One of the biggest is that the image (if you use a quality substrate) will never fade, peel or crack, it will remain on that item forever. Another benefit is that there is no feel to the image once it has been transferred, it is as smooth as the surface of the substrate you used. My favorite benefit is the fact that there is no layering, you print, press, and move on to the next!
Vinyl
Process
The process of vinyl is quite a bit longer than the process for sublimation, but in some situations, you have to use vinyl (or another method) for things like dark colored fabrics or if a customer wants a cotton only material or has a specific blank that is not sublimation ready.
You will first need to find an image that is available in an SVG format by creating or purchasing one. You will need a vinyl cutter in order to use vinyl (unless you are super crafty and can cut by hand), a heat press, and lots of vinyl, and I do mean lots – unless you plan to only do solid color/single layer images. Vinyl comes in two forms, Iron On and adhesive (plus other categories within those two – you can learn about those here: All of the Types of Vinyl for Cricut.
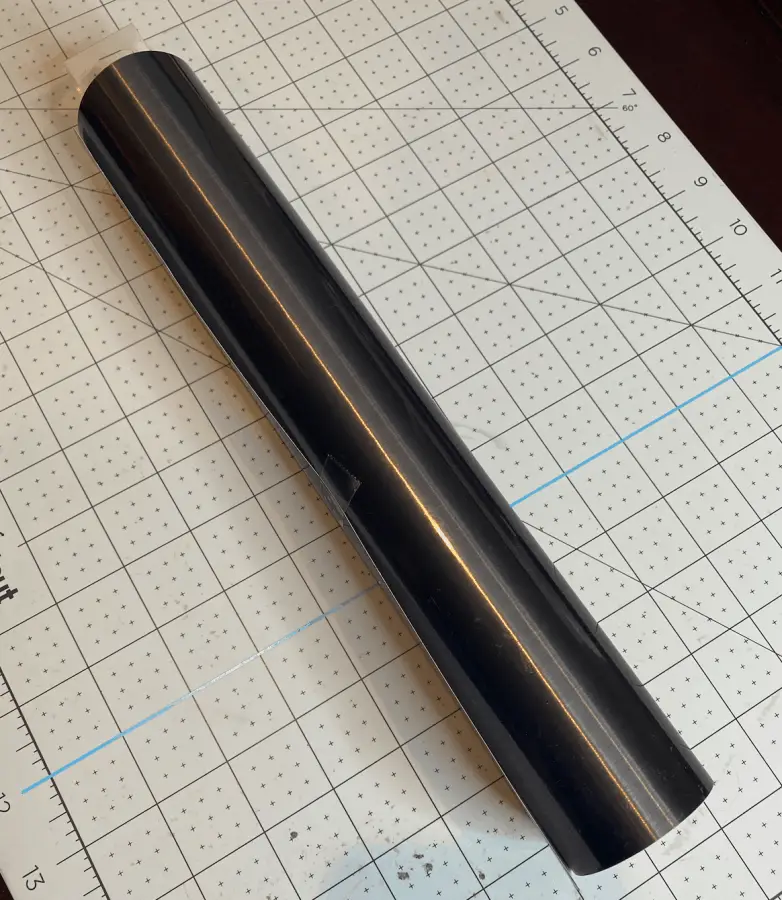
Adhesive Vinyl Roll 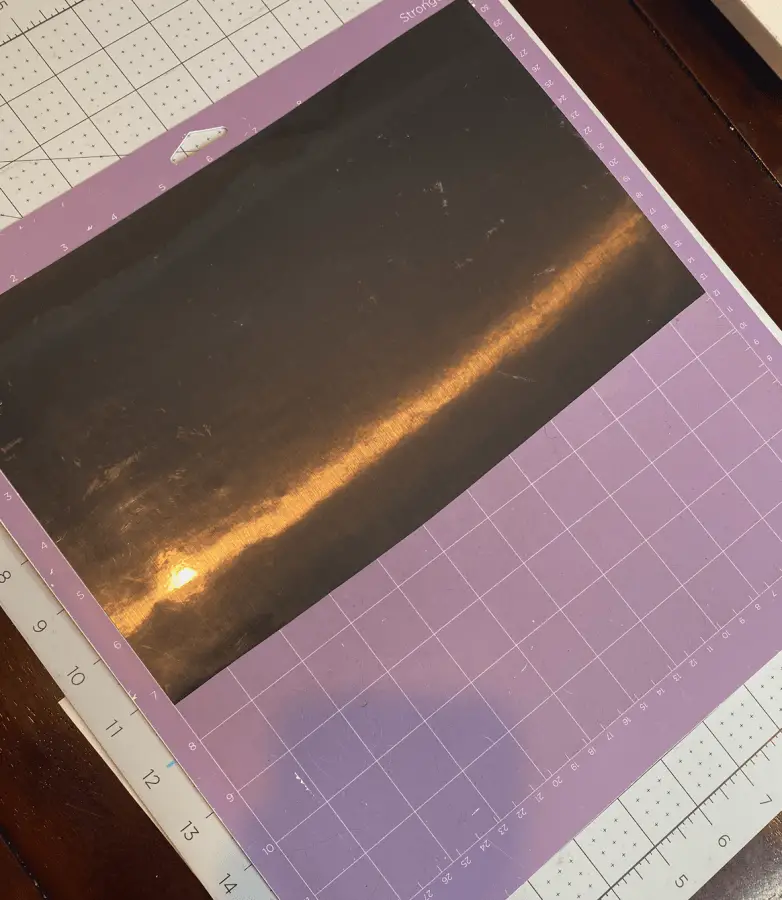
Ready to cut vinyl 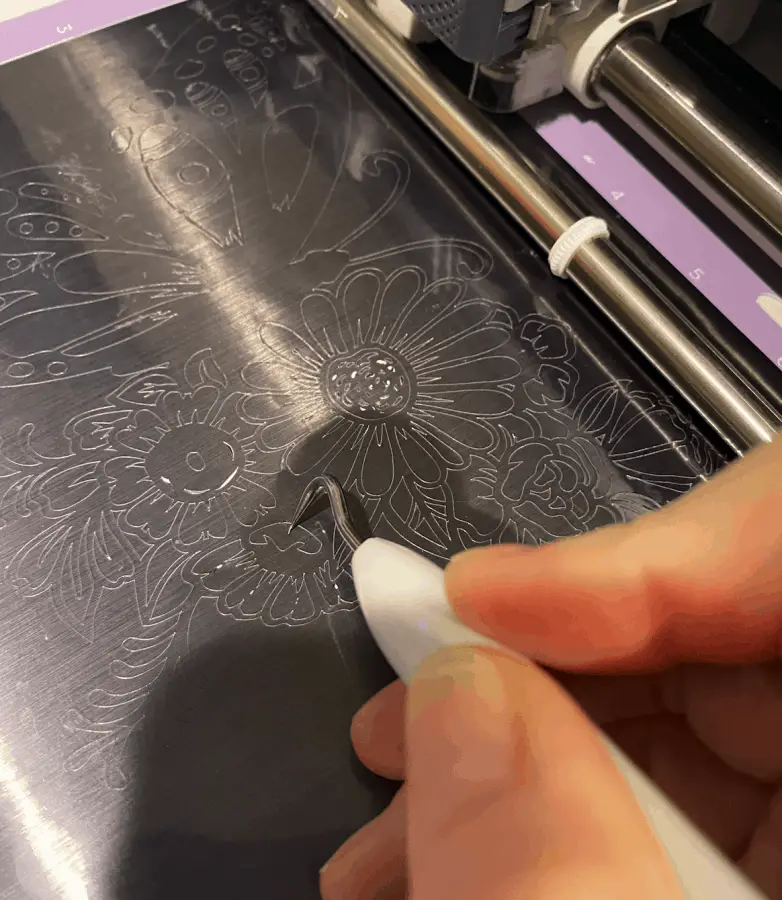
Weeding vinyl 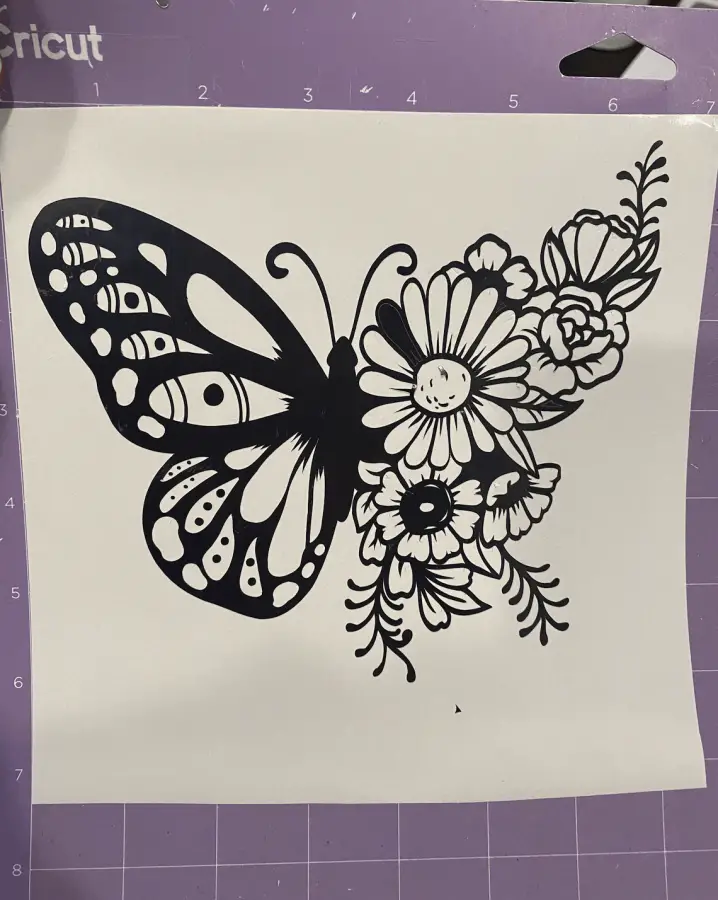
Final product
After you have everything you need you will need to create a design or upload the design of your choice into either Cricut Design Space or Silhouette Studio and cut it. If you are doing an Iron On project then you will need to mirror your image, if you are doing an adhesive project you will cut it regular.
Once you have your image cut you now have to weed out the pieces that are not part of your image and if you have layers you will want to lay them out in the order you will apply them. Usually, Cricut Design Space will cut them in order from first layer to last for you, so just keep them in the order Design Space tells you.
After you have weeded your design you are ready to apply. If you are using adhesive vinyl you will need to use transfer tape, if you are using iron on you will need to use your heat press. Depending on the type of iron on you will press it at around 275-300 degrees, heavy pressure and for between 15-30 seconds and either hot or cold peel.
For adhesive projects you will make sure you clean off the surface you will be placing the decal on, line it up and apply it using the transfer tape and a scraper. I like to use the felt sided scrapers so that they don’t scratch up the surface.
Cost
The cost of the vinyl process is also more than sublimation, just not as much up front. Depending on the cutting machine you get – i.e. the Cricut Maker will run you roughly $400-$500 and the Silhouette Cameo will run you about the same, you will be looking at around $700-$1,000 to get started with vinyl. This does not include the cost of vinyl.
If you are using iron on you will also need a heat press, for vinyl you can use a Cricut Easy Press or a bigger heat press, it really will just depend on your preferences.
The cost of vinyl will depend on how much you purchase, from where, and what kind you get. I highly recommend you buy your base colors (black, white, green, blue, yellow, and red) in bulk. This saves a lot of money. Iron on rolls can range between $15-$100 (size depending) and adhesive rolls can range between $7-$100 (size depending) the more you buy the more you save.
Benefits
The benefits to vinyl are little compared to sublimation. The biggest benefit to using adhesive vinyl is that it CAN come off, so for car decals, window decals, and even some cups it is really beneficial. The benefit to using iron on is that you can use it on pretty much any material you want.
Cons to Both
As with any product, there is always a con or even several cons. With sublimation the main negatives are that you are limited to the substrates available that are sublimation ready, you also should know that sublimation ready blanks are more expensive. The negatives to vinyl are mainly that you can feel it on the substrate, they can (and eventually will) peel, fade or crack, the other big one is the amount of space the rolls or sheets take up.
How to Decide
The best way to decide which is going to be the best and most beneficial route for you is to really think about what it is you want to do and how good your layering skills are. If you want to create simple, non complex designs and be able to put them on basically anything then vinyl is the route to go. If you want more complex, detailed images or even your very own artwork on sublimation ready (and limited) products then sublimation is your route.
Conclusion
Sublimation and vinyl both have a lot of pros, cons and differences. The choice you make for your personal uses will be dependent on what you want to do. Or you can do like most crafters and have both on hand, no need to decide then!
Be sure to check out some other nifty functional craft ideas through our other posts here on Craft-ILY as well as checking out some videos on DIY and How To’s over on YouTube. Look for “Crafting Unedited” or just click the name in blue to see!

