Now that you have a Cricut Maker, maybe you have decided that you want to really start working with fabric in addition to other materials. There is one tool that you will want more than any other when working with fabric on the Maker, and that is a Brayer.
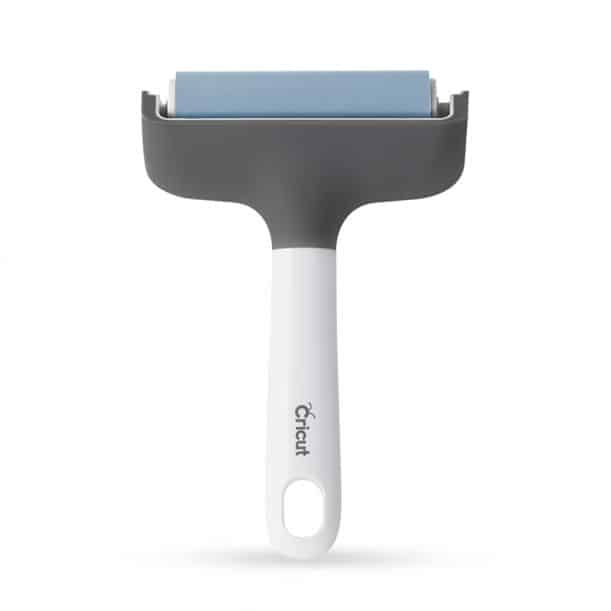
The Brayer almost looks like a small paint roller but is so versatile for your fabric needs. Here, we will discuss everything there is to know about the Brayer and why it is definitely a tool you need in your project arsenal.
The Main Scoop
The Brayer can obviously be used with any Cricut machine, as it is actually used on the material itself, and has nothing to do with which machine you have. It is one of those tools that you do not think you would “need” to have, but one that you will quickly find to be your best friend during crafting, especially with thicker materials and fabrics (which do specifically require the Cricut Maker) that do not easily lay flat.
It does what?
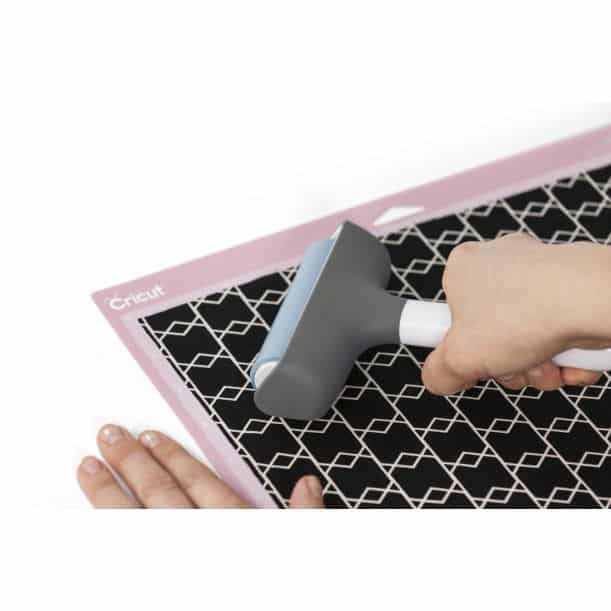
So, what exactly does a Brayer do? It helps you to smoothly adhere to any of your materials to your cutting mats without bubbles, wrinkles, or lines. This is especially important with fabric so that the fabric does not get caught or folded as you are trying to cut your project out. This process also helps to extend the life of your Cricut mats.
One of the most common mistakes that beginning Cricut users make is to not fully adhere and stabilize the materials (vinyl, fabric, leather, etc.) to the mat before cutting. The last thing you want when you are working on a project is for the material to bunch up on the mat and the cut gets messed up in the process. This is where the Brayer
comes in.
Granted, you can use your hands, a rolling pin, or a scraper to help get your material to lay flat, but the Brayer gives you a little more stability and power behind your smoothing efforts. The Brayer gives the material a stronger bond to the mat, which gives you a cleaner cut for your projects.
What can it be used on?
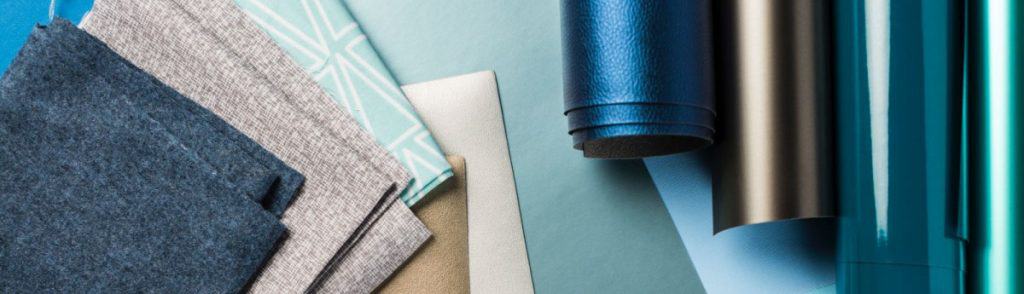
What can the Brayer be used with? Materials ranging from vinyl to fabric, chipboard, and even wood. All of these materials can be adhered with the Brayer to make a stronger bond, leading to a much cleaner cut and an easier experience with your cutting mats.
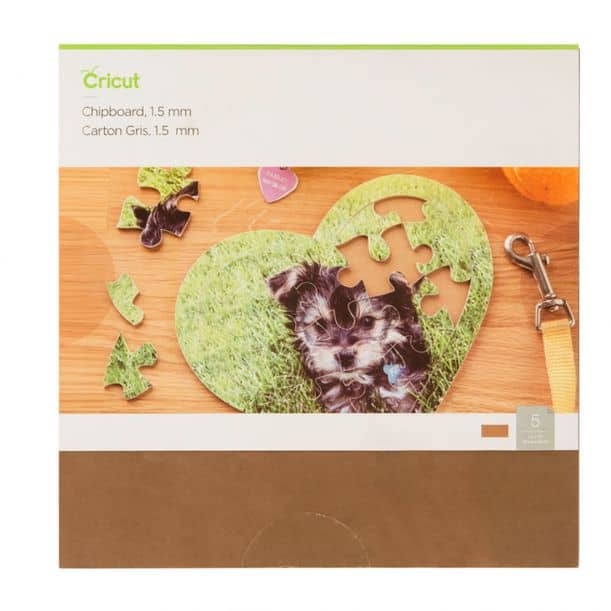
Chipboard
For instance, let us say you wanted to make a puzzle out of chipboard, but you were having trouble getting the chipboard to stick to a “well-loved” strong grip mat. By rolling the Brayer from top to bottom and then left to right, over the chipboard, with some pressure applied, you will have an easier time cutting the chipboard into pieces for your puzzle.
Vinyl every way
Maybe your vinyl has a side that became wrinkled or was accidentally bent when storing it. The Brayer can help smooth this part out and adhere it to the mat so that the cutting process does not get messed up or your vinyl gets folded instead of being cut (or your mat gets cut instead of the vinyl). You want as smooth and clean cuts as possible with all materials so that your projects are precise and pristine.
And of course, fabric
The Brayer will even spread out fabric that has wrinkled from being folded in a drawer for an extended period of time before being used. Simply lay the fabric on the Fabric Grip Mat, and use the Brayer to flatten the fabric out, getting every wrinkle smoothed out, and giving back life to your fabric before cutting it for your project.
No matter how “perfect” your design might be, if your material does not adhere properly to your Cricut mat, your Maker will have a difficult time cutting the material how you want it to be, and you may have to start over, wasting the materials you already tried to use. Using the Brayer will give you more confidence in your material, which will thus help you have more confidence in your overall project.
No sticky situations
The smooth surface of the Brayer will not get stuck on the Cricut mat, which is something to keep in mind. This way, nothing but the material you are cutting will adhere to the mat, and the mat will thus last longer than it otherwise would. If your material does not adhere to the mat, it may fold or curl, and you run the risk of your blades cutting your mat instead of your material, which can destroy the integrity of the mat itself (and causes a lot of frustration).
Under pressure
The even pressure that comes from the Brayer, as opposed to your hands, for instance, is what helps the cutting mat maintain its stickiness. This way, materials stick better and for longer than they normally would on the mats. This, however, does not mean that you need to APPLY a lot of pressure to the Brayer – your normal use of it applies enough to get the material to really adhere to the mat.
Infusible what?
Another possibly unknown way to use the Brayer is with infusible ink sheets. This type of material is interesting, in that it should not be handled as much as other materials can. Overhandling infusible ink sheets can cause issues with the ink, including fading.
Here is where the Brayer comes in, When you place the ink sheet on the mat (ink side up), place two corners down and then use the Brayer to lay it down. This way, you will get the best results from the ink that you can without any damage to your ink or design.
Stencils
Another way to use your Brayer is when you have a stencil cut, and you want to make sure it is flat and secure on the surface on which you are painting the design. You need to either use adhesive stencil material, like this one Cricut offers, or a spray adhesive in order to get the stencil to actually stick to the surface you are decorating.
Once it has adhesive, the Brayer can be used to roll over the stencil and adhere it smoothly to the surface you are going to paint. This way, you know your stencil is secure and will not slide when painting.
Where do I get one
You can find the Cricut Brayer not only here on the Cricut website but also at most craft and big box stores in the crafting section. A Brayer is one of those tools that you will think, “Wow! I should have had this all along.” Although you could use something like a rolling pin or scraper, the Brayer is really one of the best options for smoothing out materials for the flattest, most stable cutting surface possible.
Overall, the Brayer is an investment that you will want to make, regardless of the material that you use most often. It not only gives you a more stable surface to cut on, but it increases the life of your cutting mat as well. That seems worth the investment solely because of these reasons.
However, it will also give you peace of mind that your material is stable and ready to be perfectly cut to make the project you have created. So look into making this investment, because it is one you will not regret.
As with most of my articles, there are affiliate links attached, if you click on a link you are redirected to the cricut.com website where if you make a purchase I get a commission at no extra cost to you.
Be sure to check out some other nifty functional craft ideas through our other posts here on Craft-ILY as well as checking out some videos on DIY and How To’s over on YouTube. Look for “Crafting Unedited” to see!