In the crafting world of creating madness, there is one thing other than shirts that are insanely popular, tumblers. The beauty of sublimating a tumbler is that the possibilities are limitless, you can create a one-of-a-kind tumbler for every day!
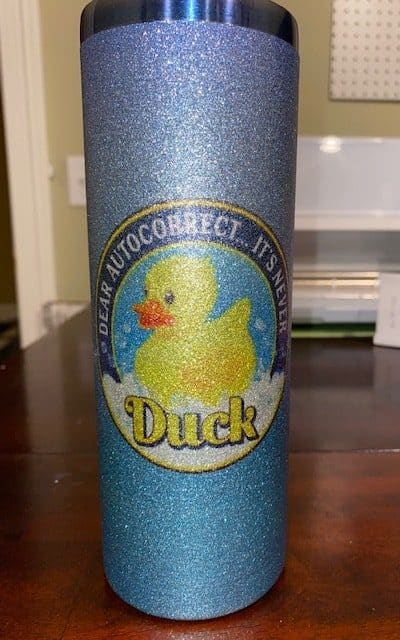
Sublimating tumblers can be tricky though, there are many things that can go wrong. In this guide of how to sublimate a tumbler, I will explain the full process step by step so that you can start making tumblers without the stress.
The quick breakdown of how to sublimate a tumbler is this, start with a design it can be a full wrap or just a single image. Take that design and print it onto sublimation paper, with a sublimation printer and sublimation ink. Then heat up your tumbler press or sublimation oven (more on these differences later) to 400 degrees. Take the design and tape it so that it is not going to move around. Place a sheet of butcher paper around it and press it for 60 seconds or “bake” it for 4-6 minutes. Remove from the heat and immediately remove design. You now have a sublimated tumbler.
There are many details and settings that you will learn in this article, the differences between sublimation ovens and tumbler presses are probably the biggest thing you will learn on top of how to sublimate a tumbler.
What’s Needed
In order to start sublimating a tumbler, you will need to gather some supplies so that you are prepared. The list has links to highly recommended products.
- Sublimation ready tumbler
- Sublimation printer, paper and ink
- Tumbler press or sublimation oven
- Thermal tape
- Butcher paper
- Image
- Sublimation sleeve (only f you are using the oven method)
Once you have your supplies together you are ready to get started.
Processes
The first step of the process regardless of which method you choose to take (tumbler heat press or sublimation oven) is to pick a design and print it. I use designbundles.net or Creative Fabrica for 90% of my images and I design the rest.
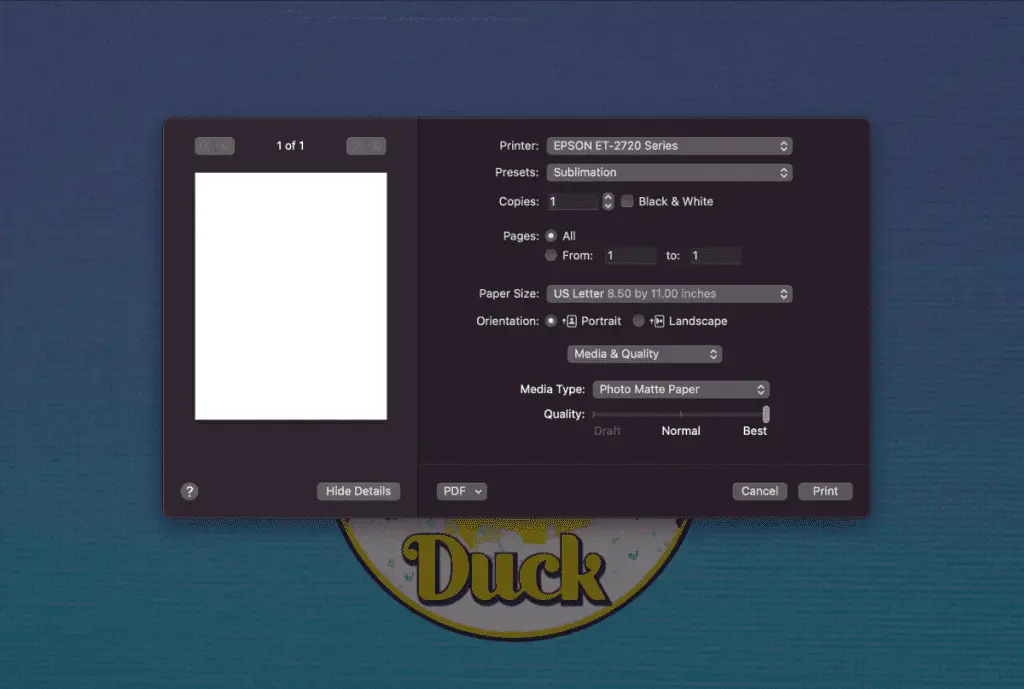
After you have chosen the design you want you will print it. When you print you will want to make sure you have the settings right in the print dialogue. Those settings should look like this:
- Layout is reversed (image is mirrored)
- Photo Matte Paper
- Best Quality
- Select your paper size accordingly
After you print allow it to dry for a few minutes before touching it, you will also want to make sure you have washed your hands and they are free of any oil or lotion. Oil can cause faded marks on your design after pressing and your fingers can absorb the ink if it’s not dried a bit first.
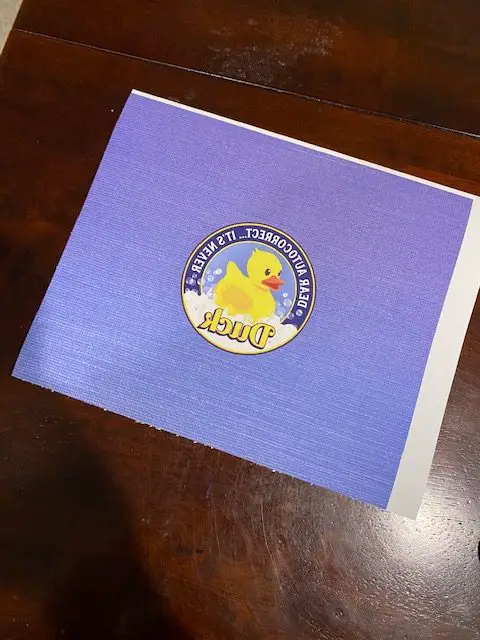
You will then need to trim the area around the design but not all of it. Leave one side of the design with a little bit of overhang, this is not required but it does help with taping. Always trim the bottom of the design so that there is no white space left, but also use a paper cutter so that you have a straight cut.
Starting with the side of the image WITHOUT the overhang, pull out the thermal tape and cut off a couple of small pieces and one longer piece. Then stand the tumbler up on a flat surface and place the bottom of the design on the bottom of the tumbler even with the surface. Take one piece of tape and stick it to the top of the image and inside of the tumbler, and another small piece on the bottom of the tumbler to hold it in place. Like this:
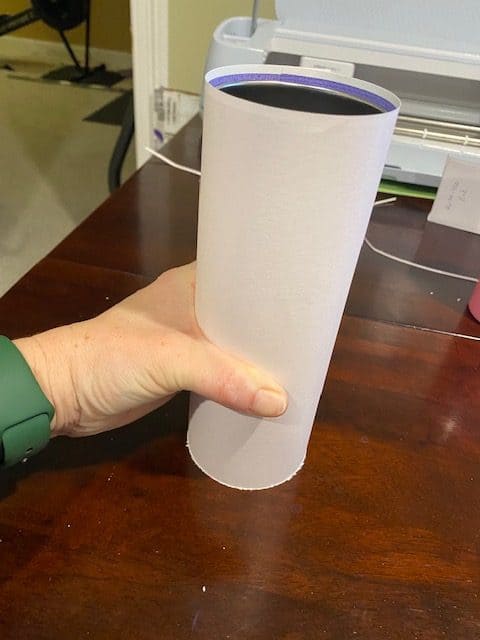
Then lay the tumbler on the surface with the design pressed down, then roll the design around the tumbler and secure it with another small piece of thermal tape. Stand it up and verify that the bottom of the image is straight with the bottom of the tumbler.
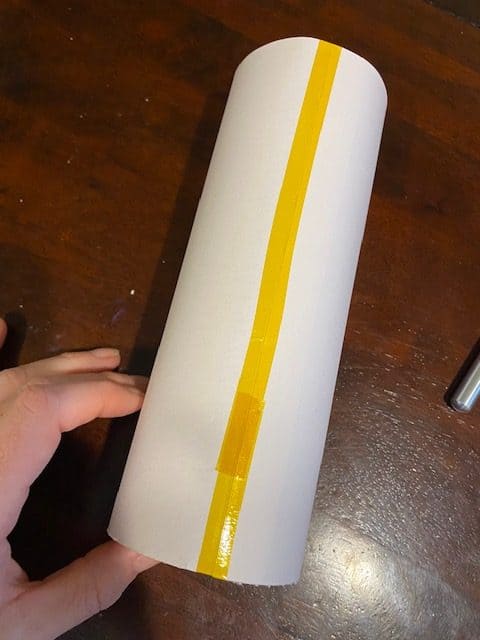
Once you get it aligned with the bottom of the tumbler take the longer piece of thermal tape and secure the design along the “seam”. If you want you can add more tape, this is all of the taping that I do. You will see others that tape all the way around the tumbler and in then some, it is not necessary.
After you have the tumbler taped up you are ready to get to the press preparation part. There are two different methods you can use (technically three if you include the air fryer method). I want to show you both.
Tumbler Press
The tumbler press is the top choice of most crafters, it really takes the guesswork out of timing, turning, and temp. Standard mug presses will work but you will have to do it in steps.
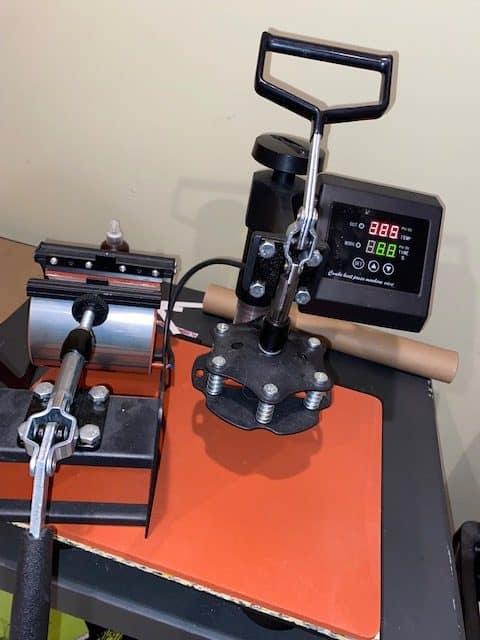
The first step to using the tumbler press is to have it preheated to 400 degrees and the timer set for 60 seconds. Then you will line the inside with a sheet of butcher paper. After the press is preheated you will place your tumbler in and press with medium to firm pressure for 60 seconds. If your press is adjustable, make sure that it closes all the way around the design, all the way around the tumbler if you are doing a wrap.
Once the timer goes off remove the tumbler from the press using gloves or a potholder as it will be HOT. Place on a surface that can take the heat and start removing the tape and image. You want to do this while it is hot, this will prevent any shadowing or ghosting. Once the image is removed you will have a completed tumbler, I don’t recommend washing it for a couple of hours though.
Sublimation Oven
Sublimation ovens are amazing, once you get the time and temp right. You will start off by preheating the oven just as you did the press, 400 degrees but 4(ish) minutes. You will need a sublimation sleeve for the tumbler on top of taping for this one. You can use only tape, however, the sleeves work way better. They keep the image nice and tight while baking.
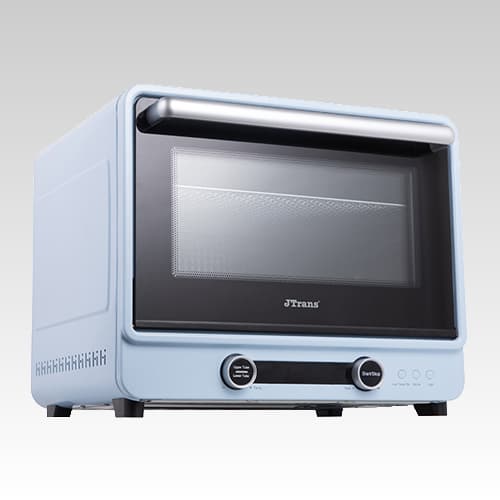
After you have the sleeve on you will use a heat gun to “shrink” it to the tumbler, it is kind of like shrink wrap. As you heat it up it will shrink and stick tightly to the tumbler. This can take a couple of attempts to get it right. Once you have the sleeve on and ready you can place the tumbler upright in the oven and close.
After the timer goes off you will remove the tumbler using gloves or a potholder and place it onto a surface that can take the heat and remove the sleeve, tape, and image from the tumbler.
You now have a completed tumbler! If you choose the air fryer method the process is the same with the exception that halfway through your time you will need to turn the tumbler as you can not stand it up.
Tips and Tricks
The best advice I can give you is to take your time, learn your process and YOUR products. If you are buying from questionable vendors, expect trial and error as well as questionable results.
- Take your time
- Learn the process
- Be patient
- Preheat the press or tumbler always
- Never walk away from either the press or the tumbler while baking
- If you fail at first, have a drink and try again
- Pay attention to your settings
- If you burn your cup (black ink is brown, blue is purple or there is browning on the tumbler) use a wireless temperature gun or internal thermometer and verify the press or ovens temp. Regardless of where you got it from there is always a chance it is running hotter or cooler than it reads.
- DO NOT USE knock off tape! Read the reviews, there is a lot of thermal tape that will stain your tumbler.
- Read the reviews on the tumblers you are buying, before you buy in bulk from a vendor (unless using Heat Transfer Warehouse) buy a single to verify they are sublimation ready.
- Last but definitely not least, don’t be afraid of learning the process.
There are always more tips and tricks, these are just the big ones that I have found helpful.
Takeaway
The takeaways from learning to sublimate a tumbler are pretty simply put. Sublimating tumblers is fun, easy (once you have the hang of it), and super addictive! It can be an inexpensive way to start a small business or a great way to make your gift-giving more fun and unique. Just make sure you are using reputable vendors.
Be sure to check out some other nifty functional craft ideas through our other posts here on Craft-ILY as well as checking out some videos on DIY and How To’s over on YouTube. Look for “Crafting Unedited” or just click the name in blue to see!