If you love to do crafts, having a Cricut machine is the perfect tool, since it cuts a plethora of materials to help you make beautiful crafts. Unfortunately, like all machines, a Cricut machine struggles to cut some materials. Most commonly, the machines struggle to read glossy paper.
When a Cricut won’t read the glossy paper you are trying to cut, there are a few things you can try. The simplest way to trick a Cricut machine into cutting glossy paper is to place matte scotch tape on top of the registration marks on your paper.
The rest of this article will explain why Cricuts have trouble reading glossy paper and what constitutes glossy paper. I’ll also give step-by-step instructions on printing and cutting glossy sticker paper using a Cricut machine.

Why a Cricut Struggles to Read Glossy Paper
Cricut machines cut materials so that your crafts have a smooth cut and perfect finish. In order to work, they need to have visible, thick lines, called sensor marks. If the Cricut machine cannot read the sensor marks, the cuts made may be wrong, perhaps even into the pattern being cut.
Glossy paper is, as the name implies, shiny. Due to this, a Cricut machine may not be able to read the sensor marks on glossy paper. When cutting paper with a Cricut, it is recommended to use matte paper instead to not run into this problem.
What Is Glossy Paper?
Glossy paper refers to any paper coated to create a shiny and smooth appearance. These papers are most often used in brochures, advertising, flyers, and printed photographs. There are three categories that glossy paper falls under, depending on how the paper is used.

Overall, glossy papers are generally used to enhance the color and ensure resolution accuracy when printing. The categories are photo gloss, laser gloss, and soft gloss.
Use photo gloss paper when printing photographs or anything requiring an intense sheen and the highest resolution. Laser gloss paper is best for flyers, brochures, or anything requiring a medium-type level sheen. Lastly, soft gloss paper is the way to go if you want a slight sheen, much akin to a magazine.
How To Print and Cut With Glossy Sticker Paper
While Cricut machines have trouble with all glossy papers, they struggle more with glossy sticker paper, even sometimes when the paper is matte.
There are four steps to print and cut glossy sticker paper with a Cricut machine.
Step 1: Design Your Stickers
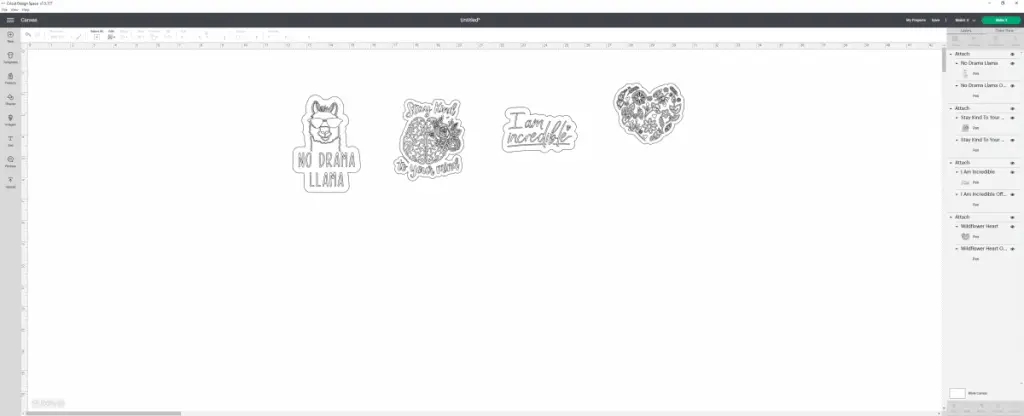
Before you can even print your stickers, you need to design them. It is best to use the Cricut app Design Space, since it connects directly to your Cricut machine. The free version of Design Studio provides over 1,000 images, over 15 fonts, over 250 ready-made projects, and more.

Design Space connects to computers, phones, and tablets using Windows, Mac/iOS, or Android software. Bear in mind that if you have Chromebooks or Unix/Linux computers, you cannot use Design Space on your computer.
Step 2: Print Your Stickers
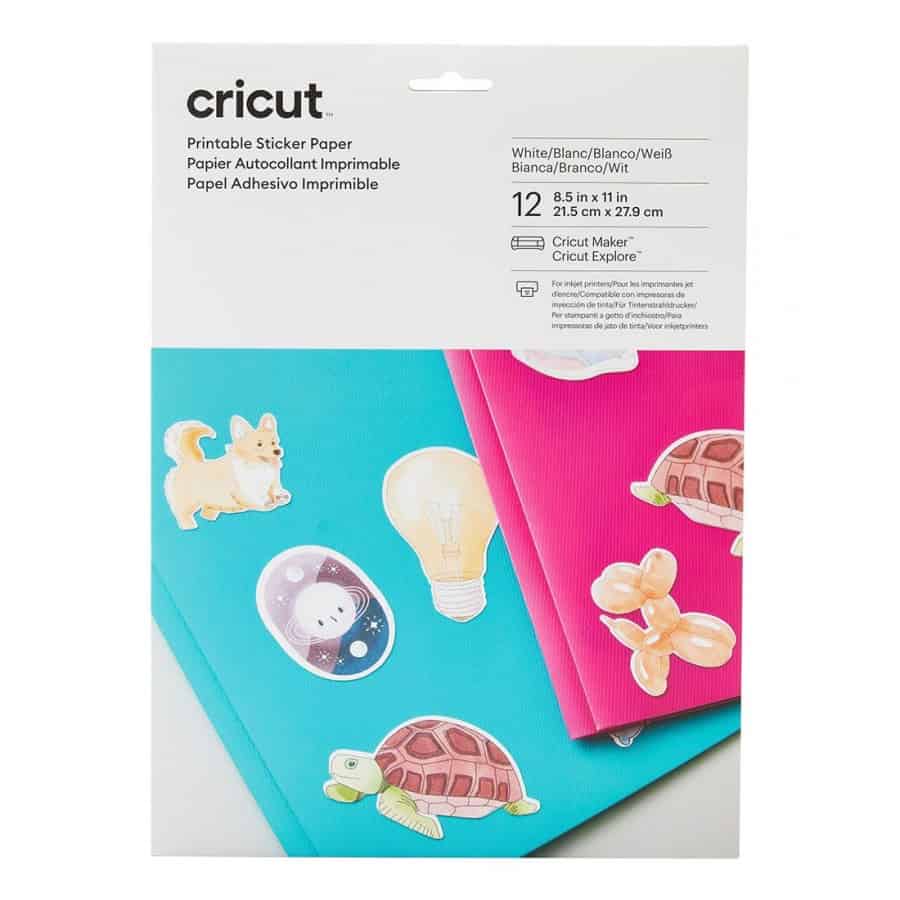
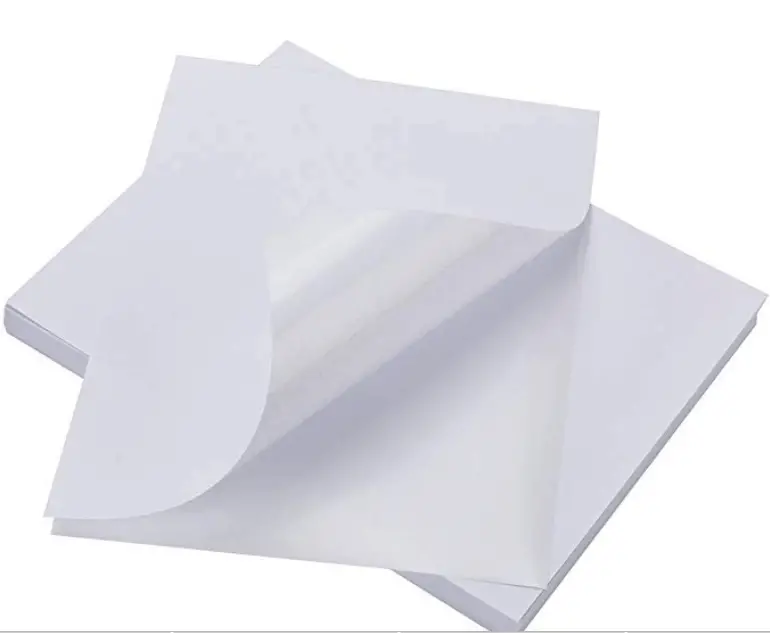
After designing your stickers, load your Cricut Printable Sticker Paper into your home printer. Ensure that the paper feeds in so that the sticker design will be on the right side. One way to check that the paper is inserted correctly is to peel a tiny area at the corner of the paper. The layer with the adhesive on it is where the design should be printed.
If possible, use an inkjet printer, as Cricut Printable Sticker Paper is thick. You can change the printer settings to thicker paper on inkjets. After putting the paper in your printer, follow the instructions on Design Space and print.
You will also need to make sure the printer settings are right for your paper type. Most printers will have a preference settings where you can select “glossy” or “premium photo paper” and such. If you have a printer like the HP ones they can be VERY finnicky with the glossy papers.

Step 3: Place Tape Over the Registration Marks
There should be thick black lines bordering your sticker designs; these are the registration marks. These marks tell your Cricut machine how to cut the material without cutting the design itself.
Cricut machines often have trouble reading the registration marks on glossy paper, so you need to “trick” it to print correctly. The best trick is to take matte clear scotch tape and tape over all four registration marks.
Another option you could do, if you don’t have scotch tape but have blue or green painter’s tape, is to tape that over the registration marks, then with a sharpie, redraw the lines you taped over.
Step 4: Cut the Stickers
After taping the registration marks, place the paper on your Cricut StandardGrip cutting mat. The top left corner of your printed sticker paper should be on the top left corner of your cutting mat. Make sure the liner side of the paper is down. Load it into your Cricut machine once the sticker paper is on the cutting mat.
If you are using a paper backed glossy paper like sticker sheets you should use the Cricut LightGrip mat instead of the StandardGrip mat. This will make removing the paper from the mat much easier and smoother.
The cut settings on your machine should be:
- Premium Fine Point blade, which should be pre-installed in the machine.
- The Smart Set dial should be set to “Custom” then set to the “Sticker Paper” setting.
- The materials setting should be set to “Sticker Paper.”
Once the settings are inputted correctly, press “Cut” and watch your Cricut machine work its magic!
Final Thoughts
Cricut machines are must-haves for people who love crafts and crafting. They cut a plethora of materials from fabrics, papers, vinyl, and even wood. Unfortunately, Cricut machines struggle to read glossy paper and either cut the design you are trying to create or don’t work at all.
The best way to get around the issue with glossy paper is to place matte scotch tape on top of the registration marks, ensuring that the Cricut machine will read the paper correctly, thus cutting the paper perfectly.
Be sure to check out some other nifty functional craft ideas through our other posts here on Craft-ILY as well as checking out some videos on DIY and How To’s over on YouTube. Look for “Crafting Unedited” or just click the name in blue to see!
