There are hundred of different blanks you can sublimate on available, basically anything with a polyester coating or blend to it can be sublimated on. There is one material that stumps most, or that most really don’t know about, let alone know how to make it happen. This material would be adhesive vinyl! Yes, you can sublimate right onto the adhesive vinyl.
I wanted to share with the crafting world about why this works and how you can do it too. There are many uses for this method but my favorite is creating car decals and stickers with them!
Why does it work?
The reason as to why this method of sublimation transfer works is simple…most adhesive vinyl is made of polyester! Polyester is what the ink absorbs or clings to. It is what makes it so neat, sublimation ink is a special ink that turns into a gas when heated (which is one reason why you need the butcher paper on top of the transfer to stop the gases from releasing into the air) those gases transfer into the polyester material or fibers of your substrate.
It is definitely a science-y process, I always thought science was neat but I never could be patient enough to understand it. I am a more get to the point quick, I just wanna see the amazingness happen kinda gal.
How to make the magic happen?
Before you start making magic happen you need supplies. Here is a list of what you will need:
- Heat press set to 345 for 30s
- Heat resistant tape
- Butcher paper
- Clear, white or any light colored adhesive vinyl
- Wet wash cloth or spray bottle with water and a towel
Heat Press Setting
For sublimation you would normally have your press set for a higher temp. For this I do not recommend going over 345-350 degrees, it will melt the vinyl to the backing and the butcher paper. The higher the setting the more chance you have of melting and losing the coloring, too hot and it will burn the ink in transferring.
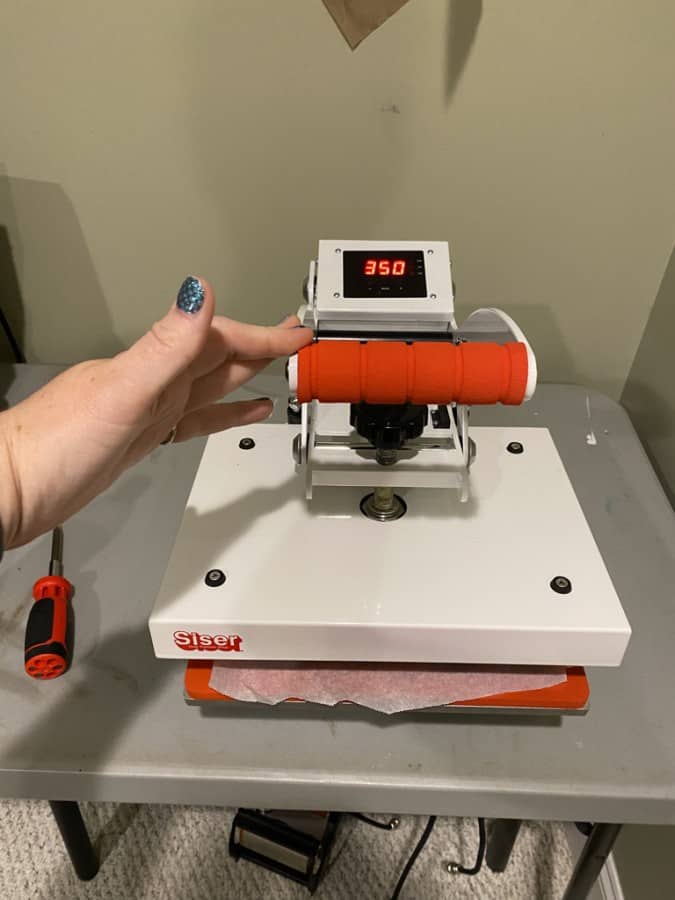
I set mine at 345 degrees for 30s, if the colors aren’t what I want then I just press again after I let the decal cool off completely.
Printing the Transfer
Now that the press is warm and set to the appropriate setting you will need to print your image. I use Cricut Design Space and the “print then cut” feature because I like to have a clean cut and sometimes I use the offset feature as well. If you are not sure how to use these features click on the links below for a brief tutorial on them.
Cricut Design Space Print then Cut – written tutorial
Cricut Design Space Offset Feature – video tutorial
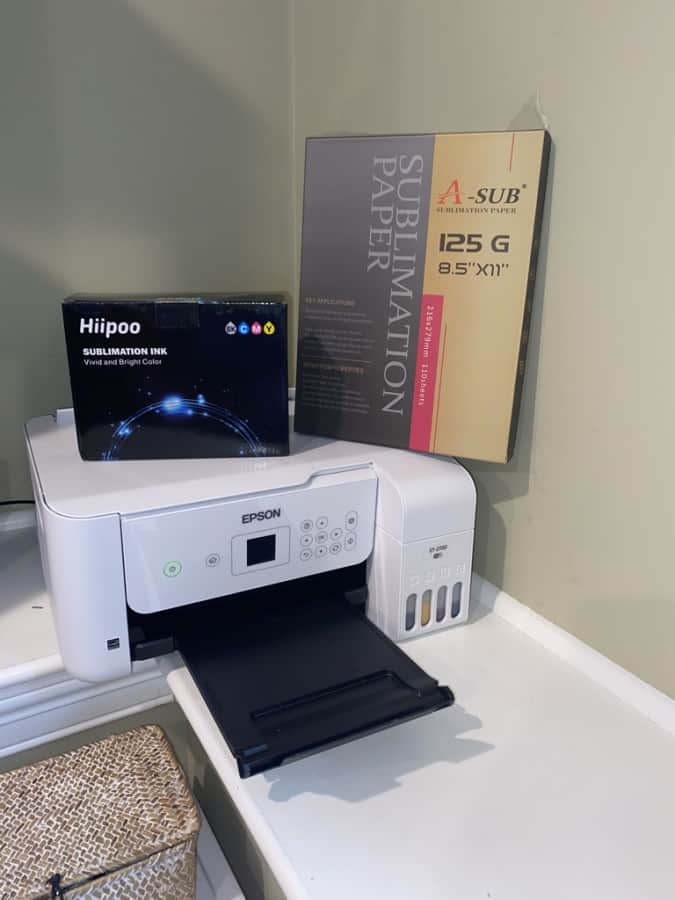
Once you have a good understanding of those two you can print your transfer using a sublimation printer like the Epson Eco Tank 2720 (the one I have), HIIPOO Sublimation Ink and Sublimation Paper (all what I am using). Remember to mirror your image, otherwise it will be reversed when you press.
I like to wait a few hours or even a day sometimes to allow my transfer to dry, you don’t have to but you can.
Ready to Press
Now that you have your transfer printed you are ready to begin the pressing process. I use Oracal 651 or JPI Blanks house brand vinyl in clear or white (sometimes I use glow in the dark ore other light colored as well). You can find Oracal 651 on Amazon (linked) and the JPI Blanks house brand on JPIBlanks.com.
Make sure your vinyl is free of any debris, you can use a lint free cloth, I wouldn’t recommend using a lint roller as it can peel the vinyl off the backing. A light brush with a lint free cloth will do just fine.
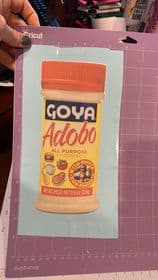
Using the heat resistant tape you will secure your transfer face down to the vinyl. I use 2-4 pieces of tape depending on the size of the decal I am making. This prevents any ghosting or shadowing when you lift the press.
Then you will place a sheet of butcher paper onto the surface that you are pressing onto just in case, to protect the surface and put the vinyl on top.
Then place a second sheet of butcher paper on top of the transfers to protect the press plate from ink and to catch the gas that the sublimation ink will let off.
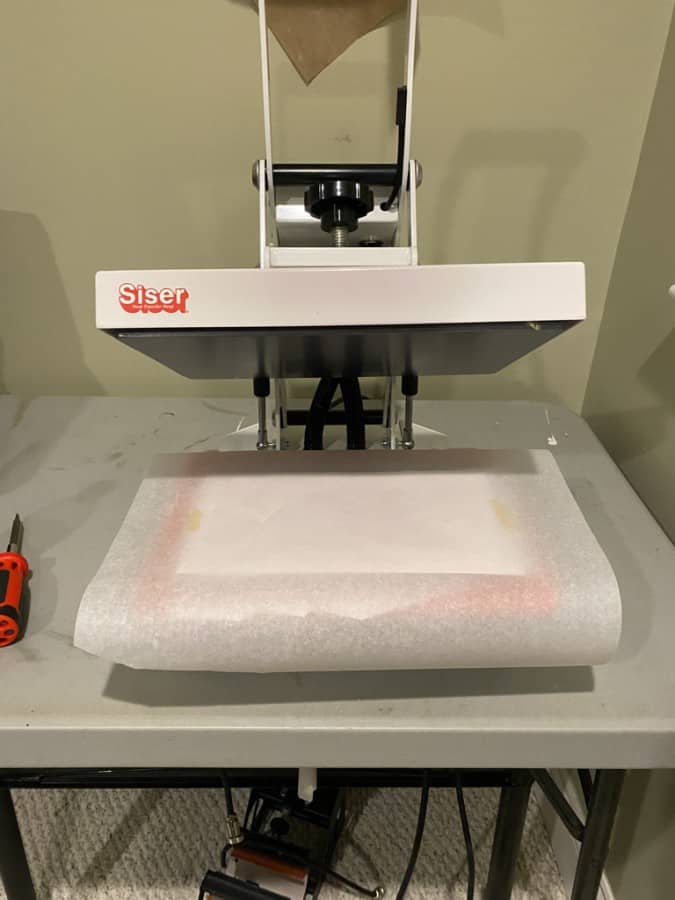
Then you will press for 30 seconds, when the timer goes off lift the press and remove the decal from the hot surface.
Peel back a tiny corner WITHOUT moving the rest of the transfer to check your colors. If they aren’t to your satisfaction then wait a few minutes for the vinyl to cool off and press again.
Once you have pressed and the colors are what you want allow the transfer to cool completely. Then peel off the paper. Yes it will be a bit rough to remove and yes some of the paper will be stuck. If it is the leave it for several hours. I leave it overnight to allow the ink to dry.
Take a wet washcloth or a spray bottle and mist the decal lightly then use the cloth to gently scrape away the paper, I also use my scraping tool with the cloth over it sometimes. This will remove the paper and clean off the decal. Be careful not to scrape too hard, you can tear the vinyl.
If the decal looses some of its glossiness you can wait a day or so and spray it with some clear spray paint or acrylic sealer. That will give it a good shine, just make sure you do a light spray for the first coat, and wait until the ink has dried completely.
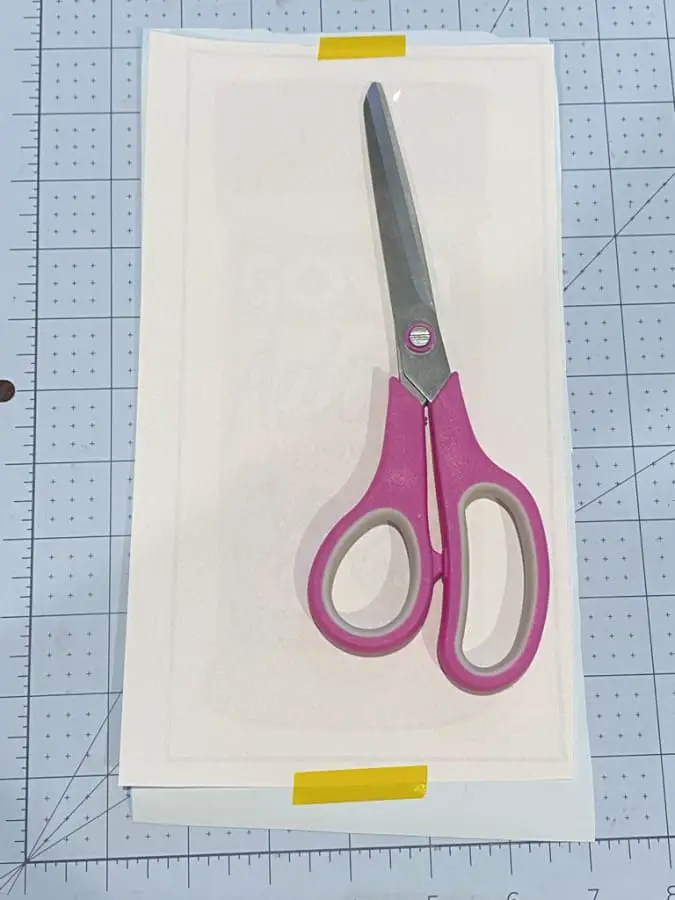
If you used Cricut Design Space you will be able to cut the decal using the print then cut feature. If not you will have to cut by hand. You can refer back to the post about the print then cut feature or you can check out this video I did to assist with the feature. See it here on YouTube.
Now you should have a completed sublimation decal or sticker or set of stickers to enjoy! These are so easy to make (once you get the hang of it, it did take me a lot of trial and error and I am sure it will for you too) and so much fun! You can make stickers for everything, labels, planner stickers, cup stickers (did I mention you can use clear vinyl too? NO MORE WATERSLIDES!), car decals and so much more!
Be sure to check out some other nifty functional craft ideas through our other posts here on Craft-ILY as well as checking out some videos on DIY and How To’s over on YouTube. Look for “Crafting Unedited” or just click the name in blue to see!
Thank you for showing us crafters a new way to do things. Have have one question that I can not find the answer.
Once you do sublimate on the vinyl is the image waterproof?
Thank you for your help.
Hi there! Thank you for the awesome feedback. Yes, once you sublimate on the vinyl it is 100% waterproof. I use these as car decals and they withstand in the high heat as well as snow too.
When you use them as car decals do they fade from the sun?
Thanks!
You sure can! They haven’t from my experience (2 years)
Hey there!
I tried this and when I peeled it away there was white residue all over the sticker? Did I peel too soon? Thanks for all of ur help!!
Yes, that happens. Take a wet cloth and gently rub the sticker. It will peel off. You are welcome!
My colors were not bright enough for the 60 seconds I used. It is also dull. I had it at 350
Hello there,
The press should be at 385-400 for vibrant colors. I apologize, I mispoke and gave you incorrect info. The temp for sublimating on vinyl is no more than 350 degrees.
Now I’m confused because you said in the article that it should not be set higher than about 350 because it would melt the vinyl. But you’ve just told the person above that it should be 385-400, which goes against what you said before. Which is correct?
When sublimating on adhesive don’t go over 350 degrees it will melt. For anything hard like cups or coasters it is 400 degrees max and shirts it is 385 degrees max. I do apologize for the confusion.
this is confusing me. you are just heating onto the vinyl right? and thats no more than 350. so what is the higher heat for? what does vibrante colors have to do with this?
Hi there! The whole process can get confusing. The reason for the lower heat and longer press on this is because it can melt the adhesive if its too hot. It is really going to depend on the vinyl you are using. I like to print a tiny version and test a small piece on it first, this way I have an idea of what is needed. I apologize that it is so confusing! Thank you for supporting and reading!
Great post! Thanks for the info
Great Sharing!!! There are many Sublimation Paper(https://www.htvront.com/collections/sublimation-paper) for choosing in HTVRONT.
Thank you so much!!
Can you use the cricut permanent vinyl to sublimate on?
Hello, you can but I don’t recommend it. It’ll likely get messy and not stick after. Thank you for supporting and reading!
so the if u cut a vinyl wrap plain color and apply to a mishap sublimation tumbler I would think you could then put a sublimation print over the wrap?
In theory you should work! Give it a try and let me know!!!
I followed all the steps above. My paper was stuck. So I took water and gently rubbed away the paper. However now there is a residue on the decal that won’t come off. I have tried several and every time I get the same result. What am I doing wrong? I don’t wait overnight to peel. Could that be it?
Have you tried a different paper or vinyl? Each brand has been different for me, so I would keep playing with the brands until you find one that works for you.
Awesome! I was so confused previously that can you even sublimate on adhesive vinyl or njot and after this article all of my confusion has been gone. Thanks for giving me confidence. Btw i also have a website and you can visit it from here https://frlegendsapk.com
Thank you for your kind words, I am glad you found my article helpful. I will have to check out the site.
Hello!
Thank you for the tutorial! I am curious, will parchment paper work instead of butcher paper? TIA
Yes it absolutely will! Just not wax paper 🙂