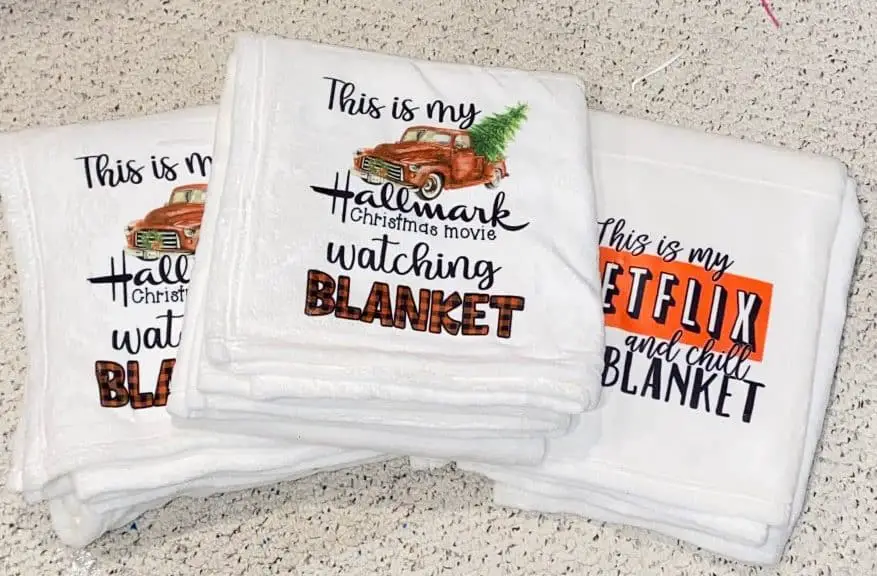
When thinking of things you can sublimate, have you ever wondered about a blanket being sublimated? Maybe you have and you just weren’t sure not only if it is possible but how to sublimate a blanket. Sublimating blankets is easy and fun with the right tools.
How to sublimate a blanket in 6 easy steps:
- Find an image or create one for your transfer
- Print the transfer on sublimation paper and sublimation ink
- Heat press set to 385 degrees for 60 seconds
- Tape transfer to blanket face down, cover with butcher paper
- Press for 60 seconds
- Lift press and remove butcher paper and transfer
- All done!

Those are the basic steps, we will go into more detail in a minute. As you can see it is more simple than you think to sublimate a blanket. Having the right products and instructions can make the process much easier!
The Blanket
Warm, soft, fuzzy and cozy are all words that come to mind when you hear the word blanket, does the work custom come to mind? Blankets can be a form of security for everyone, having one with a loved ones picture, name or anything that can remind you of them makes a blanket so much more.
Choosing the right blanket to sublimate can be difficult as there are many options, depending on who it is for there are also many sizes too!

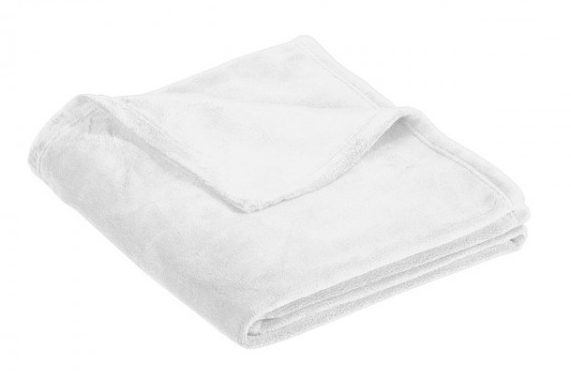
When looking at the option available you can always find decent blanks at big stores like Walmart and Target but you will risk them not being compatible blanks. You are better off getting them from Heat Transfer Warehouse and waiting a couple of days to get it. At least you will know that you have a quality and compatible blank.
You can get these really soft and big blankets from their site at a very affordable price. This makes for an affordable gift and an easy way to mark up cost without being overpriced if you want to sell them. They also come in a couple of different colors, the marshmallow sublimates really well! They all do but the marshmallow is the most vibrant.
The Perfect Image
Choosing an image can take a while, if you know the person well it can be a bit easier but if you don’t or if you’re trying to sell it then it can be harder. Usually people chose favorite TV shows, characters, quotes or even a collage of all their favorite pictures of family and friends. The hardest part is that there are so many choices to make! Also, the fact that it is a blanket means you can cover so much space!

Here is a tip for you – when choosing an image be conscientious of the size of the image. If you are printing with a Epson or other printer that only allows 8.5″ wide it can be tricky piecing things together. You can learn how to print larger than 8.5″ with an Epson EcoTank here.
The Know How
Now that you have your blanket and your image decided on you are ready to start putting it all together and make your special blanket!
Gather your materials first, as always the most important step in the whole process.
- https://heattransfer.ositracker.com/199212/11767/url_19315Blanket 100% polyester or mostly polyester blend
- Image or design chosen
- Sublimation printer, paper and ink
- Heat resistant tape
- Heat press
- Butcher paper
- Lint roller
You can click on all of the materials for a link for some favorite choices.
Preheat
Preheat your heat press. Before you begin you need to preheat your press, no one wants to sit and wait around for it to warm up to temperature. The press should be set to 385 degrees or higher (up to 400) depending on how hot your press runs. If you are unsure grab a thermometer gun and check it, the results may surprise you.
For the amount of time you press set it to 60 seconds, this has always worked well. You can set it for up to 90 seconds depending on how thick the blanket is. For the Port Authority blanket 60 seconds is perfect. The ink needs time to turn to gas and absorb into the fibers of the polyester of the blanket.
Under Pressure
As far as the amount of pressure you need on the heat press, this can be weird as most people believe that you need a lot of pressure for sublimation. That is not true, you only need EVEN pressure and EVEN heat at a higher temp than HTV. Having the press set to light pressure or medium at most will be perfect. If you are using a Cricut Easy Press or the new HTV Ront Heat Press you will just use the pressure of the weight of the press.
Print the Image
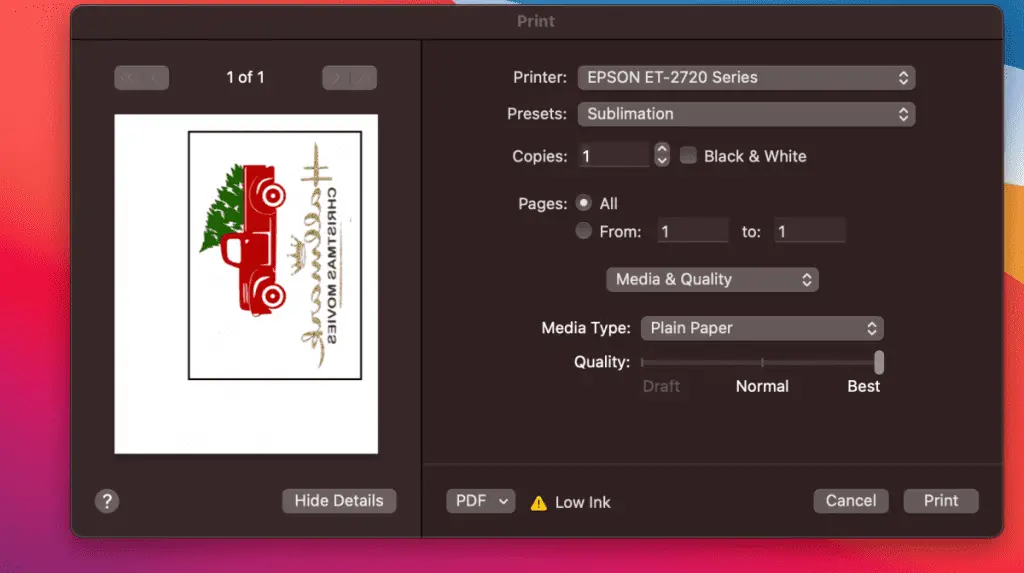
Ready to print! Go to your computer or phone or tablet and find your image you want to print, chose the image and the sizing using your desired program (Microsoft Word, Canva and Inkscape are great programs) all highly recommended. Then make sure your sublimation printer has ink and sublimation paper in it. Now you are ready to hit print! The recommended settings look like this (mostly):

Let it dry for a bit then cut around the image softly, it does not need to be perfect but at least close to the image.
Roll it Out
Really important step especially with blankets – roll it out with a lint roller – meaning take a lint roller to the area you will be placing your image. Blankets are soft, fuzzy and very easy to pill so the chances in there being fuzz all over is one hundred percent going to happen.
Skipping this step can result in spots of blank space when you wash the blanket, these spots are usually not noticed until after washed for the first time and people thing the blanket is falling apart. It is better to take the two to three minutes to just use the lint roller.
Tape it
Grab the heat resistant tape and cut several strips, set them on the table or somewhere that can be easily removed and accessible to place on the blanket. Place your printed sublimation image onto the blanket in the desired location face down and tape it around the edges to the blanket.
This step stops the image from moving around during the placement of other images (if desired) and during the pressing process. It also helps avoid any ghosting or shadowing of the image. If the paper moves at all you will have both shadowing and ghosting.
Cover it up
After you tape you place it on your press plate or surface and cover the entire image with butcher paper. You can and it is recommended to cover the entirety of the press platen. This will avoid any of the image bleeding through the paper and onto the press. The ink will bleed through the paper, but if you block it with the butcher paper that won’t happen. If the ink gets on the press and you press the next part of the blanket or your next product your left over ink will transfer onto that blank as well.
Press Time!
Now it is time to press the image! Close up your press with the butcher paper covered image at 385 degrees for 60 seconds with light to medium pressure. Then release the press and lift the butcher paper, quickly but gently, trying your best not to move the image. Then remove the paper, sometimes you can remove the tape then the sheet but it is not recommended to do it that way as the blanket is still hot and the ink can still be processing. This will leave you with that shadowing issue.
All Done!

How easy is that? Now let it cool and show it off to the world! You are now a master of blanket making and can conquer the world, well, maybe not the world but definitely your craft room. All in all sublimation is a pretty easy technique, if you know what you are doing and have time for lots of trial and error and handle failing a few times.
Be sure to check out some other nifty functional craft ideas through our other posts here on Craft-ILY as well as checking out some videos on DIY and How To’s over on YouTube. Look for “Crafting Unedited” or just click the name in blue to see!
