You’ve done it! You’ve got your decal exactly how you want it, even have it applied to your material. Then you start peeling the backing off and realize it. Shit. What is this, how did I, wait, I didn’t see the plastic???? You have layered your HTV to the backing of another piece of vinyl and the world is over because you have to restart right? So sad. Toss it and move on. Mistakes happen and QUITE often in the crafting world unfortunately and you can choose your reaction to this just as you can choose your reaction to everything else in life.
Wrong! I am here to save the day, by saving you material and time. Well kinda on the time part but for sure on the material part, this shouldn’t take more than 15 minutes depending on the size of your project and the amount of patience you have. You will need lots of patience for this especially if your project and whoopsie are on the larger side. It’s a bit of a strategic process and it will involve the use of a few tools, those tools include:
Tools
- Cricut Spatula Tool
- Tweezers
- Mini Iron or Cricut Easy Press Mini
- The backing from your HTV
- Wax paper (optional)
- Whoops project
Once you have all of your materials gathered you are ready to begin removing the HTV the plastic backing of the layered decal.
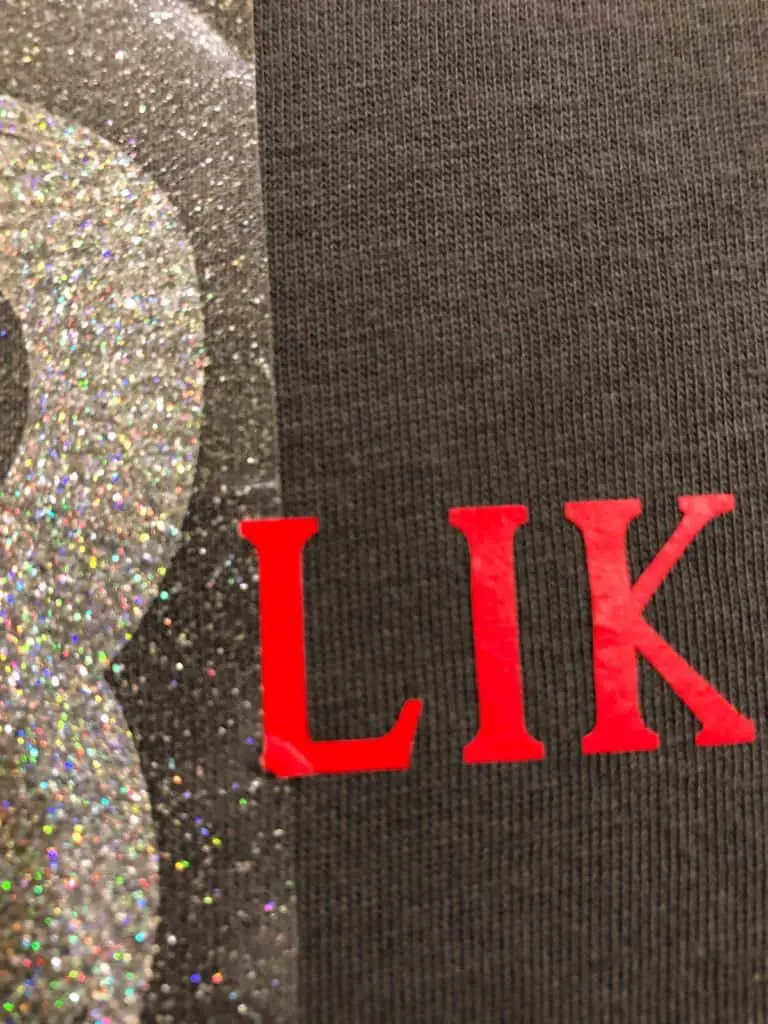
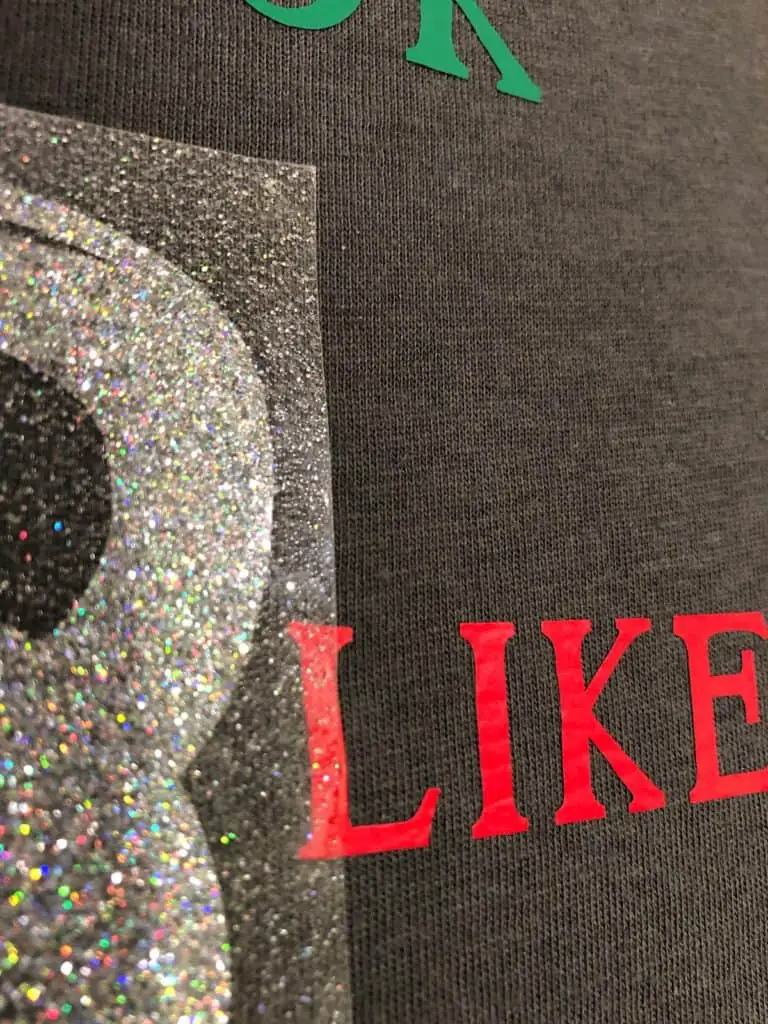
This works well for HTV that is partially on your material/plastic backing of the HTV (see picture) below, I haven’t had much luck with this on materials that are fully applied to the backing (as in on the reverse side of the HTV). It’s difficult to explain just look haha!
First thing you’ll want to do is remove the HTV from the plastic and to do this you will need patience and a steady(ish) hand, along with your tweezers. You’ll begin by peeling the HTV off of the backing little by little, careful not to pull too hard and stretch out the HTV, go SLLLLLLOOOOOWWWWLY, absolutely do not rush this process or your product will be ruined and you will either have to start over or completely remove the HTV from your fabric (another post coming on that at some point in the near future). As you are peeling the HTV off of the plastic backing you will notice it is wrinkling a bit, don’t fret it will fix itself in the end after you adhere it again. You can use the tweezers to help pull so that you don’t stretch the HTV more than you already will. This is a very delicate process and you’ll need focus because it is very easy to rip the HTV. I mean I guess worst case if you do end up ripping it you can replace the whole thing but I am frugal and I like to save my money!
Next step, once you have removed the plastic backing from the HTV you will need to readhere your image. To do this you will need the backing from the HTV or you can use good old wax paper (doesn’t matter brand, any will work). Using the spatula tool you will want to slide it in between the now loosened HTV and the plastic backing or wax paper. In order to get the image back to normal you’ll want to pay attention to making sure you do this a tiny piece at a time. This is where the mini iron comes into play, the mini iron is significantly easier to use in this process because of small of pieces you want to do this in. Using a big iron or easy press (unless you have the small one) wouldn’t work well and it would end with you being burned (both literally and figuratively). So you have your image placed the way it should be either under the wax paper or under the plastic backing again, now you will take the mini iron and little by little press against the image like normal, paying close attention to how it adheres. You will do this for the remainder of the image that was stuck.
Once the image is fully adhered perfectly you will want to (well I don’t know about you but I do) go over the whole thing again with the easy press or household iron. If you don’t have a Cricut Easy Press I highly recommend you get one and you can do so here, I absolutely love mine and will never go back to a regular iron! Anywho, BEFORE you go over your image with the easy press place a sheet of wax paper over it in order to prevent a major meltdown (once again, both literally and figuratively)!
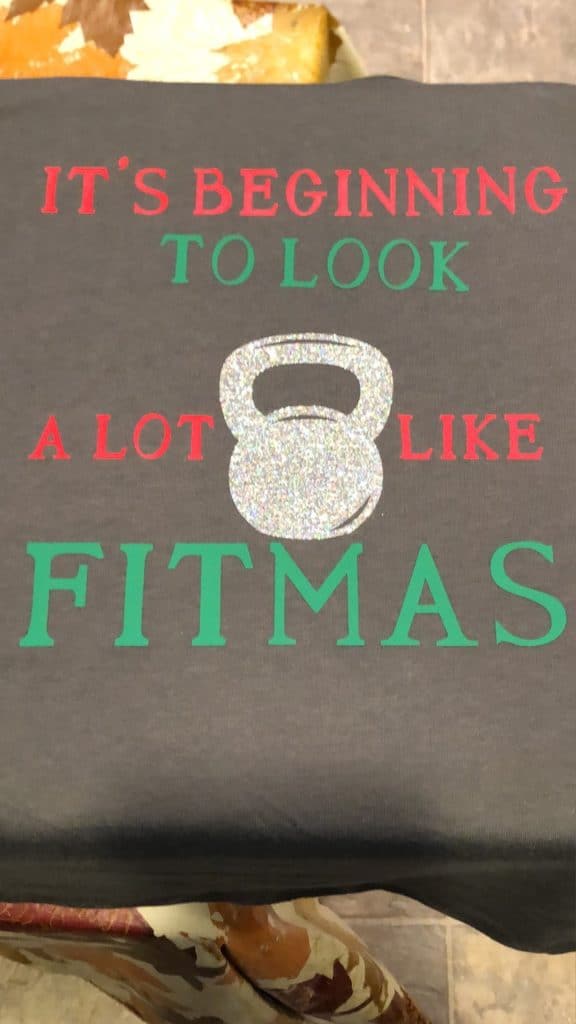
Now you SHOULD have a complete project, with no loss of product and a little loss of time. Honestly while writing this I felt like it seems like it will take much MUCH longer than it will. I assure you this shouldn’t take you more than an extra 10-15 minutes depending on the size of your whoopsie (insert Mortal Kombat voice here).
I am all for saving money and time, but when it comes to which one I am going to save out of the two money will most likely win. That is, unless it an adequate amount of time that isn’t worth saving the money for which to me is like 30 mins max! But if you are frugal like me, I recommend you follow my blog so that I can give you all the money saving tips and advice you can think of! I am a woman of many talents and one of them is saving money on literally everything possible. I actually just did a Black Friday shopping YouTube video you can check that out HERE (in case you read this around that time of year haha).