Magnets are such versatile and fun products, they hold artwork and reminders on your fridge, advertise your business on your car and much more. What if I told you you can make custom magnets using your Cricut? Well, you can!
Cutting magnets with Cricut can be done in 4 simple steps:
- Go to Cricut Design Space and create your design and select “make”
- Select “magnetic sheet 1.5mm” (unless you have a thinner sheet or using printable) under materials
- Load the magnetic sheet into your Cricut Maker or Explore Air and hit go
- Unload mat from Cricut and pull magnets off!
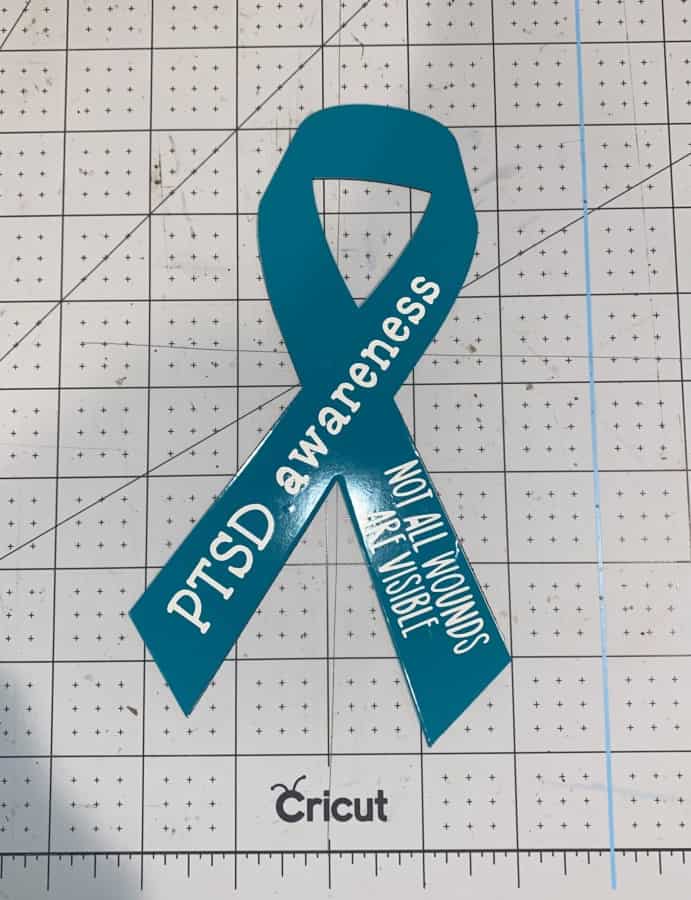
Now of course there are going to be more details on each of these steps but that is really how easy it is! To learn more on each step as well as some tips and tricks, continue reading.
Supplies Needed
One of the most important steps when starting any project is gathering your materials ahead of time. This will set you up for a successful project every time, as well as save you time and frustration mid project. For cutting magnets with your Cricut you just need a couple of things. Links are included for easier shopping.
- Magnet sheet under 2mm thick, printable or plain
- Cricut Design Space
- Vinyl for decorating
- Cricut Brayer tool
- Strong Grip mat
Once you gather your materials you can get ready to cut your magnets!
Choosing your Magnet Sheet
One thing that is vital is making sure you have the right magnetic sheet for your project. Cricut Explore Air and Cricut Maker machines can cut up to 2.0 mm thick but no more than that. Most magnetic sheets are under this but some that are made for boats and what not are thicker and much stronger, therefore they are not compatible with Circut cutting machines.
You can get these from Amazon and they work really well with all Cricut and Silhouette machines. They are also available at most local craft stores like Michaels.
Choosing a Design
After you have the right compatible magnet sheet you will need to decide on what kind of design you want. There are so many possibilities with the magnet sheets you can get pretty wild. For the first few tries though I would stick to something a little simpler like shapes. A good heart and star start, this way you can learn the process and how your machine cuts.
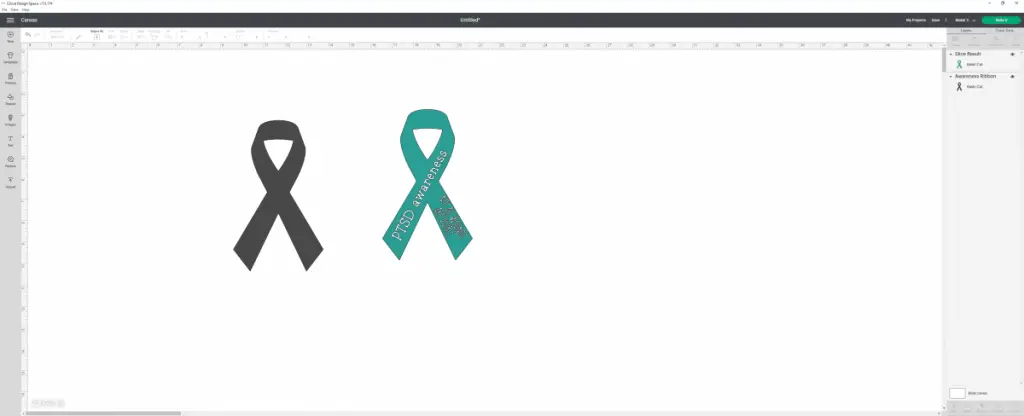
Once you are comfortable with cutting them you can venture out and do more detailed designs and cuts. At some point you will start to add vinyl layers and maybe even learn to sublimate the sheets. Then you can really get crazy creative with them! Sublimating the magnet sheets takes a lot of patience and skill, so lets save that for next time.
Loading the Cricut
Before yo jump in and load your Cricut make sure you read this!! Using the Cricut Strong Grip mat lay the magnet sheet on the mat, if you have the solid sheet it doesn’t matter which way, if you have the white sided place it white side up. Then using your Cricut Brayer tool smooth ALL of the wrinkles out of the magnet sheet.
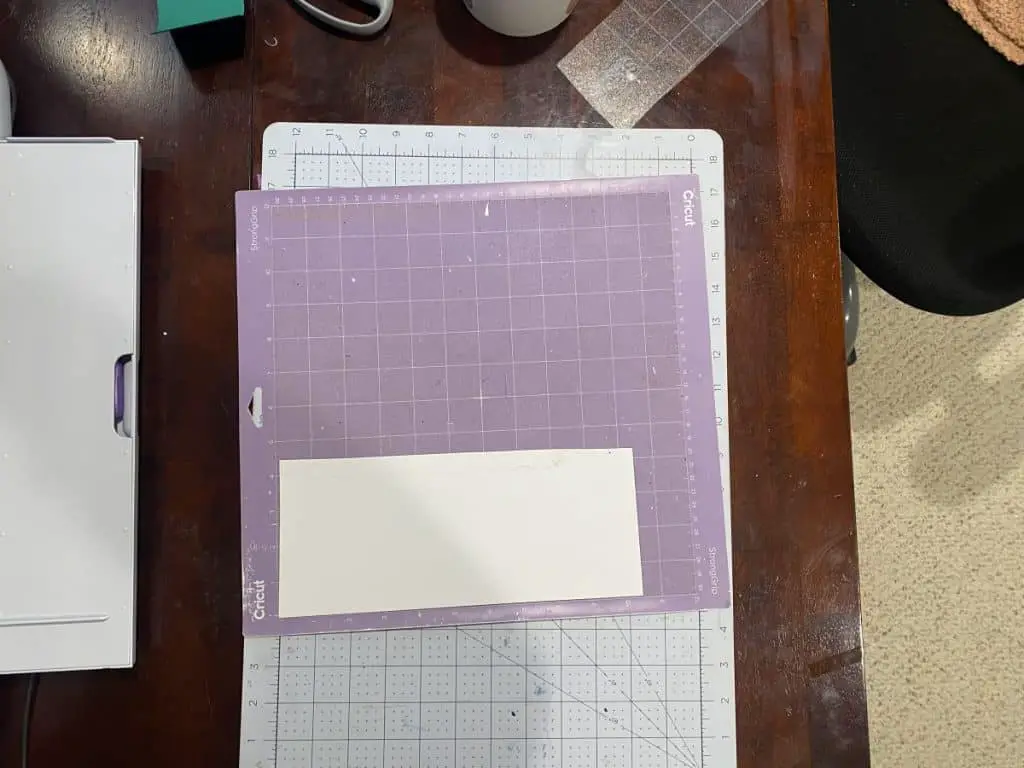
This step is very important, if you skip it you can very easily ruin your entire cut and possibly end up with a jammed Cricut machine. No one wants any of that, take the two minutes and smooth out all of the wrinkles, if you don’t have the Cricut Brayer tool then use your hand, a credit card or anything with a flat surface that can do it.
After you have smoothed all wrinkles go ahead and place your mat in the guides on your Cricut and go into Design Space and get ready to select your materials for cutting.
Selecting your Material
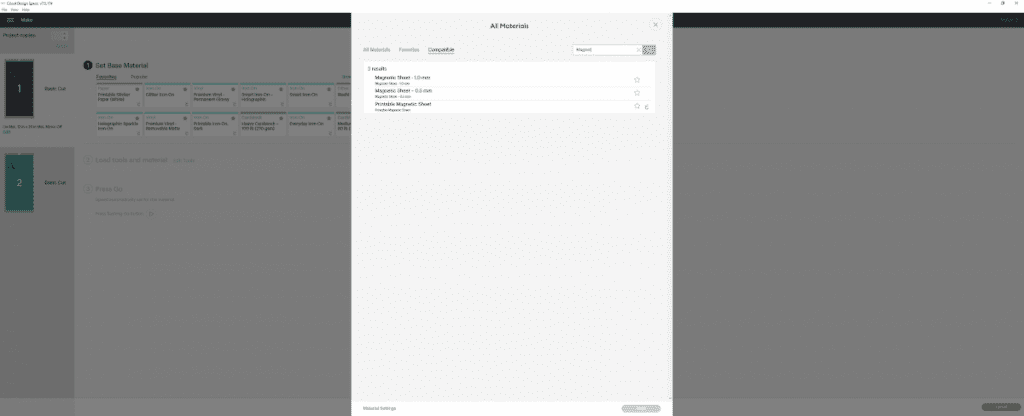
Now you can select the material, to cut the magnet sheets you will simply go into Design Space and in the materials menu search for “magnet sheet” and select the 1.0mm sheet. If you got the thinner magnet sheets you can select the 0.5 sheet.
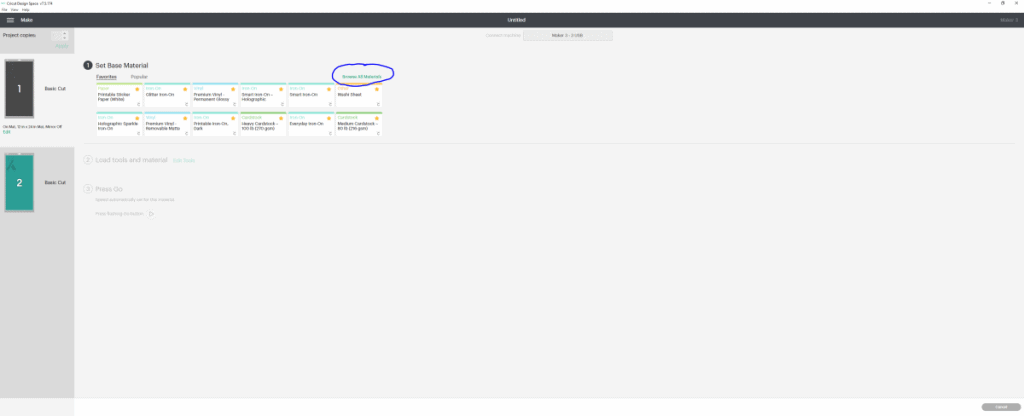
Cricut Explore Air machines have a dial setting so for those machines you will turn the dial to “custom” then go to Design Space and select the “magnet sheet” from there. You can also select the 1.0mm or the 0.5mm sheets.
Cutting the Magnet Sheets
You have chosen the magnet sheet, have a design, loaded the sheet onto the mat and selected the materials now you are ready to cut. For the cutting step you simply select the go button on your Cricut machine and watch it do the work.
DO NOT unload after the first pass, sometimes they will need a second or even third pass before they are ready to unload and peel off. Instead of unloading after first pass you will leave it in the Cricut machine and hit the go button again, if you unload it prior to this you will have two cuts in different locations and a ruined project.
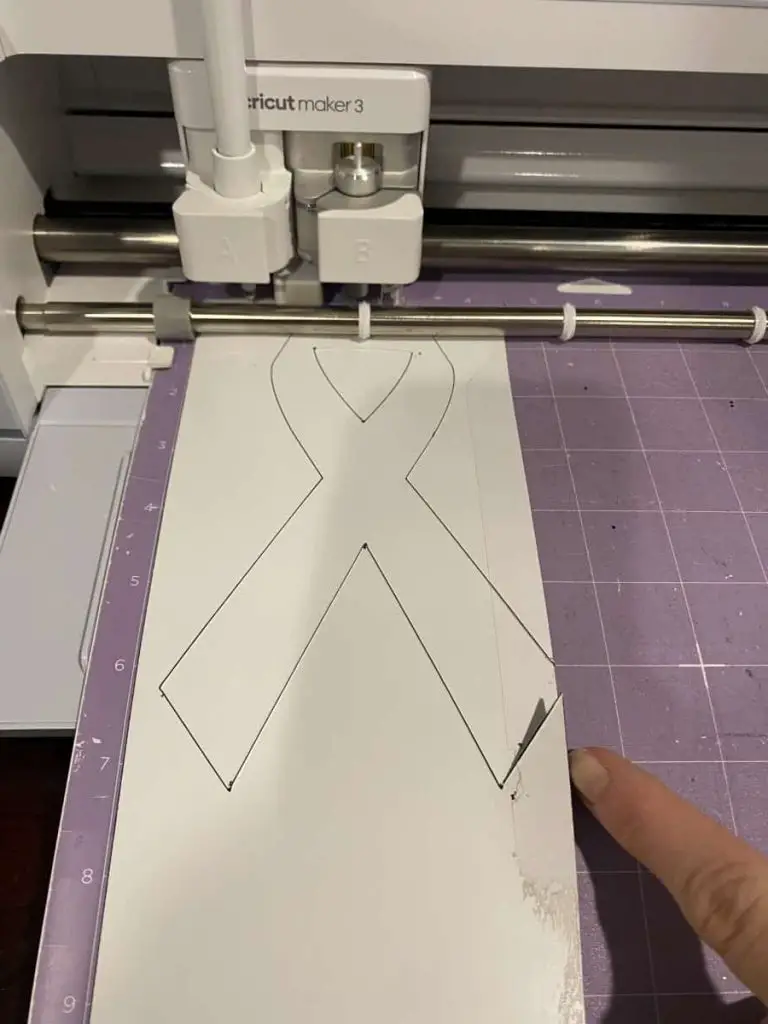
To check if it has cut all the way through you just need to take a peek after the first pass. Try to peel a small part away from the negative space, if it struggles to come up you need another pass or two. You also want to pay attention to the cut to make sure the magnet sheet doesn’t pop up form the mat or start to fray or tear. If this happens that means you need to either sharpen or replace your blade.
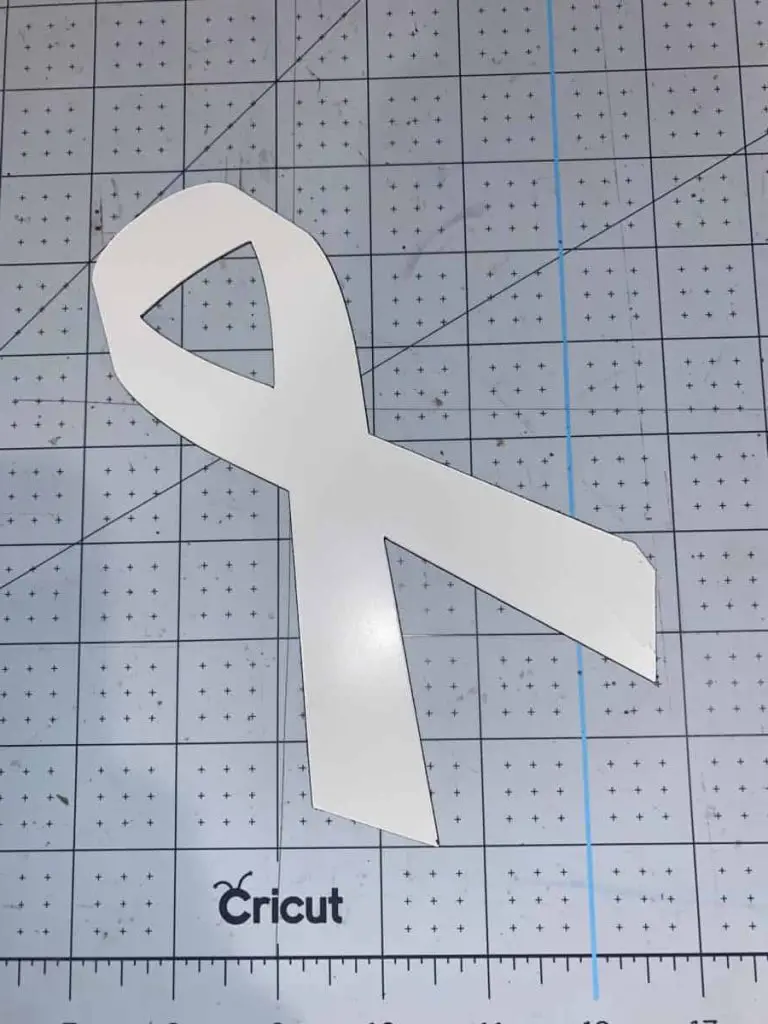
After you have a successful cut you can unload the mat from your Cricut machine and peel the negative away, which will leave you with a completed magnet! You can show the world, sell them, keep them for yourself or gift them out.

Final Thoughts
Now you know how to cut magnets with your Cricut machine and can create all of the fun, quirky, smart or even ridiculous magnets you want! Just remember to take your time, chose the right materials, follow the proper steps and you will be a pro in no time.
Be sure to check out some other nifty functional craft ideas through our other posts here on Craft-ILY as well as checking out some videos on DIY and How To’s over on YouTube. Look for “Crafting Unedited” or just click the name in blue to see!
