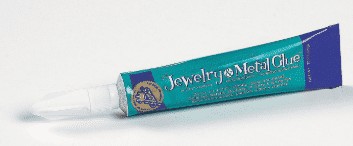
Jewelry making can be a fun and rewarding challenge, but sometimes things break. Or sometimes we just want to attempt making something with a new design. If you are into the art of jewelry making or jewelry fixing, you are going to need some tools, but more specifically, glue or adhesive.
Yes there many different tools and items used to make or fix jewelry, but there are also different types of glue. The type of glue you need to use all depends on the purpose it’s being used for and the materials it’s being used with or on. Let me tell you, Elmer’s glue is great for your toddler’s artwork, not ideal for putting stones back into your favorite ring (just saying). But how do you know which glue is right?
Before we get started you should check out my favorite types of glue for jewelry making. You can see those here:
Best Glue/Sealant for Jewelry Making
Basic Glue Tips
Keep in mind, not all glues are made equal. Some are higher quality than others. Some dry clear and others do not. The working time (the time you have to adjust pieces or move things around on the glue) is different depending on which glue you use. Here are some quick jewelry tips or reminders.
- If you’re working to fix or make a bracelet (or something that is flexible), you’re going to want to use a glue that can be flexible (yes it’s a thing).
- When working with fabric, you need to use a glue that can be washable (we don’t want those rhinestones falling off!).
- If you are able to, use a file to roughen smooth surfaces. The rough surface helps the glue or adhesive have a better hold.
- Be mindful of the piece of jewelry’s purpose. If it is going to get wet, you’ll need to use a glue that is waterproof.
- Clean both parts or pieces that you are gluing together if possible (rubbing alcohol is recommended for this because it cleans and dries quickly)
- Another reminder that some glues DO NOT dry clear. Do not forget this! If you need the glue to be hidden or not noticeable, it’s very important that you use the correct one for your project
- Avoid storing (or even online ordering) your glue in cold temperatures. Many glues lose their effectiveness once they become frozen (so it’d be useless).
Different Types of Glues
There is a pretty good variety of glues out there and all with a different purpose. If you have ever gone to a craft supply store you can see the abundance of glue options available. Some are a good to use while others you may want to reconsider.
Super Glues
Super glues are ideal for gluing things that fit together neatly without any gaps. But before you run to the store and grab Crazy Glue, let me just tell you, don’t do it. It is a fix for many things but not all things jewelry. It is great if you are working with porous items. The things that are more solid (like metals) don’t work as well with it. It just doesn’t bond well with metals, plastics, glass or stones (so basically most things jewelry).
Normal super glues (like Crazy Glue) do not dry clear and tend to be runny. This leaves you with a sloppy finish that won’t last. The glue may work at first, but when the jewelry is worn, the glue doesn’t hold up and pieces tend to fall off just after hours of ware. So not ideal if you’re wanting to create something a customer will love and be able to wear repeatedly. Also not great for fixing your ring if a stone fell off.
However, super glue can be used for some beads, or knots, and fixing some things. If it has a foil backing, you’ll also want to use a different type of glue. It will also not fill gaps if you’re looking for a filler, you’ll have to use something else as well. Super glue is handy, just not always ideal for jewelry making.
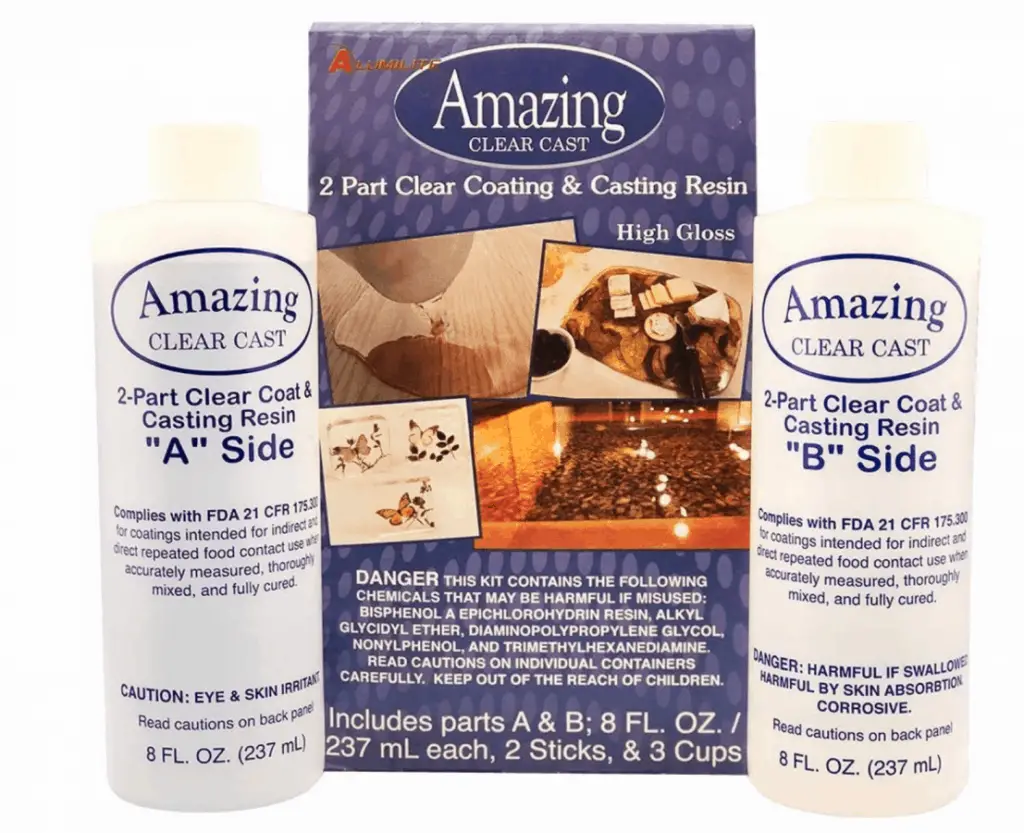
Epoxies
Epoxies are very commonly used when crafting (and building in general). It is a very strong, water resistant adhesive. They are also very durable. It’s good to use on metal, gemstones, plastics, glass, ceramic, rubber, stone, basically anything. To use an epoxy, you usually have to mix it (it’s two steps, follow the instructions when using). Once mixed though, you usually have limited working time.
Depending on which epoxy you choose, will also determine the set time. Set times range from one minute to two hours. A long set time allows you to make your jewelry and set it out to dry. Short set times are better for repairs or making small batches of jewelry quickly. When your epoxy is set, or cured (curing is thermosetting, so it is setting based on the surrounding temperature), it’s no longer in a liquid state. It hardens into a nice solid finish (and it usually has pretty shine to it).
There are different epoxies for different projects. I’m going to share with you a few different types of epoxy for you to compare. Make sure you pick the one that is best needed for what you are wanting to make or fix.
24-Hour Epoxy
This type of epoxy has an extremely long setting time. So this would be ideal for bigger projects. Once mixed, you’ll have about two hours of working time with it before it starts to set. So if you’re making a necklace or bracelet that is very detailed or has lots of elements to it and you need time to make it, this would be a great option because it gives you that time.
Epoxy 330
Epoxy 330 is great for adhering a gem to a metal and for creating inlays (you could make some cool pendants for necklaces with this). It’s great for jewelry because it dries clear. If you’re using this epoxy, it begins to thicken quickly so you won’t have a long time to work with it.
Depending on the brand you use, you will have about ten to fifteen minutes before it’s too difficult to work with. Then it will need to cure for about two hours or if you happen to have a heat lamp it can cure in up to ten minutes.
Epoxy 220
Epoxy 220 is similar to epoxy 330, except that it’s a little bit stronger and it’s coloring is a transparent amber. You have about an hour of working time before it’s set and additional 8-10 hours for curing (unless you have a heat lamp, then it only takes about thirty minutes).
Epoxy 220 is highly recommended for fixing or repairing jewelry because it is so strong. This is the stuff to use (not super glue). It’s the go to epoxy.
Regardless of the epoxy you choose, for your safety and those around you, please follow the instructions on the package. It will give you proper guidance on how to mix it and use it. Also, make sure you are in a very well ventilated space when using it.
The fumes can bother your nose, throat and lungs when using for extended periods of time so it’s important to be using it in the right kind of space. Be smart and safe when working with any chemicals.
Resins
Resins are similar to epoxies but just a little different. The drying time for a resin is much longer. Resins are available in a liquid and powder form (which needs to be mixed). If you want lots of time to work, resins are good because they take longer to set and cure than epoxies.
Epoxy tends to be more expensive. So, if you have the time and you want something budget friendly, resin will be your friend. Resins just like epoxies can be manipulated to cure or harden faster by adjusting the temperature. Unlike epoxy resins don’t typically have as much of an odor to deal with, however, you should still take proper precautions and work in a well ventilated room just in case.
Polyester or Polyurethane Resin
When working with polyester resin, you have to be quick. You will have just a few minutes before it starts to harden. Once it’s cured, you can sand and buff it so that it has a nice, shiny clear hard finish. If you happen to scratch it you can polish it right out.
With either type, you will want to be careful when pouring because it can create bubbles (unless you’re wanting bubbles in it the piece you’re making). Polyester resin also has a stronger smell than polyurethane.
Fun fact: Polyester resin is used as the binding product in fiberglass products.
Both types of resin can be fun to work with because you can use it to create rings or bracelets by using a mold (or other 3D pieces). One of my favorite pieces of jewelry is made of resin using a ring mold. The only real downside is the resin may turn yellowish over time (you know like those clear cell phone cases you buy, they turn yellow after a while).
Coating Resin
Coating resins are best used for pieces that you are wanting to have a smooth glossy finish. With this type of resin, you just apply a thin layer over an item to give it a pretty shiny coating. It’s a great way to finish off something.
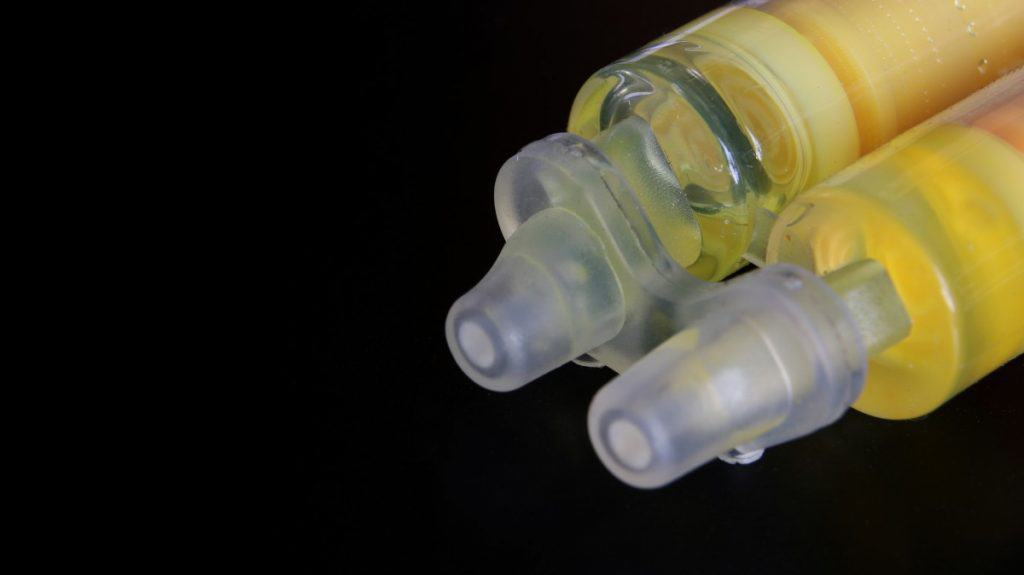
Craft Glues
E-6000 Adhesive
E-6000 is an all purpose jewelry glue that dries clear. This glue is amazing. It bonds to just about everything and dries clear! E-6000 has a 2 to 10 minute working time and needs between 24 and 72 hours to completely cure. And it’s waterproof!
What’s also neat, is that this is a flexible adhesive. So you don’t have to worry about it cracking when it moves (flexibility is great for bracelets and necklaces). And this glue is pretty available so you shouldn’t have any trouble finding it. There are so many possibilities of pieces that you can create with this glue!
There is a multipurpose craft E-6000 available as well as one designated for one to use on jewelry. However, both are amazing at what they do and are a must have that should be added to your arsenal if you are making jewelry.
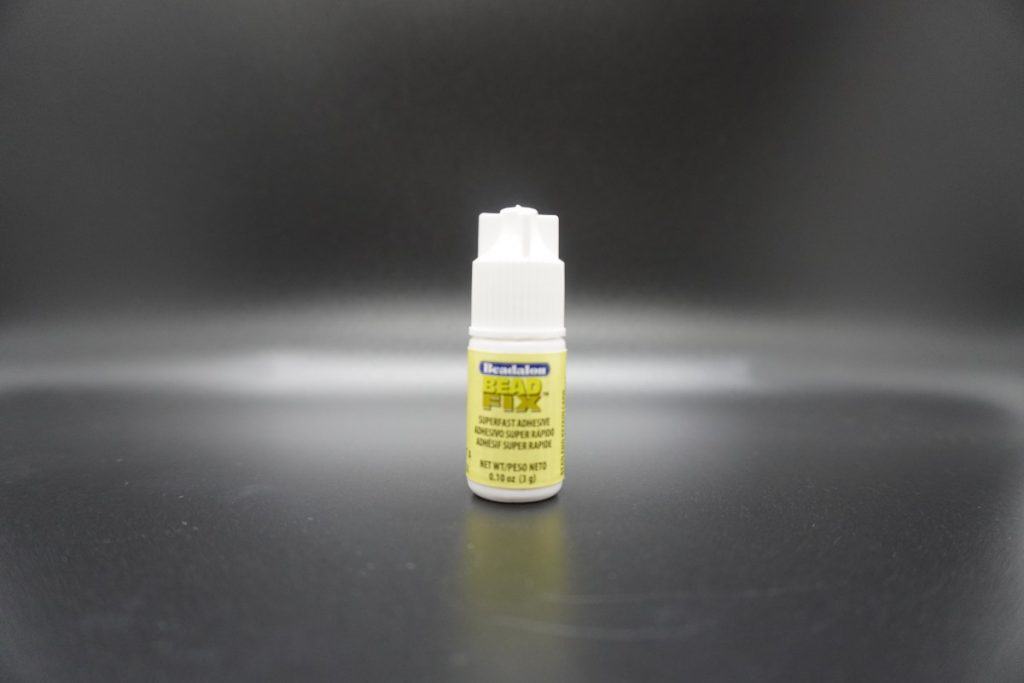
Jewelers Cement
Jewelers cement or jewelry cement is another strong adhesive. Jewelry cement is ideal for detailed work with small beads or embellishments. It dries quickly and it dries clear (yay!). It’s great for sealing knots as well (we have to keep those knots locked up so something doesn’t come undone).
When working with jewelers cement, you do have to work sort of quickly or in small batches. It sets in about 10 minutes and will need anywhere between 1 hour and 24 hours to completely cure (depending on the humidity).
Jewelry cement is great for beading, for securing pearls and crystals (we like things shiny here) however it’s not great for metal to metal bonds. You’ll have to grab for something else when you get to this part of your piece of jewelry.
Fun Fact: This G-S Hypo Cement was originally made for watchmakers but grew to be a favorite adhesive for beaders.
There is also a fabric version if you are wanting to incorporate a piece fabric into your jewelry (or if you want to make a shirt with gems on it, whatever floats your boat).
Gorilla Glue
Yes, you saw that correctly. Gorilla glue is waterproof and dries clear. It also has a pretty good holding power and it can be used with a lot different surface types. Just like with some of the other adhesives, there are different variations of Gorilla Glue.
Depending on which one you choose, one formula (the precision pen) expands 3 to 4 times the surface area when bonded. So a little goes very far. However, some of the other options do not expand as much. The precision pen dries white while some of the other types dry clear or translucent. So there are different options available depending on what you’re looking for.
Hot Glue
Personally, I love hot glue, but be careful because it can get really hot and you can get bad burns from it (yes I’ve done it). To create hot glue, you’ll need a hot glue gun (which are pretty inexpensive) and some hot glue sticks.
Hot glue can be used as an adhesive for many things (though epoxy is stronger). But I’ve recently come to learn that you can make jewelry out of hot glue (say what?). Of course you can use your hot glue gun to glue some stones to an earring or a watch band, but you can actually make all kinds of pieces from hot glue. It’s amazing the versatility that it has.
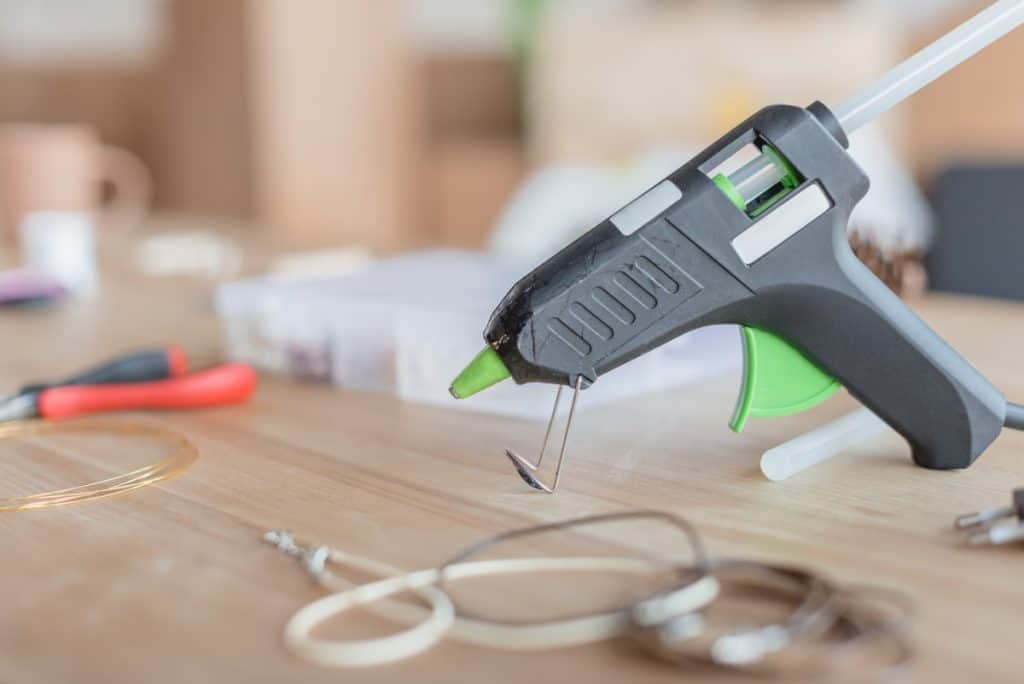
If you get the chance, check out the YouTube videos. It’s a really neat process! And it’s a fun inexpensive way to make some bright durable pieces for your kiddos! If you decided to give it a try, make sure to stock up on hot glue sticks because they aren’t typically long and you’ll go through them faster than you think!
The Ultimate! By Crafter’s Pick
The Ultimate is another super versatile crafting and jewelry glue. It’s got a medium to high holding strength, depending on what materials you’re using. It can be used on porous and non porous items so it’s better choice than Crazy Glue. The Ultimate also dries clear, is flexible and water resistant so it’s a great choice for bracelets, watch bands, and necklaces.
Though The Ultimate is pretty amazing all around, the only downside is that it requires a long drying time. You’ll need to let your creations dry for at least 24 hours when using this particular glue. If you have that time and down mind waiting, then you will love this option.
Create Away
As you can see there are so many different glue types. It is crazy to think that there are even more than I have listed! There is something for every project you can think of. Most are available at your local craft store but if they aren’t, the internet is a wonderful place to shop and whatever you can’t find locally will be able to be found somewhere online.
If you’re curious about glues and adhesives and want to learn more about other options available, this website has a wonderful chart that breaks down different glues and adhesives. It gives you the name and information regarding it. It tells you the drying or curing times and how it dries and even what it can be used on. It’s a super resourceful website. And if you find something you like, you can purchase it from there (though Amazon is our favorite because they usually have better pricing).
In case you missed it earlier in the article you can check out my favorite glues and sealants for jewelry making here.
Enjoy your jewelry making or jewelry fixing now that you have a better idea of what you need. Here is your final reminder to follow all the instructions before you start using whatever you decide. Take the proper safety precautions before you start using as well. Some should be used outside or in some other well ventilated space (though outside is probably your best bet). It might be inconvenient but it is really for your safety because some of these products, while amazing, are dangerous when not handled correctly. So be safe and have fun creating!
Be sure to check out some other nifty functional craft ideas through our other posts here on Craft-ILY as well as checking out some videos on DIY and How To’s over on YouTube. Look for “Crafting Unedited” to see!