There is a new (well new to me anyway) trend on how you can store your jewelry and trust me it is a very unique way of doing so! I have been digging and researching this new trend for a while now and I think it’s about time to give it a go! I am going to explain exactly what Jewelry Art is and walk you through the process I did to create something awesome, so that you can create something too!
Jewelry Art is a piece of art you create using costume jewelry. You can use the real deal IF you want but personally I wouldn’t. You can take any image you want or shape and just piece together something magical and unique. Anything is possible as long as you use your imagination.
Let’s learn and create something great together. It should only take you about 30 minutes at most to do this, if you have the pieces you would like to use ready.
Learn It
Jewelry Art and Art Jewelry are two completely different things. Jewelry Art is something you create using jewelry, Art Jewelry is a piece of jewelry that is considered a form of art. Here are some examples of both. Images are not my own, my artwork will be posted further down.
This is a great example of Jewelry Art! Grab a wooden initial and BAM you’ve got a base to start. This is just one idea of how super simple you can make this.
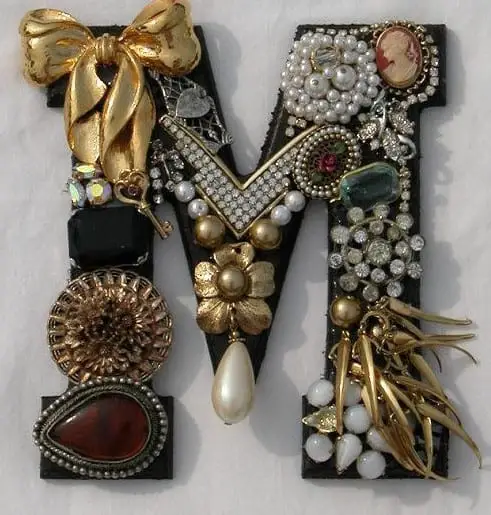
This is one of many fun pieces I found just through
Google, some of these pieces get really wild! I saw a beehive piece and kind of had a mini panic attack thinking about it.
Now you know the difference between the two, but you want to know more about this crazy trend right? Well I can’t really tell you much more as in doing my research I didn’t find much more than a ton of pictures and how to videos. I can’t tell you where or how it started, my thought is that someone like me had a ton of unused costume jewelry and wanted to do something really useful with it, rather than tossing it or giving it away.
There is also some real sentimental value in a bunch of costume jewelry. We get it passed down from our mothers and grandmothers and have absolutely no idea what to do with most of the pieces. This is a fantastic way to preserve a loved ones jewelry in a very modern way of doing it too!
The Idea
This is where the fun part begins. The idea of jewelry art, what do you want to create? Do you want to make something simple like a heart or moon? Or do you dare do more with something more detailed and intricate like your favorite animal or a sunset? Whatever you decide, I assure you it will be beautiful.
Take some time to think about what you want to do, especially if you are going with the permanent option and not just the storage option. With the types of jewelry you’ll be using for this and the kinds of glue the pieces will more than likely not be able to be used again. Which is why I am opting for the storage option so that if I wanted I can wear or sell/pass on my jewelry.
The best part about this trend is how simple and inexpensive it is to do. You can purchase costume jewelry everywhere these days. Amazon has some great finds as well, I found these for a great deal! Since I make costume jewelry for my piece of art I will be using some pieces I have made. As there are a few ways of doing this I am opting for a storage method not a forever piece of art.
The Craft
Let’s move on to the good stuff, the crafting of it all. As you may have realized already you will need some supplies, don’t worry though I am going to provide you with the BEST deals on supplies I can find so there are some links attached to the list for your convenience. With the exception of jewelry of course.
You will need:
Picture Frames – I like to buy in bulk so this was a steal deal here and you have color options!
Fabric for Backing – This was a super neat idea that I can’t take credit for, it has an adhesive backing so you don’t have to glue it down.
Glue – You can use hot glue or what I use is this stuff, it is pretty awesome!
Felt or Cotton Backing – You will only need this if you are making the storage option NOT for the display only option. Yes I chose another sticky backing, call me lazy.
Hooks – These are for your necklaces and bracelets (storage option only)
Jewelry! – this is where your stuff is going to come in handy. However if you don’t have any, don’t stress it. You have options! You can always head over to my site www.craft-ily.com and get some good stuff at great prices, you can swing by your local thrift shop and snag some or you can check these out on Amazon.
- Femtindo Faux Pearl Necklace Earring and Bracelet Black Costume Jewelry Set for Women
- KOSMOS-LI Fashion Statement Multi Color Layer Necklace with Earrings Set Costume Jewelry
- GRACE JUN Vintage Exaggerated Ethnic Carved Chunky Collar Choker Necklace Costume Jewelry
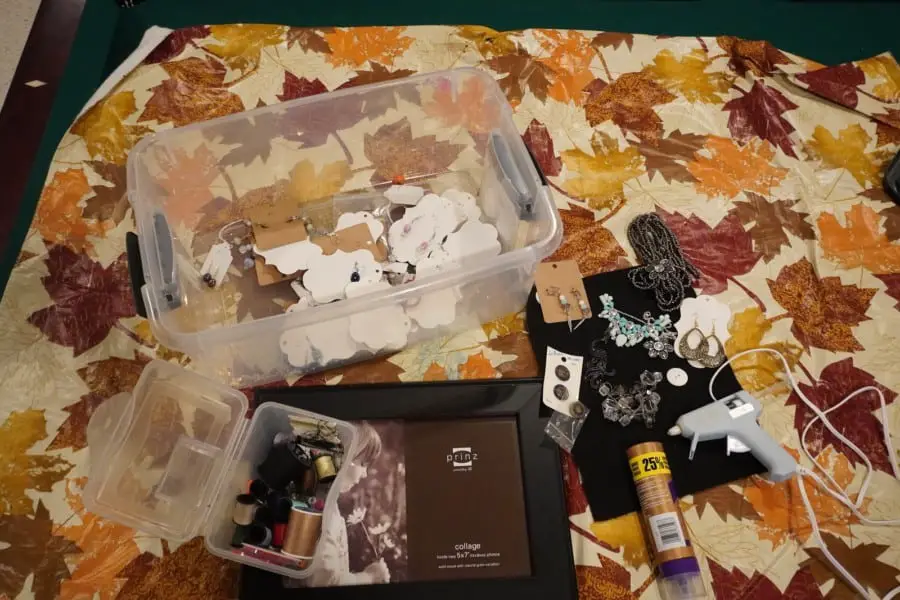
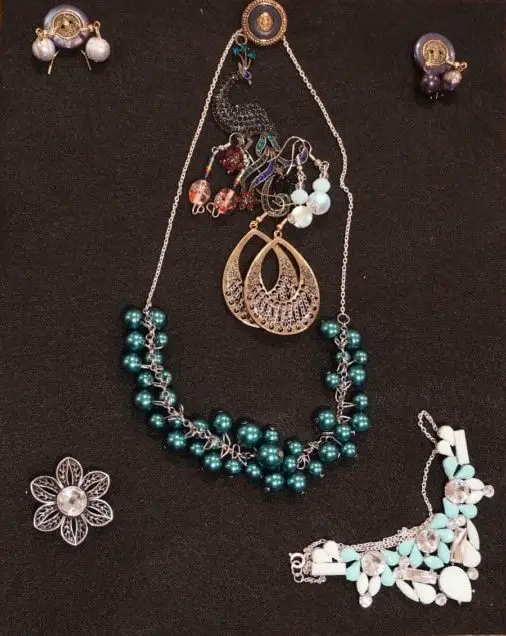
All the supplies I used
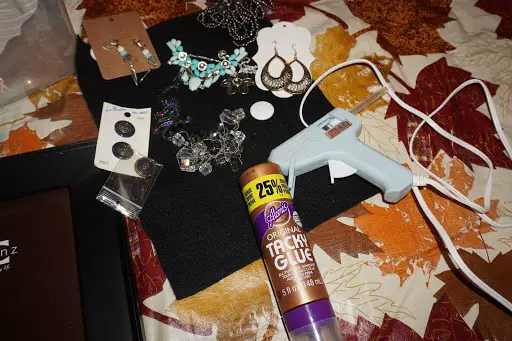
Closer look at the supplies I actually ended up using!
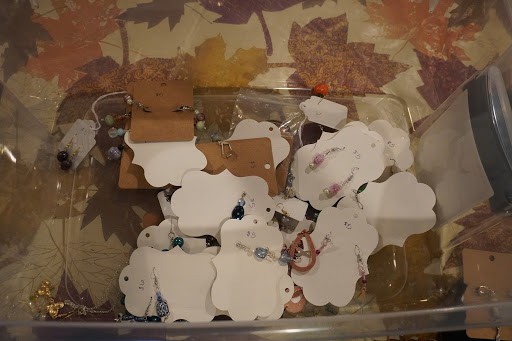
The abundance of jewelry I had on hand, all handmade by me of course!
Let’s make it!
Once you have all of your goods ready You will want to start by laying out your idea in the frame without the back in place like so:
If you are doing the storage option you will want to add hooks to your design and make sure that where you place your items they are able to hang properly.
After you have your design in place you will want to either snap a picture of it for reference or leave it as is on the table (or wherever surface you are working on) that way you don’t have to try to remember what pieces were where. I took a pic as a backup I have two tornado children and didn’t want to risk it.
Next we apply the backing to the backside of the frame. Or is it the inside? Whatever this part is haha: There are two different styles for this so if you are making it as a permanent display skip the first section.
Storage Art
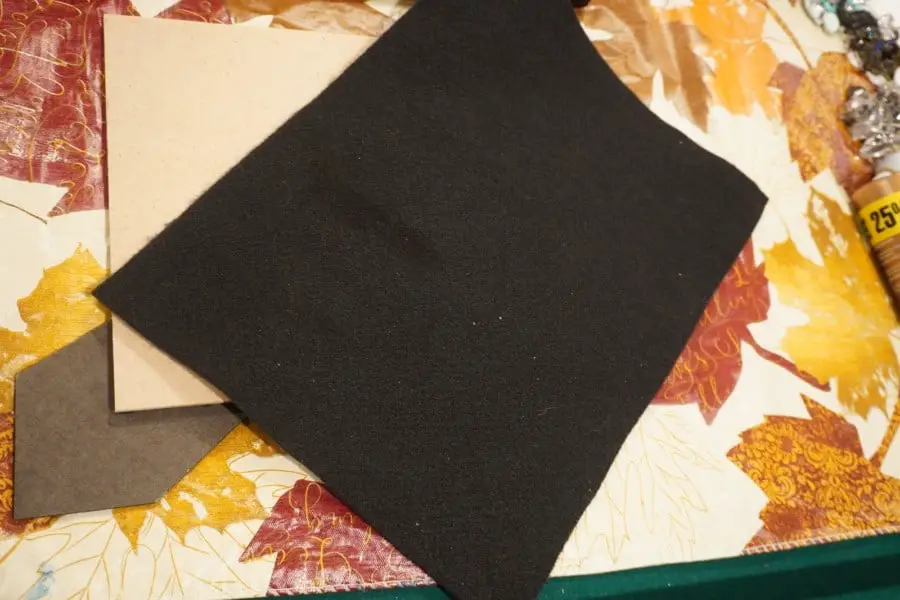
You have a couple of options here, you can use cotton backing OR you can use felt. I opted for felt as it was what I had on hand and didn’t need to purchase any. You will glue the felt or cotton to the frame backing (or whatever) THEN glue or stick your velvet or fabric piece down on top of the felt or cotton like so:
**Note I ended up only gluing two of the sides down and leaving the felt with a loose grip so that I could reach in and put the backs on my post back earrings. See below:
This gives you something for your earrings to attach to rather than just some velvet or fabric.
Now you will add your hooks for your bracelets and necklaces. You will place these so that they flow with your design, this might be easier for you to do when you lay out what you are making so that you know where you want them and how they will work. Could be tricky. I ended up using some fish hook earrings to hook my necklaces. I used some buttons to help out as well, you can see that here.
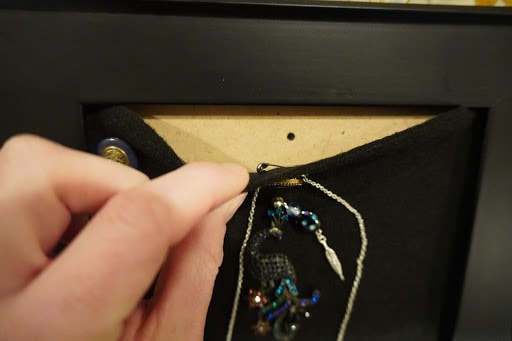
I also used a safety pin to attach the button for the heavier necklace.
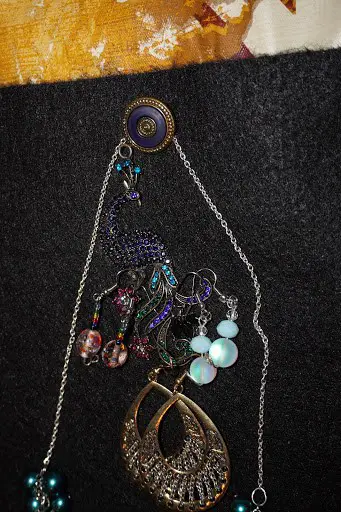
You can see here how fun and completely functional this little peacock charm I had on hand became!
Display Art
If you purchased the stuff I recommended then all you do here is place it and you are done. However if you purchased some regular fabric you will want to grab that hot glue gun or the Aleene’s Tacky Glue and wait for it to dry before applying your design.
Unfortunately since I opted for the storage option I don’t have a picture of this one for you but it should be pretty easy to accomplish.
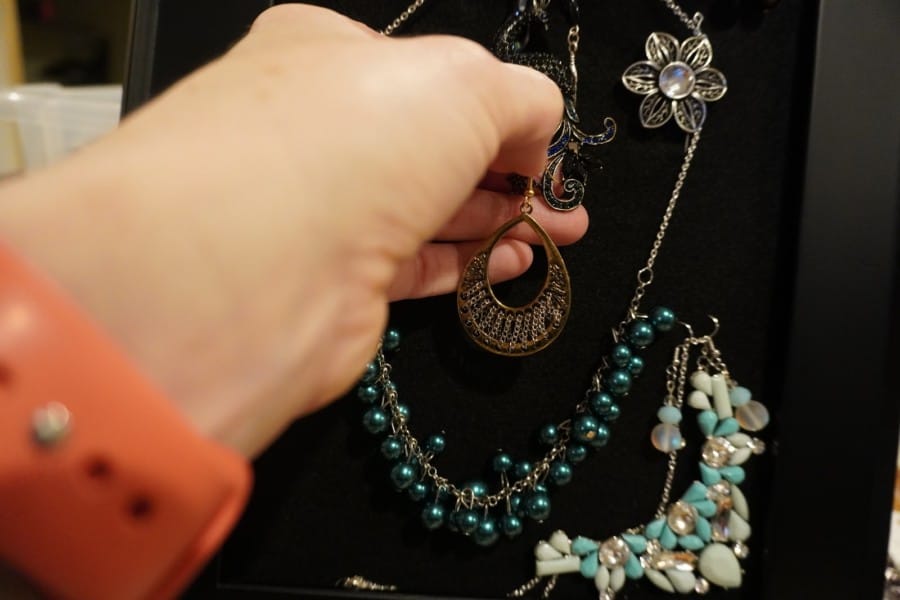
Now we are ready for the final touch, your pretties! All that is left to do is to add your design to the backing. You can go ahead and insert the backing to your frame like you normally would leaving the glass out. Or wait until you are done, I added it in now so that I wouldn’t risk it falling apart when I put it in later.
As you start piecing your design together you will find that it will change some depending on what you are using and how you are using it. If you did the display option you will need to glue your stuff down using either the Aleene’s glue or hot glue. If you are doing the storage option you will just hook or pin your earrings to the backing and add your necklaces and bracelets to the hooks you put on earlier.
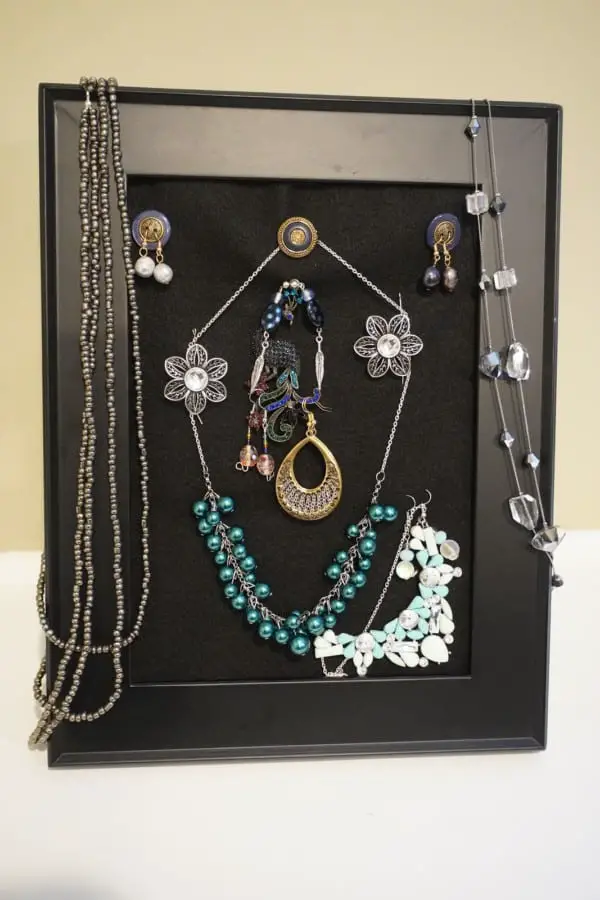
This is the final product! I am so happy with how it looks, it’s not perfect but it is pretty and very functional. I had some super long chains that I was able to drape on the edges to give the frame more detail.
Jewelry Art at it’s finest!
After that you have a completed work of Jewelry Art! Something totally unique to you and possibly very sentimental. All in about 30 minutes depending on the amount of jewelry and how institute your design is. Either way, I am sure whatever you created is a masterpiece.
Be sure to check out some other nifty functional craft ideas through our other posts here on Craft-ILY as well as checking out some videos on DIY and How To’s over on YouTube. Look for “Crafting Unedited” to see!