A Cricut machine is a popular creative device that cuts things automatically. While it can cut a wide range of materials and has a broad variety of functions, certain operations are more difficult to use than others. Using the Slice function is a common challenge, especially when you’re working with SVG images.
Here are 4 reasons why you’re unable to Slice an SVG on Cricut:
- The SVG has more than two layers.
- More than two images are selected.
- The Slice tool won’t work on a flattened image.
- Score lines are attached to the shape.
The rest of this article will expand upon these reasons to give you a better understanding of the Slice tool, working with SVG images, and your Cricut machine as a whole. Hopefully, this will help you keep creating high-quality Cricut projects without trouble.
1. The SVG Has More Than Two Layers
While many basic Cricut projects only involve one layer, it’s possible to work with designs that have multiple layers. You achieve this using the Slice function, which allows you to have different cut lines for overlapping layers. However, things can become challenging for both you and the machine when more than two layers are added into the mix. Here is a quick video on how to use the slicing tool in Cricut Design Space:
An SVG image is a type of image file that typically includes multiple layers. Having multiple layers allows the image to contain more information and higher-quality visuals.
Unfortunately, your Cricut machine can struggle to operate correctly when more than two layers are present. This is because the Cricut Slice function can only handle two layers at a time. When more than two layers are involved, you cannot use the Slice tool. This can be a problem when your SVG images contain more layers than the software can handle.
If you’re having problems cutting SVG images on your Cricut, one solution is to try removing layers in the design space and cutting your project two layers at a time. This is a slow process, but it can allow you to cut multiple layers on one project without overworking the software.
2. More Than Two Images Are Selected
When you select more than two images at a time, this can also contribute to incorrect Cricut function. Selecting more than two SVG images can disable the Slice tool because SVG images contain multiple layers, and your machine can only handle two layers at a time.
If you want to use the Slice function and cut more than two SVG images, you’ll have to hide or ungroup layers until only two layers remain and the Slice function becomes available again. You can then continue swapping out hidden layers over the span of multiple cuts until you have cut all layers for each image.
This process is similar to the one mentioned in the previous section because both involve more than two layers. However, this situation is different because you’re working with more than just one SVG image. While both processes take quite some time, they can effectively allow your Cricut to use the Slice tool on SVG images.
3. The Slice Tool Won’t Work on a Flattened Image
As we mentioned before, your Cricut machine has the ability to perform many operations in the Design Space. In addition to the Slice function, your machine’s design software also offers a tool where you can flatten multiple layers to create single-layer images, making the printing process a lot easier. This is a valuable function because it allows you to print complex images more conveniently.
However, flattening a multi-layer image into a single-layer image poses some issues because the Slice function won’t work on a flattened image. This is because the Slice tool was designed for two-layer images. It’s best that you avoid using the Slice function on a flattened image to keep your projects as high quality as possible.
I did a YouTube on what the flatten tool is and how to use it in Cricut Design Space, check it out here:
Luckily, this issue has a simple solution. You can fix this by printing the flattened image, removing the image file, and re-uploading it as a multi-layer image for the cutting process to ensure that the Slice tool cuts a layered image. Doing so should cause the Slice function to operate as it should, but you should still keep in mind that the operation can’t handle working with more than two layers.
When using the Slice tool, you should also consider welding your layers together instead of flattening them because the Slice function won’t work on flattened images. Welding joins different shapes and layers together instead of flattening them into a one-layered image.
The weld function is a great way to make complex designs more manageable in both the design and printing processes.
4. Score Lines Are Attached to the Shape
Cricut machines are popular for their cutting abilities, but they also have a few forgotten functions like the scoring operation. Scoring is when a tool is used to trace a material with enough pressure to create a line without cutting the material itself.
Score lines make a crease in the material and can be included in a design to indicate where a fold should be. They also make it easier to facilitate that fold once the scoring process is complete. This feature is handy for making boxes, greeting cards, envelopes, and other projects where precise folding is necessary.
However, it’s important to note that you cannot Slice a two-layered image when score lines are attached to the shape. If you want to score an SVG image in addition to using the Slice tool, you must remove or hide the score lines before Slicing your image.
You can control the score lines through the contour function of the system, or you can click on each score line individually and hide them from your design. Once you’ve hidden the score lines from your SVG image, the Slice function should light up, indicating that it’s no longer disabled. You can then use the Slice tool to cut your design.
After the design has been correctly cut, you can then use the scoring operation separately from the Slice function.
Helpful Sites
Here are some super useful sites and tools for getting your images free of copyright issues:
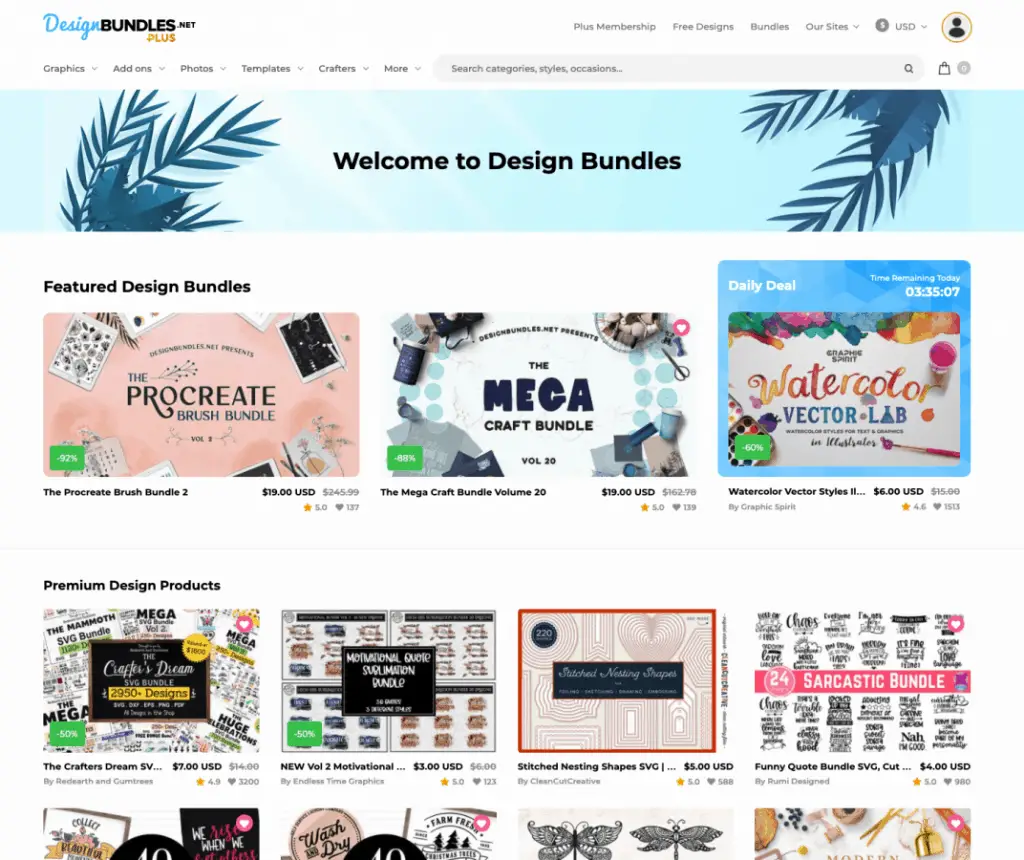
Design Bundles – designbundles.net offers thousands of SVG’s sublimation images, brushes and fonts for ProCreate and so much more. The inexpensive monthly plus plan is the best way to go, you get tons of free credits to purchase their “plus”products that come with the commercial use license.
Design Space/Cricut Access – If you use Cricut you have access for $11/month to thousands of fonts and images as well. I always search Design Space for what I am looking for first, this way I don’t have to go through all the steps of uploading and what not.
I also use JPIBlanks.com for images often as well. They design the images/files themselves so the copyright is released when you purchase the image/file from them. Sometimes they will even do a coupon code for free images!
Be sure to check out some other nifty functional craft ideas through our other posts here on Craft-ILY as well as checking out some videos on DIY and How To’s over on YouTube. Look for “Crafting Unedited” or just click the name in blue to see!
Conclusion
In the end, there are only a few reasons as to why you can not slice the SVG file in Cricut Design Space, these are 4 of the main ones. If you go through all of these and are still having issues, chances are the image is not an SVG file but a png or jpeg and can’t be sliced.