Have you ever thought about sublimating your own kitchen décor? Did you know that you can sublimate kitchen décor and do you know how or do you just go out and buy whatever you can find? The kitchen is the most frequented place in a home, so why not make it your own?
Pot holders are the most popular kitchen items purchased aside from kitchen towels. Every home has at least 5 of each. They make amazing housewarming and last minute gifts too! So you make ask, well how do you go about sublimating pot holders? Simple!
The biggest thing you will need is a sublimation ready blank. Make sure it is at least 65% polyester, most are 100%. Then you chose your design, print it in the mirrored image on sublimation paper with sublimation ink and press it at 385 degrees for 60 seconds.
As with any other craft or project there is a few more steps and details to this process to make sure you get the best outcome possible, so let’s get into that now.
What do you need?
Before you jump into making your own pot holders you will want to make sure you have all the supplies you will need going into it. Setting yourself up for a successful project is the first step to creating the prefect product. Here is a list of materials needed with link to recommended products:
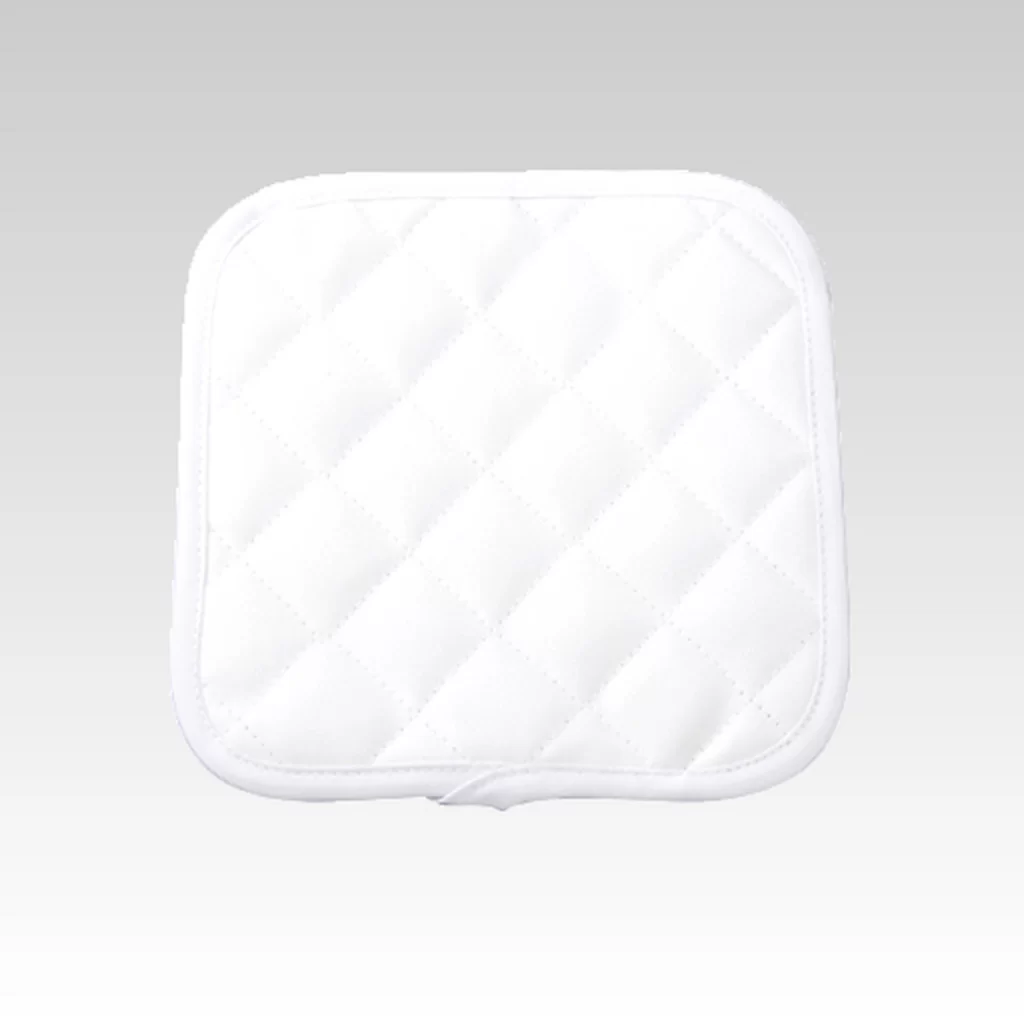
- Sublimation ready pot holder
- Sublimation printer, ink and paper
- Heat resistant or thermal tape
- Butcher paper
- Heat press
The other thing you will want to make sure you have is a space to work in. If you are using a portable heat press you need to make sure you have a safe and stable surface to press on. Heat presses and plastic or glass NEVER ends well. Use the floor or a table with a pressing mat under the blank to protect the surface of the table or floor.
Get Ready
Now that you have gathered the necessary supplies you are ready to start getting things done. The very first step is to chose and image, some people like to use family photos, favorite quotes and a lot of chickens! You can get as creative as you want with these, or you can be super simple – it is your space create it!
I use Design Bundles for the majority of the designs purchased, the rest I create. Here is one from designbundles.net that you can get as well!

Once you have chosen an image you will want to size it appropriately, most pot holders will hold a 4 inch by 4 inch image. Sometimes you can get ones that can take a bigger image, the biggest I have seen are 6 inches by 6 inches.
After you have determined the size you need you can get it ready for printing, when you send it to the printer you want to make sure that you have it set to mirror the image and the printer settings are on “best” for quality and “presentation matte paper” for the paper type.
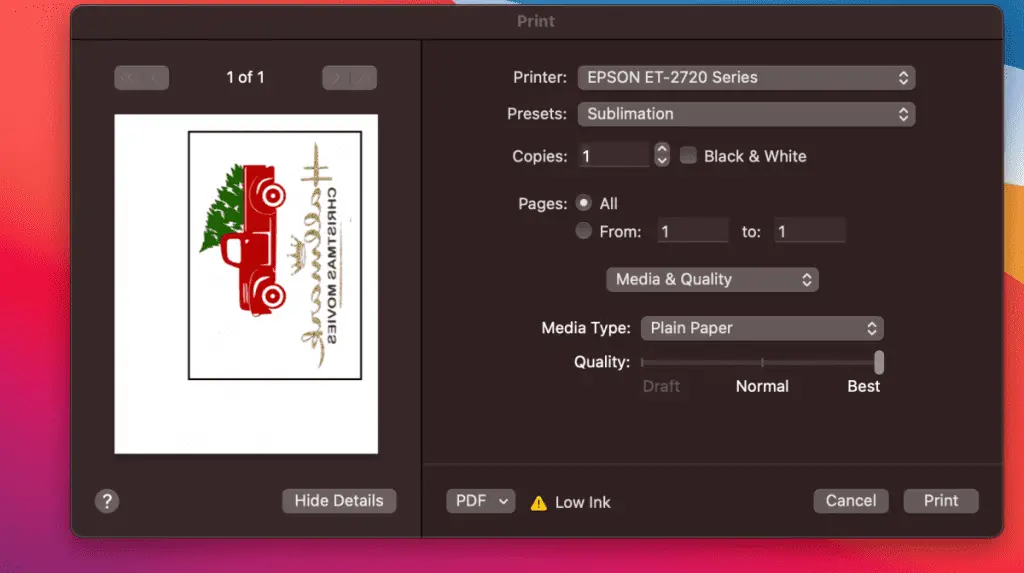
If your settings are right you can go ahead and print the image. Once it prints it needs to sit for a few, normally at least 5-10 minutes. While it is sitting you can prep your heat press.
Preheat your heat press, it needs to be at 385 degrees and set to a timer of 60 seconds. For sublimation you do not need a lot of pressure at all, light to medium will do great. More pressure will give you the lines around the image after you cut it and possibly burn the blank.
After the heat press is up to temperature you need to do a quick prepress on your pot holder, this will get rid of any moisture and wrinkles that may be in the pot holder. Getting those out beforehand will save you a wasted blank and a big headache.
After the prepress you are ready to cut the area around the image. You just need to trim it down around the actual image. Doing this avoids any possible ink marks that may be hidden in the paper from the rollers on your printer. It also helps with having a generic paper shape around your image.
Once you have the image cut to your desired shape you can tape the edges to the space on the pot holder that you want it. The tape will hold image in place so that it does not move around when you lift the press off of the pot holder, avoiding ghosting issues.
Now you will take a sheet of butcher paper over the image as well as under the image so that it does not bleed through and onto the pressing pad of your heat press or the carpet if you have carpet. Then you can close your press and start the timer.
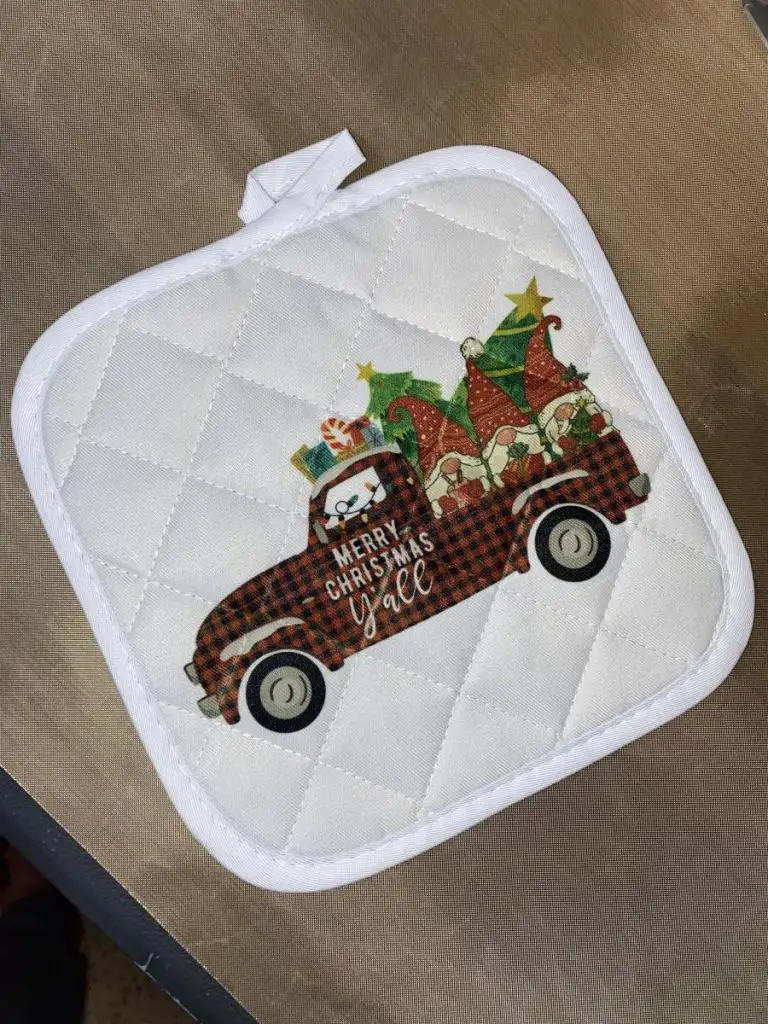
Once your timer goes off lift the heat press gently but quickly and remove the butcher paper, tape and sublimation paper. Remove the pot holder from the press area to cool. You now have a beautiful new pot holder!
You will want to wait at least 24 hours before you use or wash it to make sure the ink has settled into the pot holder well enough to not transfer onto anything else.
Final Thoughts
Now you know how simple, yet very fun sublimating a pot holder can be. Having your own unique and fun kitchen decorations helps you enjoy the space so much. The kitchen is the most used and frequented space in the home, why not make it the most attractive too!
Be sure to check out some other nifty functional craft ideas through our other posts here on Craft-ILY as well as checking out some videos on DIY and How To’s over on YouTube. Look for “Crafting Unedited” or just click the name in blue to see!