Did you know that you can make dog tags, both the human and animal versions using your Cricut Maker machine? You can, I am not just talking adding vinyl that will eventually peel off or get eaten by the dog (or cat or it might peel off from wear and tear. Using the Cricut Engraving tool you can permanently put your fur baby or really anything you want on all sorts of metal objects.
In this tutorial I am going to tell you just how you can do this step by step with additional tips and tricks that I have learned along the way. By the time you are done reading this you will not only be a pro at making dog tags but also at engraving several different types of metal surfaces.
As always before you dive into the project making you will need to make sure you have all the necessary tools and materials. Having them together ahead of time avoids stopping in the middle of a project to run and buy or order and wait for the items to come in. One headache avoided at a time.
Materials Needed
Here is a list of the materials you will need along with links (some affiliates) to the tools and materials that I use on this project and others.
- Cricut Maker – I currently have the Maker 3 and absolutely love it, I fell in love with it from the moment I opened the box! The Explore models will not work for this unfortunately.
- Cricut Engraving Tool – Please get a real Cricut Engraving Tool, do not get a knock off version, hell don’t even order it from Amazon, some of them (regardless of how reputable they may be) are fakes. If Cricut finds out (when your machine has something go wrong) they will void your warranty and you will be SOL.
- Cricut Strong Grip mat – if you do not have one you can just use a really strong painters or scotch tape on a green mat.
- Painters or Scotch tape – even if you have the strong grip mat you will still need this.
- Dog tag blanks – I get mine off of Amazon, Cricut hasn’t made any yet. The kit that I get is linked to the item, I get this specific kit because it has the rings with it and they come with the protective seal on them so they don’t get all banged up while in shipping.
- Damp wash cloth – I will explain later
- Acrylic paint marker or just black acrylic paint – this will help your engraving stand out really well.
That should cover everything you need to get this project done. Now onto the fun parts!
Designing
You would think that designing a dog tag would be simple, it can be or it can be crazy complicated, totally up to you. However, I would recommend for the purpose of your first project that you go with something pretty simple. If it is for a fur baby you can do the name, owners name and contact number maybe a simple heart or paw print too. Simple but still tasteful and personal. If it is for a human then you have a bit more room to work with, I like simplicity, one or two words can mean so much.
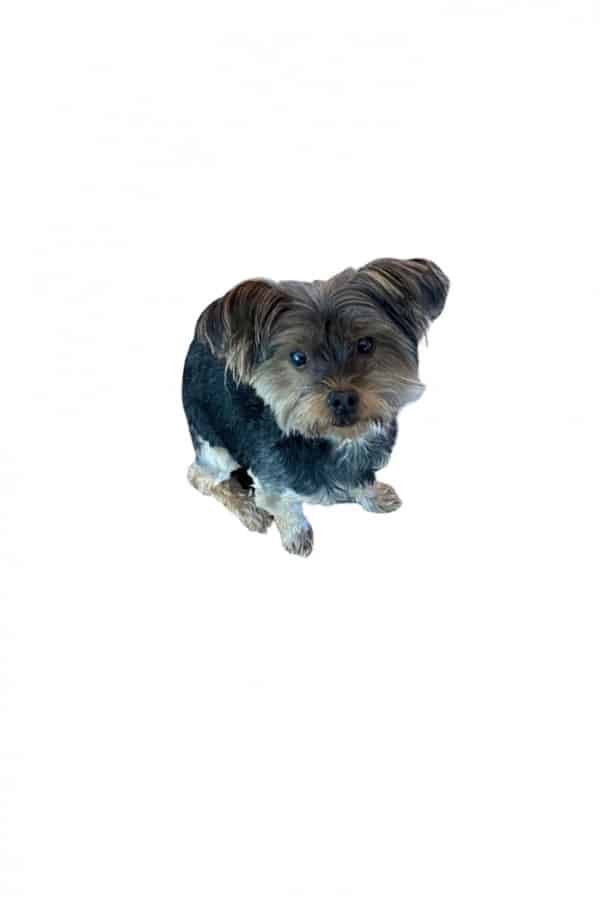
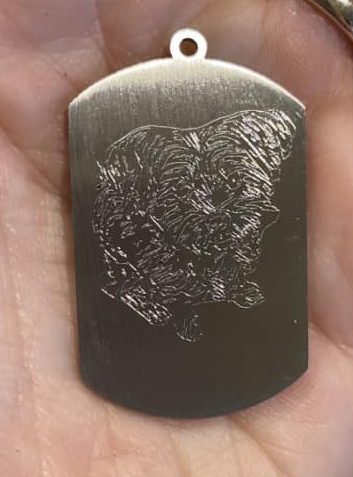
This is the image I decided to use, our Yorkie, Snickers recently passed away and I was making keychains for the kiddos to carry with them. I uploaded this image into one of my apps “VectorQ” and played with it until I had an outline I liked. Then I uploaded that into Design Space and selected “cut image”.
Measuring the tag
You will want to open up Cricut Design Space and there is a template in there but I feel like the sizing is always off. Before I start designing I will measure the area I have to work with. If you got the set I did and are using the bone shaped tag you will measure the area inside the bone not including the sides. See below for a better example.
Once you have that measured go to your Design Space and click on “shapes” then the square. Unlock the square by clicking the lock key at the top or on the bottom left corner and make it the exact dimensions of your blank. This will be the BEST way to make sure your design fits perfectly onto your blank. I have tried other templates and tricks but this one has been the only one that has been successful and works every time.
Once you have your “template you are ready to to choose a font and/or images for your tag. First thing is you will want to make sure you have the “draw” function enabled. Then type out your words and scroll through your fonts. I have a few recommendations or tips if you will. Stray away from thick fonts, typically these will end up being outlines and not filled letters. You need to make sure you have a “writing” font selected. This will create a nice and smooth engraving, unless you want it outlined like sports lettering.

When you are done designing you will get ready to make your project. Select make it in the top right corner and center your design like I did below. This is the best way for me to make sure I am spot on the center of the tag.

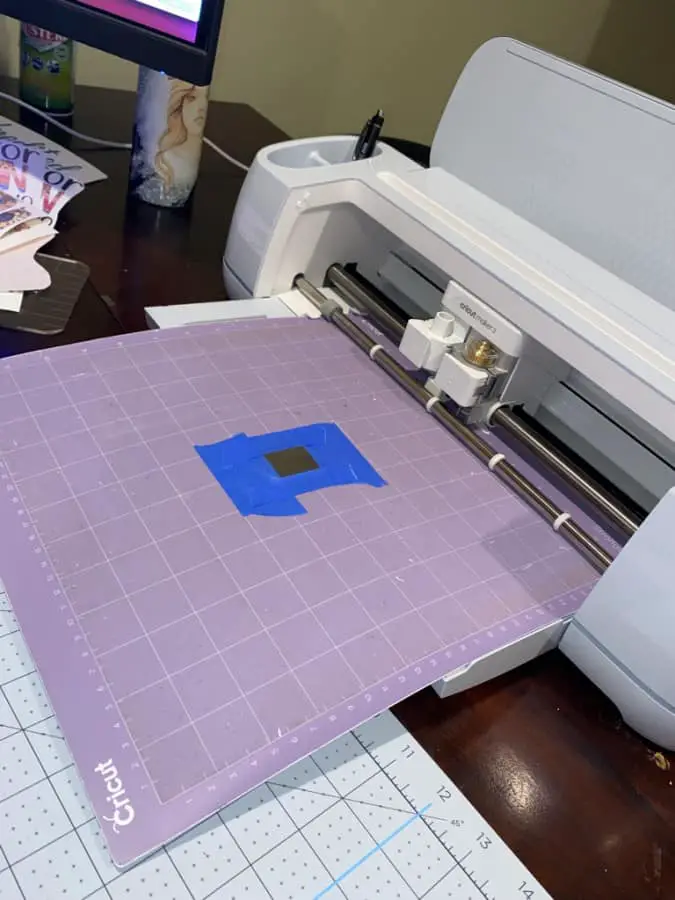
Now that you have your font and/or image designed you are ready to set up your mat for engraving. This is where the tape comes into play. You will need to tape around the entire tag but make sure to leave the area you will be engraving onto, if you get a little tape over the area don’t stress over it. Try not to cover it though, any area that has the tape and get engraved over wont be as deep of an engraving.
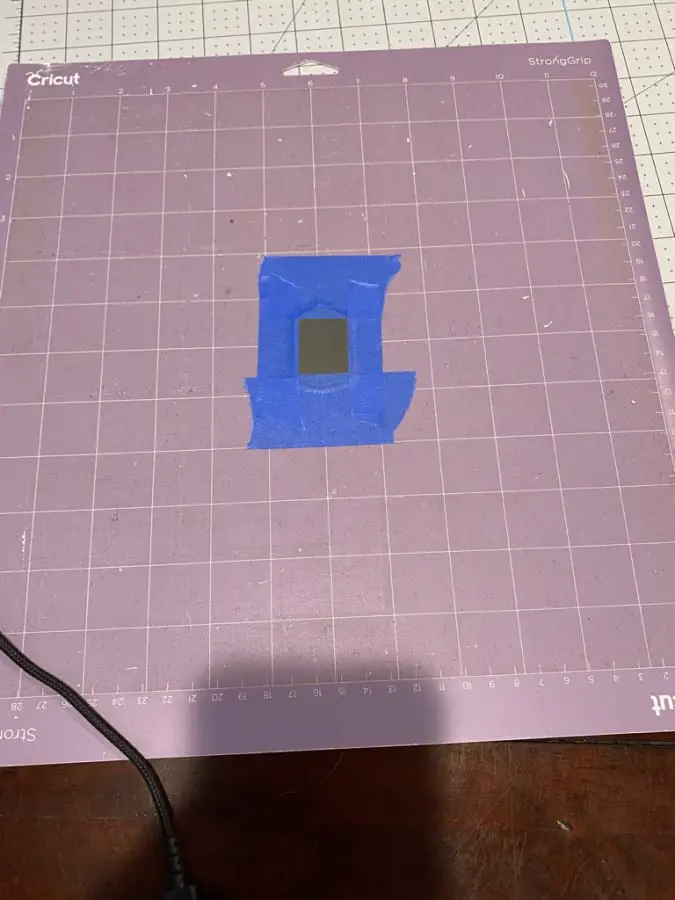
*** TIP *** It is way easier to align the tag on your mat at an intersection. If I am only doing one tag, I will put the design in the middle of the mat at the 6 and 6 mark. This will make it much easier to make the perfect engraving and align your design in the middle. Thus, giving a better opportunity for near perfection. Remember in the crafting world we don’t aim for perfect, we aim for unique.
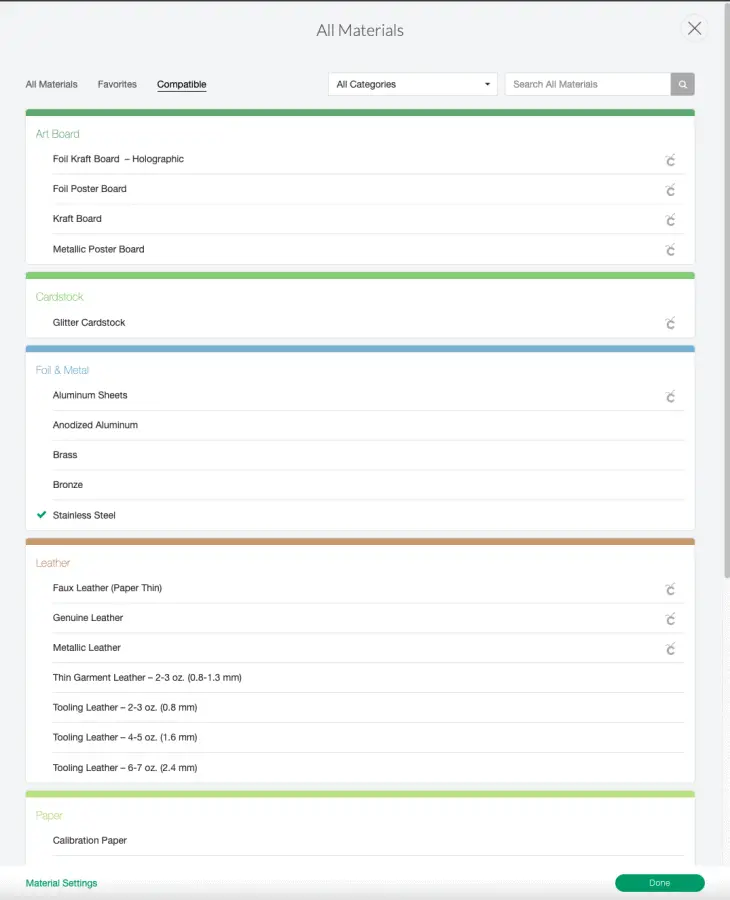
Now that you have your tag aligned and taped you are ready to load the mat into your Cricut And select your material.Depending on the blanks you purchased you will need to set your pressure. I typically stick to the “stainless steel” setting, it has good pressure. Now you can go ahead as you normally would on any other project and press the go button.
Wait for it to finish the first pass and DO NOT UNLOAD the mat, don’t touch that button. Take a look at the engraving and dee if it to your liking, for me I like to do at least two passes if not more. If it is NOT to your liking hit the go button, NOT the load button. Repeat this until you get the desired depth. Then you can unload the mat and remove your tag.
You will want to wipe off the metal shavings with a cloth or paper towel. Then take the acrylic paint marker and cover the engraving with it. Liberally cover it, like you should not be able to see the engraving too much. Let it sit to dry for 2-3 minutes at minimum.
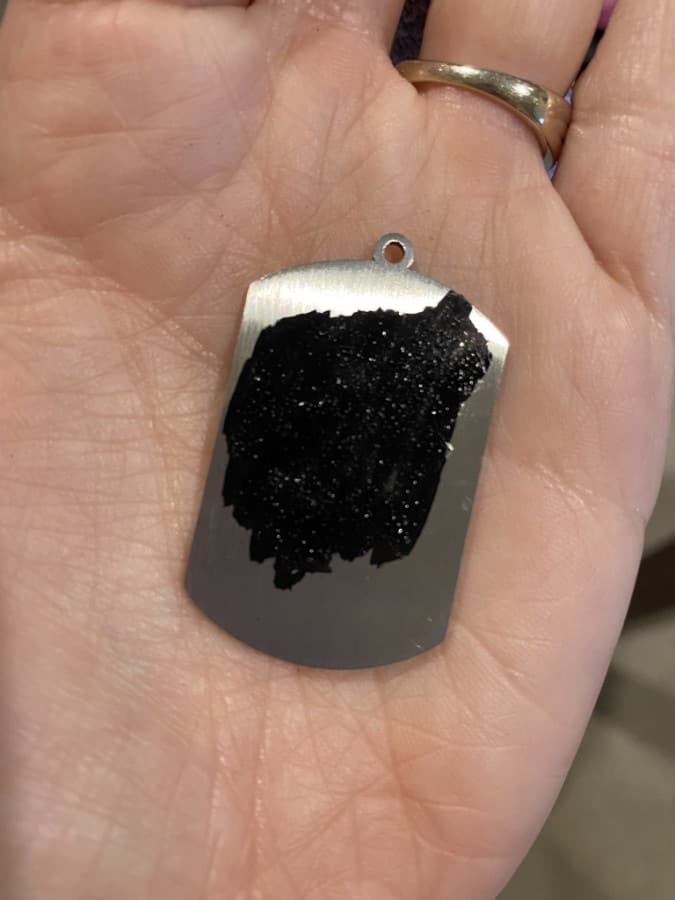
This is usually where I step away and start on something else or grab a drink and come back. After the paint has dried you will wipe the excess paint off with a DRY cloth, you will need to rub a tad aggressively but you don’t want to wet the towel, it will get into the letters and they are ready to get wet yet. After a couple days you can get it wet.
Now you have a completed dog tag, it may look a bit crazy and nowhere near perfect for the first one but you will get it, just keep trying! No giving up, just keep swimming as Dory would say. You can use these same techniques and tips for all types of engraving. Now you can make charms, bracelets, rings and so much more!
Be sure to check out some other nifty functional craft ideas through our other posts here on Craft-ILY as well as checking out some videos on DIY and How To’s over on YouTube. Look for “Crafting Unedited” or just click the name in blue to see!