Hello crafting mamas and crafting people! I know I’m not alone in this, but I LOVE crafting. I just really enjoy making things. There is just some amazing satisfaction knowing that I created something and it works or is serving its purpose. It feels great when someone asks “where did you get that?” and the answer is “I made it!”.
I am always so excited when I make something that someone finds beautiful or cool. When they ask how, it just doubles that feeling of empowerment. It’s such a confidence booster and we could always use more of that! Today, I’m going to share with you some of my favorite crafts so that you too can answer “I MADE IT!”.
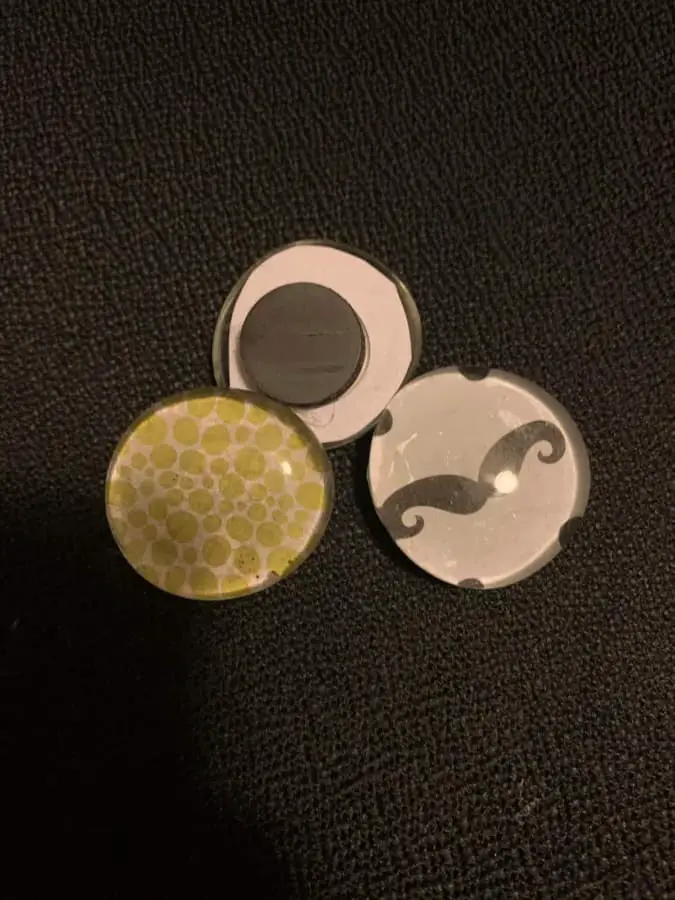
Glass Magnets
One of the first things I made for my home was magnets. Magnets are easy to make. They’re pretty durable as long as you don’t make a habit of dropping them on a hard floor (they are glass after all – though if you do drop one, it’s usually an easy fix). We still use ours on the side of the refrigerator.
They’re cute and one hundred percent customizable to what you want. And they make a cute gift. Plus, who doesn’t need magnets?
You will need:
- Mod Podge
- Glass Gems (found in the floral section)
- A Foam Brush
- Fabric or Scrapbook Paper
- Round Magnets
- A Hot Glue Gun
- A Pen
- Scissors
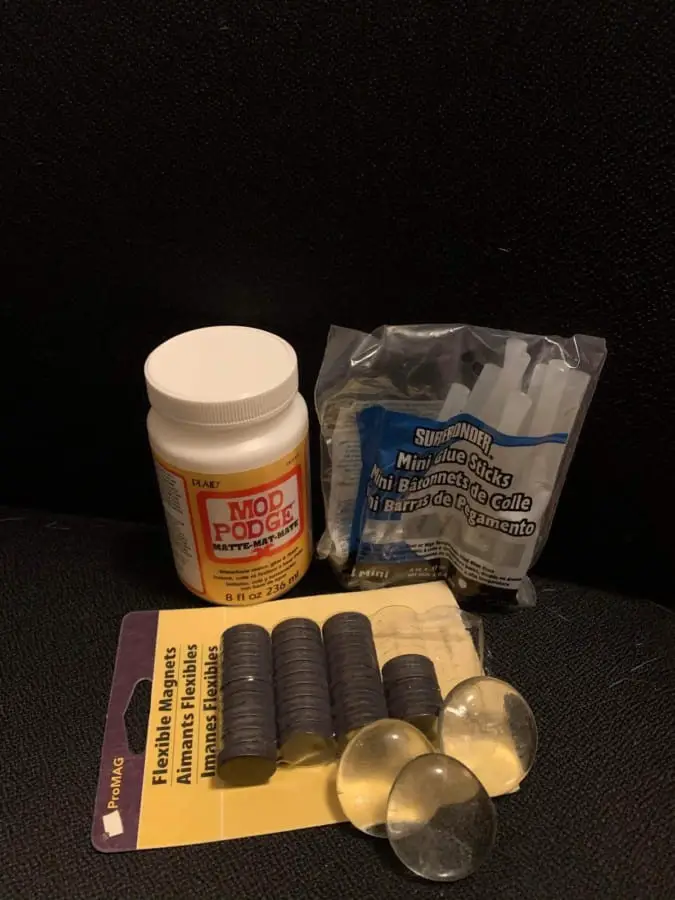
Side note: You can get the glass gems, mod podge, and foam brush on Amazon (it’ll cost less to purchase these items at a dollar store and the others at your craft supply store).
Let’s Make Magnets
Step 1: Lay out your chosen fabric or paper. Place a glass gem on it and using a pen, trace the gem.
Step 2: Cut out the shape you traced.
Step 3: Next, using your sponge brush, dip lightly into Mod Podge and then spread on to the patterned side of the fabric or paper. Put the glass gem on the glue side immediately. You want to put it on the fabric or paper before the Mod Podge dries.
Step 4: Time for the hot glue gun. Put a dot on one side of the magnet, then place the magnet on the back of the glass gem (the side with fabric or paper).
Ta-da! You have made yourself a cute and functional magnet! Mod Podge dries clear, so if you’re feeling adventurous, you can use pictures instead of fabric or scrapbook paper. This would be great for gifts (you could make a cute little set) or if you have a magnetic chore chart or if your family uses a home command center.
You can definitely have some fun with these guys. Now, repeat steps 1-4 and make as many magnets as you want or need! Get wild and creative!
Yarn Wreath
Are you the type of person that likes to have a wreath on their door, whether it’s year round or for the holidays? I enjoy having a wreath on mine at any time, but especially for the holidays. My favorite is still packed away somewhere, but that’s okay!
We can make another! The best part, it’s simple and fun. I find it soothing to make these wreaths as well. Another fantastic thing about it is that they cost WAY less than the ones you buy premade at the store (I refuse to spend sixty dollars for something to hang on my door, just saying). So, let’s get rolling.
What You Need:
- A Styrofoam Ring (They do come in different sizes. I prefer the larger ones, but you can do any size you want)
- 1-2 Packs of Yarn (have fun with it. You can choose 1 solid color or multiples. There is even some yarn that is many colors – it fades into other colors through the roll)
- Flowers, ribbons, letters, or any special decor you want on the wreath
- Hot Glue Gun with a couple refills
Time to Make a Wreath
Step 1: We are going to start by opening a roll of yarn and securing an end on the styrofoam ring. You can secure the end of the yarn one of two ways. Use the hot glue gun and glue one of the string to the ring or you can loop it through and tie a knot. Either way will work. (I usually end up tying it and saving the hot glue for later)
Step 2: Now you want to wrap your yarn around the ring. The goal of this is to basically cover the styrofoam. This is the longest and most time consuming part of it. I wrap the yarn close together to cover the styrofoam. But you could make big gaps and fill it in. You’re going to do this around the entire ring of styrofoam.
**If you’re nearing the end of your roll and still have some styrofoam to cover, just tie the end of your new roll to the end of your old one and keep on wrapping.**
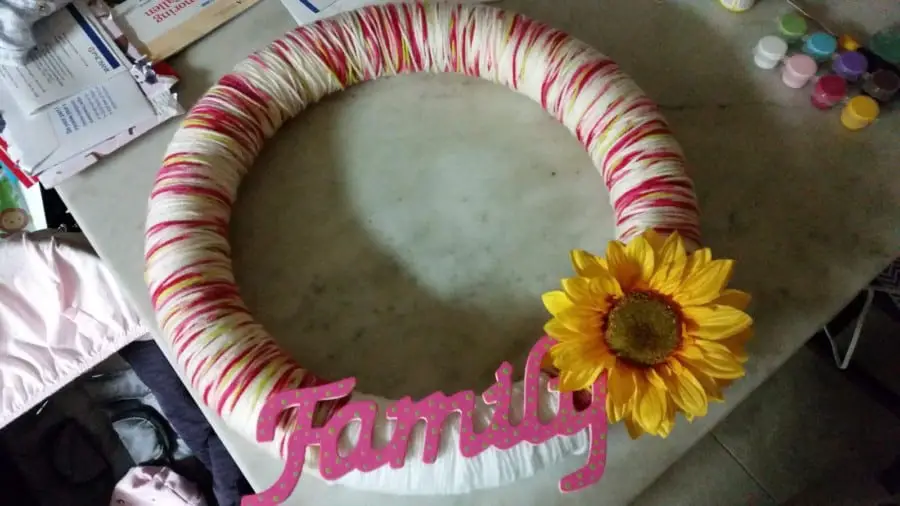
Step 3: Once your styrofoam ring is fully covered in yarn to your satisfaction, you can call it a wreath! Tie the yarn to a piece on the wreath and cut the excess off. (You can also hot glue once you get to the end)
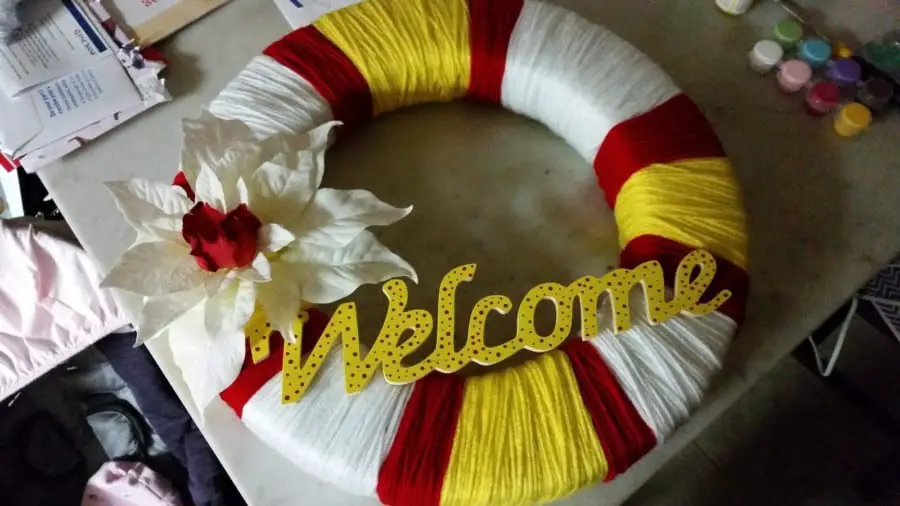
Step 4: Last step. Grab your accessories and hot glue away. My favorite is florals. But you can do letters or birds or figurines. Walk through the floral section at your craft store or just walk around the store and grab things that call to your creativeness. Get something that calls to you, something you want to see on your front door.
Michaels has a wood section with words and symbols that you can paint and hot glue on there as well. This step is where you can really express your inner creativity.
Yarn wreaths also make GREAT gifts. I have given my mom two (maybe three). She almost always has one on her front door. I made one for my sister for her birthday as well. And both my kids want one for their bedroom doors (I’m going to make small wreaths for them).
I love the simplicity of these. I also love the cost. These are inexpensive and can be a beautiful addition to your home. Yarn wreaths are another craft you can have fun with.
Painted Glassware
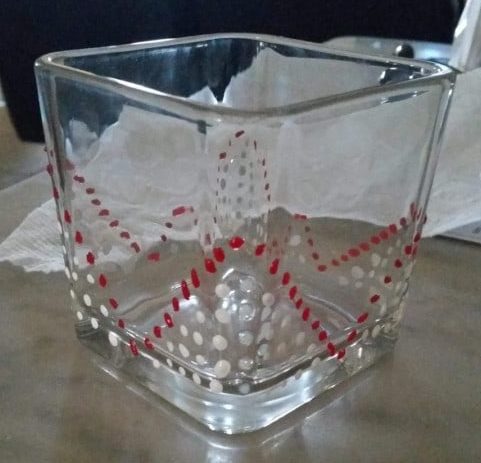
You don’t have to be an expert painter to paint. I know it can sound intimidating, but painting is fun and can be very relaxing (similar to the way coloring is). And stencils make it easier to get a fun design if you aren’t great with the free hand painting.
What You’ll Need
- Any type of glassware (wine glasses, mason jars, bowls, cups, pitchers, candle holders, carafes etc.)
- Paint (the best paint for glassware is an enamel acrylic paint. It is made specifically for painting glass OR if you can find an acrylic paint labelled multi-surface, that will work as well)
- Stencils (Any kind of stencil you can stick to the glassare you chose)
- Painters Tape
- Paint Brushes (of course)
- Mod Podge (and a sponge brush)
- Glitter (optional)
Decorating the Glassware
The fun part about painting glassware: There is no right or wrong way to do it. Grab a brush, a stencil, and your enamel paints and paint a design on it. If you’re interested in using glitter, use a sponge brush and mod podge and sprinkle glitter on it. Use the painters tape to create clean lines. If you want a more frost look, you can just paint a coat of mod podge (or there’s a spray paint you can get). There’s just so much you can do!
Crafting is really so much fun (and I love that it’s a verb). You don’t have to be an expert or super talented. All you need is to have an idea and find a way to execute it. Now, if you have big goals and you’re unsure, I’d start small or do one component at a time. Take your time and most importantly have fun! Happy crafting!
Be sure to check out some other nifty functional craft ideas through our other posts here on Craft-ILY as well as checking out some videos on DIY and How To’s over on YouTube. Look for “Crafting Unedited” to see!